Sometimes life happens, and that favorite berry bush of yours just needs to move. Maybe you’re redesigning your backyard or finally building that patio you’ve always wanted. Whatever the reason, transplanting a currant bush is totally doable—as long as the plant isn’t too far past its prime.
Does it make sense to transplant a currant bush?
Before you grab your shovel, take a quick look at how old your currant bush actually is. If it’s been sitting there for more than 15 years, moving it might not be worth the effort. Why? Because older currants eventually stop producing much fruit. In that case, you’re probably better off starting fresh with a healthy young bush at the new spot.
Also, keep in mind that your currant bush will likely take a “sabbatical” after the move. Don’t expect a big harvest for the first year or two; the plant needs time to settle into its new home and establish a strong root system. So, definitely check the age of your plant before you commit to the heavy lifting!
When is the best time to move currants?
Fall is hands-down the best time for planting currants, and the same rule applies to transplanting. During the fall, the soil is usually nice and moist, which keeps the roots from drying out while they adjust. If you try to do this in the spring or (heaven forbid) the heat of summer, you’ll be fighting an uphill battle. You’d have to water constantly, and the plant would still struggle to take root.
How to transplant your currant bush: A step-by-step guide
Ready to move? Here’s how to get it done right:
- Dig a new planting hole that’s plenty big enough.
- Mix some compost or specialized berry fertilizer into the soil to give it a nutrient boost.
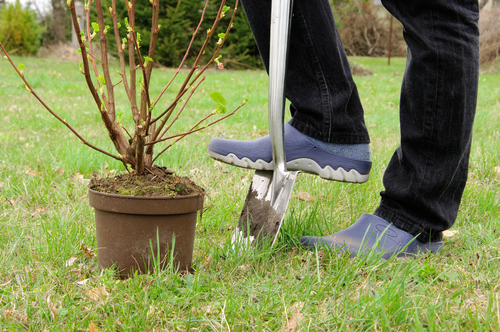
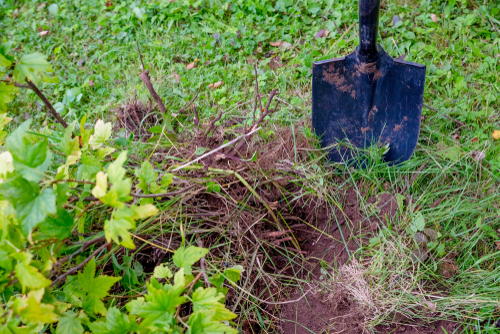
- Carefully dig up your currant bush, trying to keep the root ball intact.
- Give the branches a light pruning to reduce stress on the plant.
- Place it in its new home.
- Fill the hole with soil and gently press it down to remove air pockets.
- Give it a good soak immediately, and keep watering it regularly over the next few days.
A few extra pro-tips
Size matters when it comes to the new hole—it should be significantly wider than the root ball itself. When you’re ready to dig the plant up, use a spade to cut a wide circle around the base of the bush. Then, switch to a garden fork to lift the entire root ball out of the ground. This helps keep the roots as happy as possible during the trip to their new location.