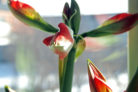
If you want your Amaryllis to live up to those dreams of spectacular, giant blooms, it all starts with what’s happening below the surface. Getting the soil right is the secret sauce for a healthy plant. Here’s the lowdown on the best potting mix for your Amaryllis and some pro tips on watering.
The Perfect Potting Mix
To pick the right soil, we have to look at where these beauties come from. The Amaryllis (or *Hippeastrum*) is native to the subtropical Peruvian Andes. In the wild, they grow in gritty, well-draining soil that’s packed with minerals and micronutrients. To keep yours happy at home, you want to mimic those conditions.
Here are three “recipes” for a mix your plant will love:
- The Cactus Blend: Mix equal parts standard potting soil and cactus soil. Toss in some perlite or pumice to keep it extra airy.
- The Gritty Mix: Combine equal parts all-purpose potting soil and a fine seed-starting mix, then stir in some lava rock or gravel for drainage.
- The Eco-Friendly Option: Use a pure, peat-free coconut coir substrate.
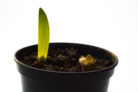
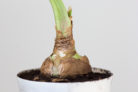
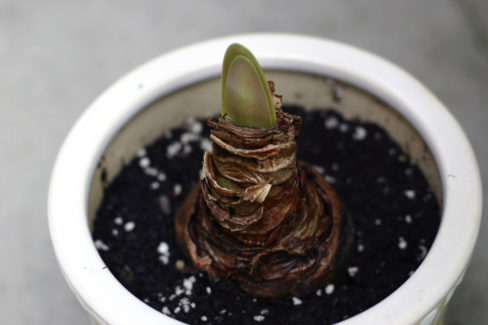
Pro Tip: Try to avoid soils with high humus or organic matter content, as these can hold too much moisture and lead to bulb rot. Also, when you’re potting it up, make sure the bulb is only sitting halfway in the soil—let that top half breathe!
Watering and Feeding Like a Pro
Once you’ve got the soil settled, it’s all about the routine. Your Amaryllis goes through different phases throughout the year, and its needs change along with them. Here’s how to handle fertilizing and watering:
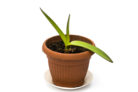
- The Growth Phase (March to August): This is when your plant is working hard. It needs plenty of water and a steady supply of nutrients. Use a liquid fertilizer every two weeks to give it the fuel it needs to thrive.
- The Dormancy Phase (September to October): Time for a nap! Stop watering and fertilizing completely during these two months. October is also the perfect time to repot your plant to get it ready for the upcoming blooming season.
- The Blooming Phase: When those flowers start to show off, keep the soil moist and continue fertilizing. To keep the bulb dry and prevent mold, always water from the bottom. Just fill the saucer with water and let it sit for about 15 minutes. The plant will soak up exactly what it needs through capillary action, and you’ll avoid the dreaded root rot.