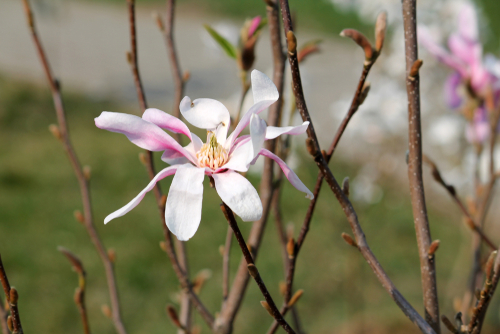
There’s a good reason you see magnolias in so many yards—those stunning, oversized blooms are hard to beat! But did you know that after those flowers fade, many varieties develop fruit? If you’re feeling adventurous, you can actually harvest seeds from that fruit to grow your own magnolia tree. Just a heads-up: it takes a bit of work and a healthy dose of luck.
How Magnolias Develop Seeds
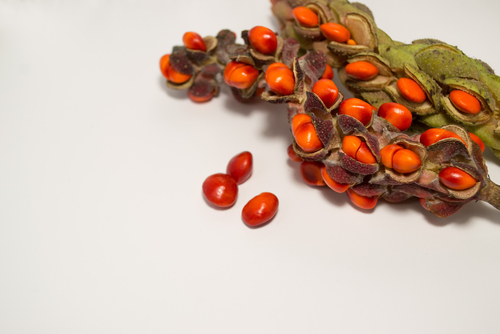
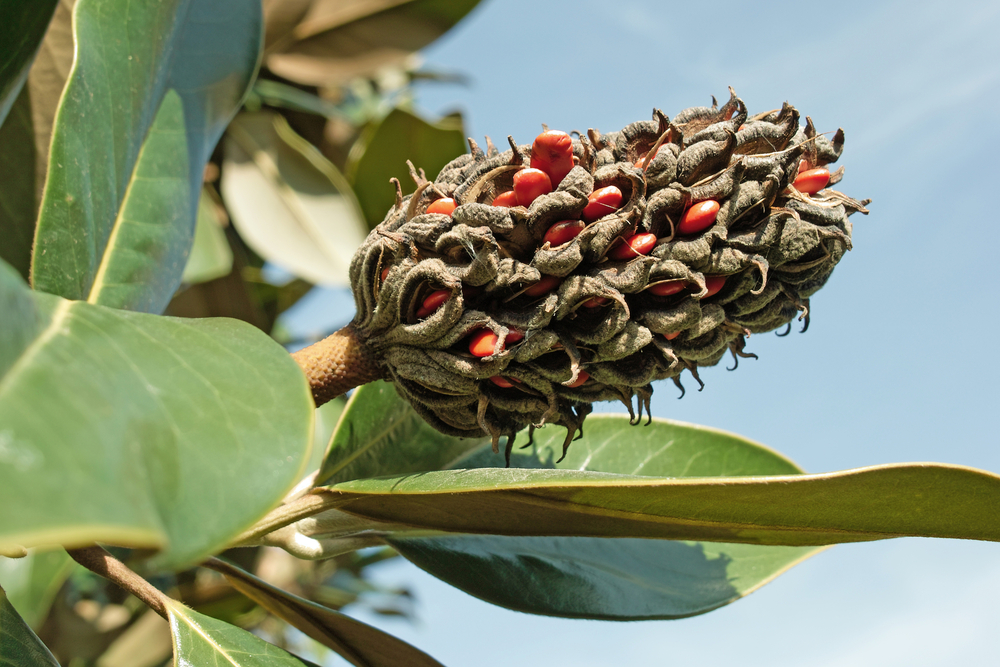
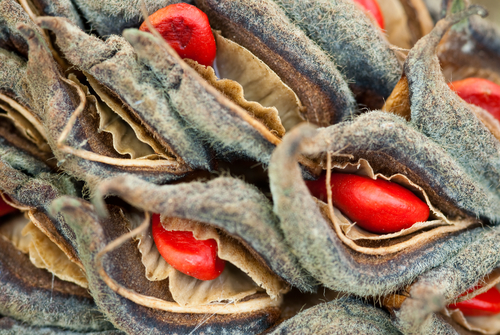
Once the magnolia’s blooming season wraps up, the flower heads transform into what botanists call “follicles.” These are actually some of the most ancient types of fruit on the planet! Visually, they look a lot like pine cones, and they function similarly by protecting the seeds tucked inside. Depending on the variety, these seed pods can range from pale pink to a deep, vibrant red. The trick is to wait until the pods start to crack open naturally—that’s how you know the seeds are fully ripe and ready for action.
Prepping Your Magnolia Seeds
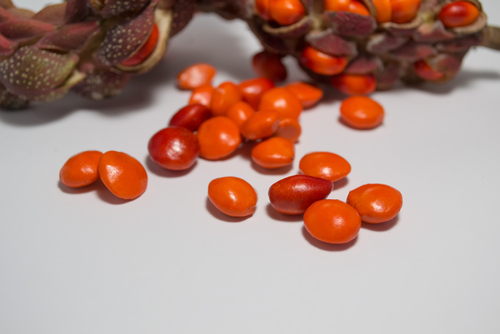
First things first: you need to get the seeds out of that fleshy fruit and remove the outer coating to prevent them from rotting. Pro tip: soaking the fruit in water first makes this job a whole lot easier. Once you’ve cleaned them off, you’ll be left with black kernels. Now, here’s the science-y part: magnolias are “cold germinators.” This means you can’t just toss them in the dirt right away; they need a period of cold storage (called stratification) to wake up. To do this, place the seeds in an airtight container with some damp sand and pop them in the veggie crisper or the freezer.
Planting the Seeds
After about three to four months in the fridge, it’s time to bring them out. Fill some small pots with loose seed-starting mix and give them a good watering. Place your seeds in the pots and cover them with just a light dusting of soil. You’ll want to keep the pots in a bright spot that stays cool—not hot. The most important thing is to keep the soil consistently moist without letting it get soggy. Be patient, though! Germination can take several months, and honestly, sometimes it doesn’t happen at all. That’s why many home gardeners prefer other propagation methods like cuttings.
If you’re up for the challenge, here’s your quick cheat sheet:
- Clean the seeds thoroughly, removing all the fleshy coating.
- Store the seeds in damp sand in the fridge for several months.
- In the spring, plant them in small pots using seed-starting soil.
- Keep the pots in a bright, cool location and stay patient!