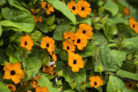
Black-eyed Susan vines grow so incredibly fast that most gardeners don’t even bother trying to overwinter them. Instead, they just treat them like annuals and start fresh every year. The fact that so many people do this is a testament to how easy they are to grow from seed! However, if you want a lush, flower-filled trellis, there are a few “pro tips” you should know about the sowing process.
Harvesting Your Own Seeds
Even though the Black-eyed Susan vine isn’t a native plant here, it’s perfectly capable of producing viable seeds in our climate. All you have to do is leave a few spent blooms on the vine instead of deadheading them. To make sure those seeds actually sprout next year, timing is everything when it comes to the harvest:
- Wait for the elongated seed pods to fully ripen.
- You’ll know they’re ready when they turn dark and look dried out.
- Hold a bowl or a paper bag underneath the pod.
- Give the pod a little squeeze with your fingers; it should pop right open.
- Catch the seeds—they’re about the size of a peppercorn and have a little indentation.
- Let them dry out indoors for a few more days.
- Store them in a cool, dark, and dry spot until spring rolls around.
Quick Tip:
Always harvest more seeds than you think you’ll need. Even under perfect conditions, not every single seed is a winner. If you want a backup plan, you can also propagate Black-eyed Susan vines using cuttings taken in early spring or late summer.
Buying Seeds
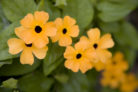
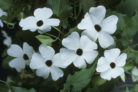
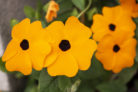
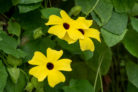
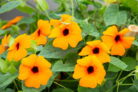
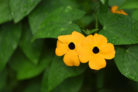
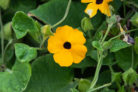
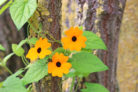
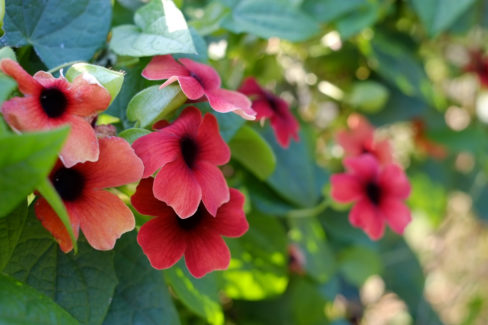
If you’re shopping around, you’ll find varieties in gorgeous shades of yellow, white, orange, and even brownish tones. Some modern cultivars have even been bred without that signature “black eye” in the center. Fun fact: all of these varieties are actually edible! They have a peppery taste similar to watercress, which is just one more reason to plant plenty of them.
Step-by-Step Sowing Guide
If you wait until the last frost in mid-May to sow your seeds directly outside, you’ll be waiting forever for those first blooms. To get a head start, you really should start them indoors as early as February.
- Use a loose, well-draining seed-starting mix.
- Cover the seeds with about half an inch (1 cm) of soil.
- Mist the soil so it’s lightly moist.
- Cover your tray with a plastic dome or some plastic wrap to keep the humidity in.
- Place them in a bright spot that stays at least 65°F (18°C).
Be patient! These guys are late bloomers when it comes to germinating—it usually takes about three weeks before you see any green poking through. Keep the soil moist but not soggy, and make sure to lift the cover daily to let in some fresh air so you don’t run into mold issues.
Moving Your Plants Outdoors
Once your seedlings are established, you’ll want to “prick them out” (carefully transplant them into individual pots). In May, move them into their final large containers and provide a trellis or support for them to climb. Don’t rush them outside all at once; gradually acclimate them to the sun before placing them in their permanent spot on the balcony or in the garden. For a really lush, full look, try planting 2 or 3 seedlings together in one spot!