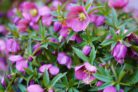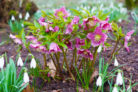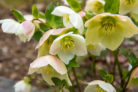
The popular Christmas Rose (or Hellebore) is a real winter superstar, brightening up our gardens and patios from Christmas through February. Once those beautiful bowl-shaped flowers fade, they leave behind seed pods known as follicles.
What You Need to Know About Christmas Rose Seeds
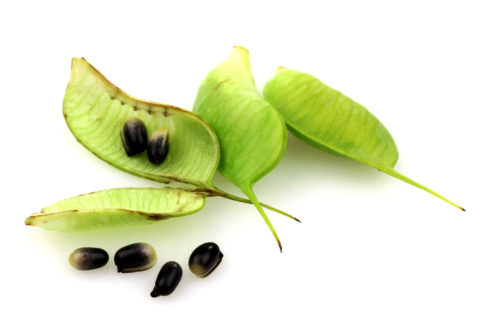
These seed pods develop from a single carpel and are easy to spot thanks to a distinct “seam” running down the side. By early summer, the pods turn brown, dry out, and split open along that seam to scatter their seeds. If the conditions are right, you’ll start seeing little volunteer Hellebores popping up all over the place!
One important heads-up: the Christmas Rose is part of the toxic plant family, and the seeds are especially potent. You’ll want to be extra careful when handling them and make sure kids and pets don’t decide to take a taste test.
How to Collect the Seeds
If you want to grow more of these beauties in specific spots, collecting the seeds is the way to go. Just remember to wear your gardening gloves, as the plant is highly toxic. You’ll want to harvest the pods once they look dry but before they actually pop open. Here’s the easiest way to do it:
- Carefully snip off the dried pods.
- Drop them into a plastic bag.
- Seal the bag and give the pods a gentle tap to help them crack open.
- Give it a good shake to release all the seeds.
- Sift through the mix to separate the seeds from the husks.
You can sow these seeds immediately into loose, loamy soil with a bit of lime. Just keep in mind that they are “double-dormant,” meaning they need a period of warmth followed by a cold snap before they’ll actually sprout.
Sowing Your Seeds
You can plant your collected seeds right away in a garden bed or a container. Those warm summer temperatures actually help break the seed’s natural dormancy. Once the cooler fall weather hits, the seeds will finally start to germinate.
When your new little plantlets have grown two pairs of leaves, you can “prick them out” and move them into small individual pots. Once they look nice and sturdy, they’re ready for their forever home in your flower bed or a large planter. Don’t be discouraged if they take a little while to bloom—it’s a marathon, not a sprint! When those first flowers finally appear (usually after a year or so), don’t be surprised if they’re a slightly different color than the mother plant. That’s just part of the fun of gardening!