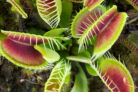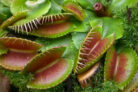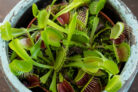
Your Venus Flytrap won’t start blooming the second you pot it, but once it does, it’s a seed-making machine! If you’re looking to grow your collection from scratch, wait until your plant is about three or four years old. At that point, let at least two flowers stay on the stalk so they can develop those precious seed pods.
Hand-Pollinating for Success
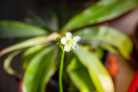
Before you get any seeds, those flowers need to be pollinated. In the wild, the plant grows its white flowers on stalks up to 20 inches high—this keeps the pollinators (like bees) far away from the “death traps” below! Since most of us don’t have a ton of flying insects buzzing around our living rooms, you’ll probably need to play Mother Nature yourself.
Grab a small, fine paintbrush and gently swirl it around the center of one flower, then move on to the next. By moving the pollen from flower to flower, you’re ensuring those seeds actually start to grow.
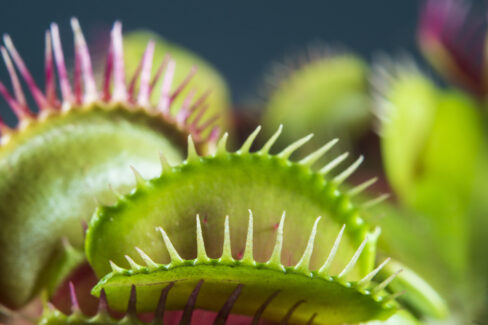
Once the flower starts to wither and dry up, a seed pod will form. Inside, you’ll find a bunch of tiny, shiny black seeds. You’ll know they’re ready to harvest as soon as the pod is completely dry.
3 Easy Ways to Harvest Your Seeds
- Place a plate under the pods
- Tie a small plastic bag around the pods
- Cut the pods off entirely
If you want to avoid a “surprise” forest of tiny flytraps in your main pot, just hold a small plate or bowl under the pods. Give the stalk a little shake, and the seeds should fall right out.
Another pro tip is to tie a tiny plastic bag around the seed pod. This way, you can give the stalk a good shake without worrying about seeds bouncing onto the floor. The bag catches everything perfectly.
Alternatively, you can just snip the entire flower stalk off once the pods are dry and shake the seeds out manually. For storage, I recommend keeping them in a paper envelope in the crisper drawer of your fridge. Venus Flytraps are “cold germinators,” so they love that chilly nap until you’re ready to plant them in the spring!