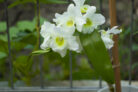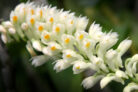
Ever wish you could just clone your favorite exotic orchids? Well, good news—you actually can! Propagating orchids is a fantastic way to grow your collection, giving you brand-new baby plants that are genetic twins of the mother plant. One of the easiest ways to do this is through a method called “division.” Let’s dive into how it works.
Which Orchids Can You Divide?
Before you grab your garden shears, you need to know that not all orchids are candidates for division. It all comes down to how they grow. Orchids are generally split into two categories: monopodial and sympodial.
Monopodial orchids grow upward from a single stem. This group includes the super-popular Phalaenopsis (Moth Orchids) and Vanda species. Since they only have one main “trunk,” you can’t divide them; instead, you have to wait for them to grow offsets or “keikis.”
Sympodial orchids, on the other hand, are perfect for division. These plants grow horizontally along a rhizome, producing multiple bulbs or shoots as they go. If you have any of these common sympodial types, you’re in luck:
- Brassia (Spider Orchids)
- Cymbidium
- Oncidium (Dancing Lady Orchids)
How to Divide Your Orchid Like a Pro
The best time to divide your orchid is in the spring, which usually lines up perfectly with your repotting schedule.
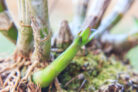
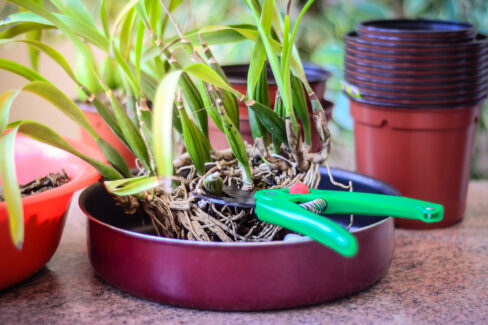
First, gently lift the orchid out of its old pot and clear away any leftover bark or moss from the roots. Here’s a pro tip: soak the roots in water or give them a good misting. This makes it much easier to tell the difference between healthy, firm roots and the dead, shriveled ones. Go ahead and snip off those old, dried-out roots while you’re at it.
Next, carefully untangle the root ball. Try to be as gentle as possible to avoid snapping the healthy roots. Look for a natural spot to make your cut. You want to make sure each new section has at least two (ideally three) healthy bulbs to ensure the plant has enough energy to keep growing. Use a sterilized pair of scissors or a sharp knife to make the clean break.
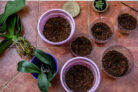
Once you’ve separated the plant, just tuck each new section into its own pot with fresh orchid mix, and voila—you’ve got yourself some new plants!
Aftercare: Giving Your New Plants Some TLC
After the “surgery,” your orchids will need a little time to bounce back. Hold off on heavy watering or soaking for the first few days. Instead, just give the leaves and aerial roots a light misting with water to keep them hydrated without overwhelming the fresh cuts. After about a week, you can go back to your regular watering routine.