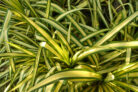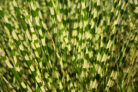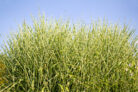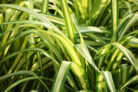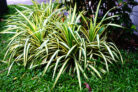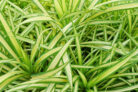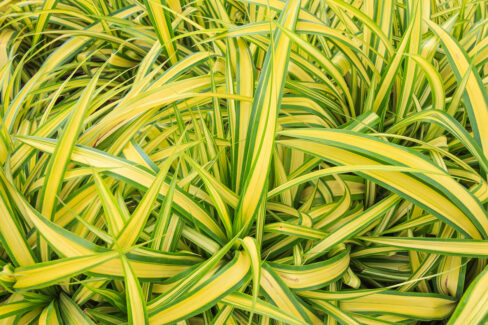
In its full glory, Zebra Grass can tower over six feet tall, bringing a gorgeous exotic vibe to your backyard with its signature striped pattern. But sometimes, even this hardy favorite can start looking a little crispy. If your grass is drying out, don’t panic! Here’s a look at what might be going wrong and how you can fix it.
Common Culprits for Dry Zebra Grass
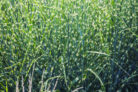
Even though Zebra Grass is pretty tough and isn’t too picky about its location, a few common gardening mishaps can really stress it out. Usually, it’s not the sun’s fault—this ornamental grass is native to Asia and absolutely loves soaking up those rays. If your grass is turning brown, the cause is likely one of these:
The Usual Suspects:
- Poor soil quality or a lack of nutrients
- Waterlogged soil (root rot) or extreme drought
- Using the wrong fertilizer
When choosing a spot for your Zebra Grass, make sure the soil is nice and loose. This tall Zebra Grass thrives best in soil that is slightly acidic to slightly alkaline. If your garden soil isn’t quite right, you can always amend it. The biggest thing to watch out for is standing water. Zebra Grass hates “wet feet”—if the roots sit in water for too long, they’ll rot, which ironically causes the blades above ground to dry out and die.
How to Save Your Zebra Grass
You’ve got a great shot at saving the plant as long as the majority of the roots are still healthy. Think of the roots as the plant’s life support system; if they’re okay, the rest can bounce back. If you’ve caught the problem early and the grass is only slightly dry, simply fixing the environmental issue (like adjusting your watering schedule) should do the trick. However, if your Zebra Grass is looking really rough, you’ll need to take more drastic action.
In that case, it’s time for a little “plant surgery.” Dig the plant up and carefully trim away any dead or mushy sections of the roots. Next, place the root ball in a container of water (make sure it has a drainage hole) to rehydrate. While it’s soaking, head back to the planting spot to loosen the soil and mix in some fresh compost or humus. Once the soil is prepped, go ahead and replant your hydrated root ball. With a little TLC, it should be back to its beautiful self in no time!