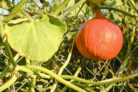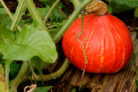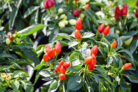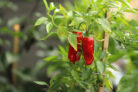
The massive gourd family includes everything from crunchy cucumbers to summer zucchini and, of course, classic pumpkins. When these plants are happy, they grow like crazy, taking over the garden with lush, green vines. Out of all the varieties out there, the Hokkaido (or Red Kuri) squash is a fan favorite. It’s delicious, super easy to cook with, and even easier to grow yourself! If you want to try your hand at starting your own seedlings, here’s everything you need to know to get growing.
The Perfect Spot
These plants originally hail from Central America and Asia, where the weather is consistently warm and humid. To mimic those tropical vibes in your own backyard, you’ll need to pick the sunniest spot available.
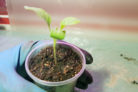
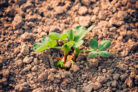
Even before they hit the garden, your starter pots need a warm, bright home. Once they’re ready to move outside, choose a garden bed that gets plenty of sun. A happy, sun-soaked plant is the secret to a massive harvest.
Choosing Your Pots
- Plastic pots are the most common choice. They’re cheap, but not exactly eco-friendly. Plus, because they don’t “breathe,” it’s easy to accidentally overwater and end up with soggy roots.
- Terra cotta pots look great and are porous, allowing air and water to move through the walls. This helps prevent root rot and keeps your plants breathing easy.
- Peat pots are made of compressed organic material, which is handy because you can plant them directly into the ground. However, keep in mind that peat is a limited natural resource, and harvesting it can be tough on the environment.
When to Plant
Hokkaido squash are total “sun-worshippers” and absolutely hate the frost. If you’re sowing seeds directly outdoors , wait until mid-May once the threat of frost has passed. If you want a head start, you can begin seeds indoors on a sunny windowsill or in a greenhouse starting in mid-April.
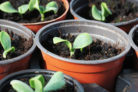
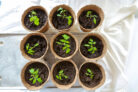
How to Sow Your Seeds
Once you’ve got your 4-to-6-inch pots ready, it’s time to talk soil. Store-bought seed-starting mix is a great choice since it usually has a little built-in fertilizer. If you’d rather use your own compost, just mix two parts soil with one part sand for good drainage.
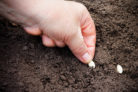
- Fill your pot to the brim with soil.
- Press the soil down slightly and make a small hole in the center.
- Drop one or two seeds into the hole.
- Cover the seeds with about an inch of soil.
- Give them a gentle pat, a good drink of water, and place them somewhere warm and bright. Easy as that!
- Keep the soil consistently moist (but not soaking wet) while they grow.
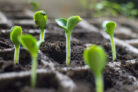
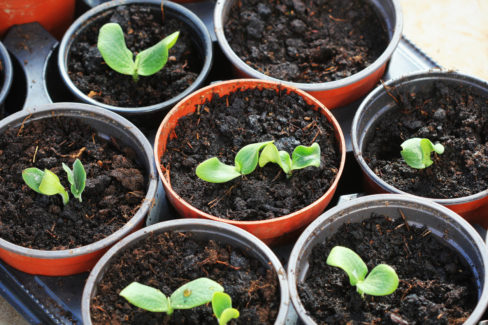
Pro Tip: Once your seedlings pop their heads out of the dirt, you can start taking them outside on warm days for some fresh air. This “hardens them off” and makes them tougher. Just be sure to keep them out of direct, scorching sunlight at first—those baby leaves are pretty delicate!