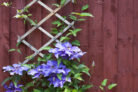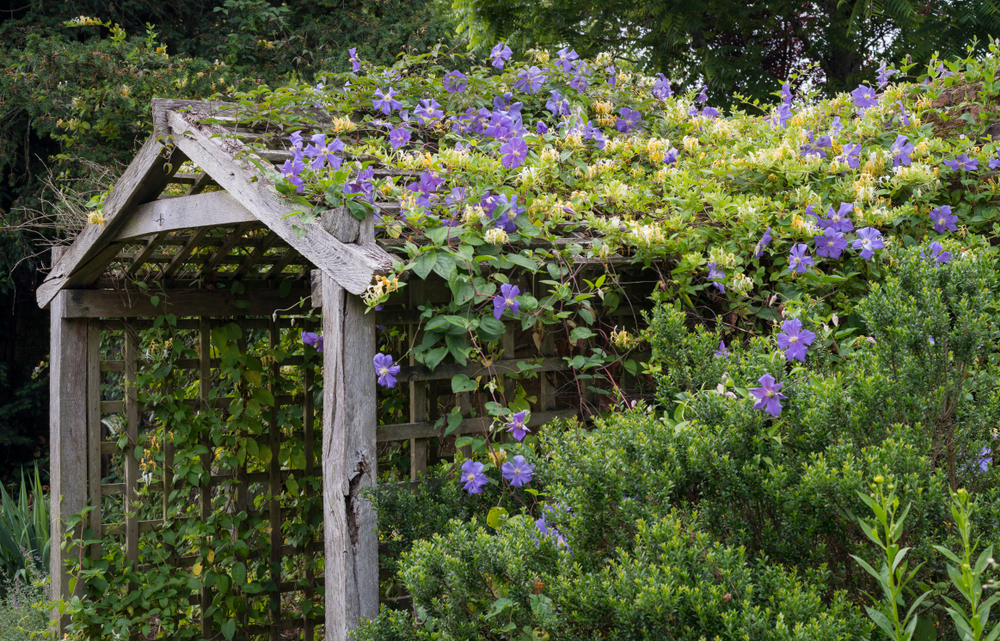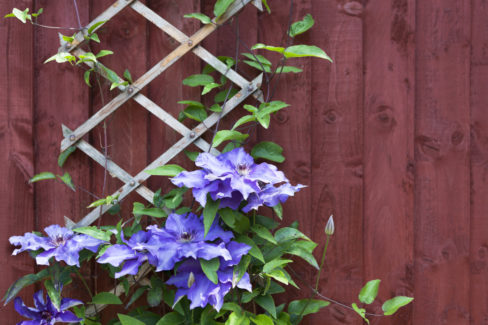
Known as the “Queen of Climbers,” the Clematis is a total superstar in American gardens. It’s not hard to see why—these beauties grow like crazy, making them perfect for covering fences or trellises, and that annual explosion of blooms is just breathtaking. If you’ve already got one in your yard, it’s only natural to want more!
There are three main ways to propagate your Clematis:
- Layering (the easiest way!)
- Growing from cuttings
- Starting from seed
Propagation via Layering
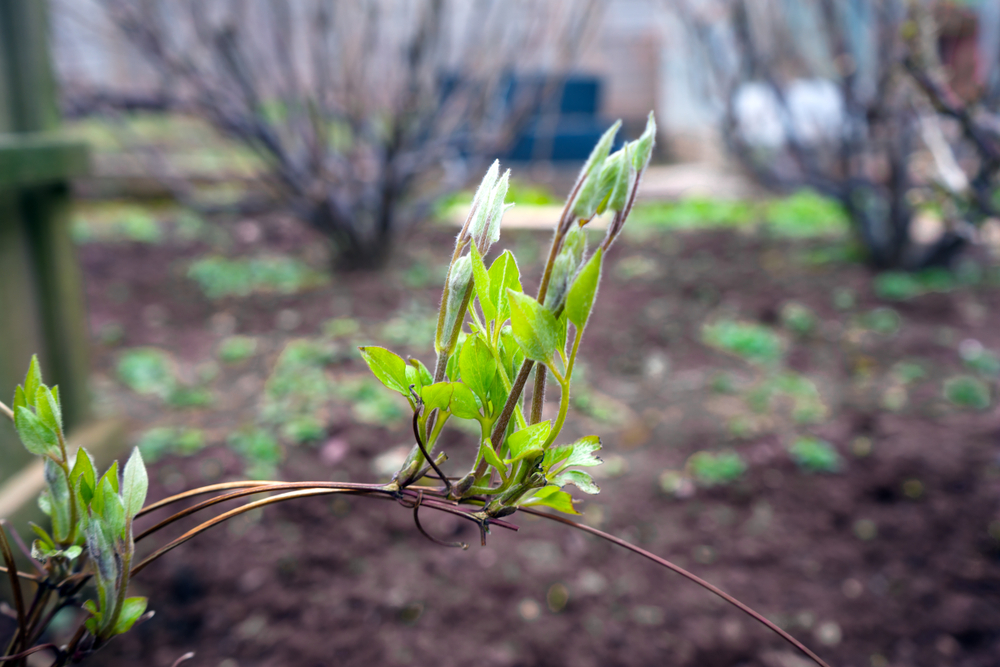
If you’re looking for the simplest route, vegetative propagation via layering is the way to go. You’ll want to pick a stem that’s healthy and strong but hasn’t gotten too woody or old yet. Once this “baby” plant develops its own root system, you can snip it away from the mother plant.
Setting Up Your Clematis Layers
Follow these steps to get your new Clematis started:
- Find a vigorous shoot near the base of your main plant.
- Fill a nursery pot to the brim with high-quality potting soil or seed-starting mix.
- Sink the pot into the ground near the mother plant so the rim is level with the soil surface.
- Gently bend the Clematis shoot down, bury a section of it shallowly in the pot, and secure it with a landscape staple or a tent stake.
- Make sure the leaves aren’t touching the soil to avoid any rot issues.
- Stick a small bamboo stake next to the new plant so it has something to climb immediately.
- Give it a good, deep watering.
Separating the New Plant
Patience is key here! Your new plant needs until at least next spring to build a root system strong enough to survive on its own. Before you make the cut, you can double-check the progress by gently lifting the root ball out of the pot to see if it’s nice and “rooty.”
Once you’ve snipped the connection using clean garden shears, you can keep growing your new Clematis in a container or transplant it directly into your garden bed. Just make sure to keep it well-hydrated for the first few weeks while it settles into its new home.
Propagation via Cuttings
The best time to try this method is right after the flowering season when the plant is still full of energy:
- Cut a section about 6 inches long from a shoot in the middle of the plant.
- Ideally, the bottom of the cutting should have at least one pair of “eyes” (nodes), which is where the new roots will sprout.
- Strip off the lower leaves so they don’t end up buried in the soil.
- Plant the cutting so that about two-thirds of it is underground.
- Moisten the soil well and cover it with a clear plastic dome or bag to create that humid, greenhouse-like environment cuttings love.
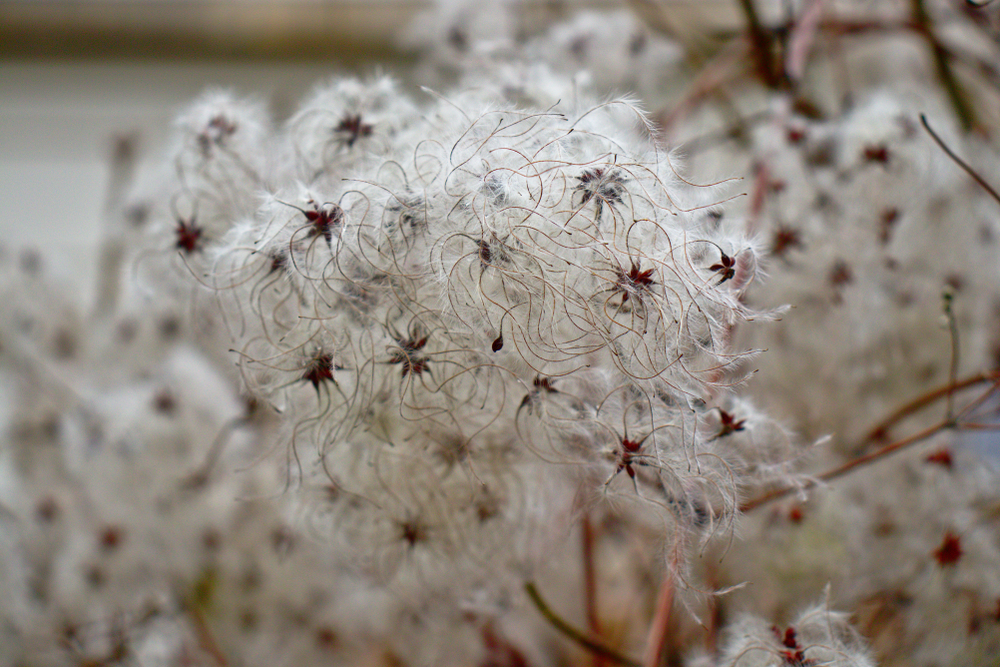
Growing from Clematis Seeds
Fair warning: growing Clematis from seed is definitely the “slow and steady” route. It can take over a year and requires a bit more elbow grease. Start by sowing your seeds in a tray of seed-starting mix and covering them with a thin layer of soil. You’ll need to keep the soil consistently moist.
Using a humidity dome is a great idea here too to keep things warm and damp. Just be sure to vent the cover regularly to let in some fresh air and prevent any mold from crashing the party.