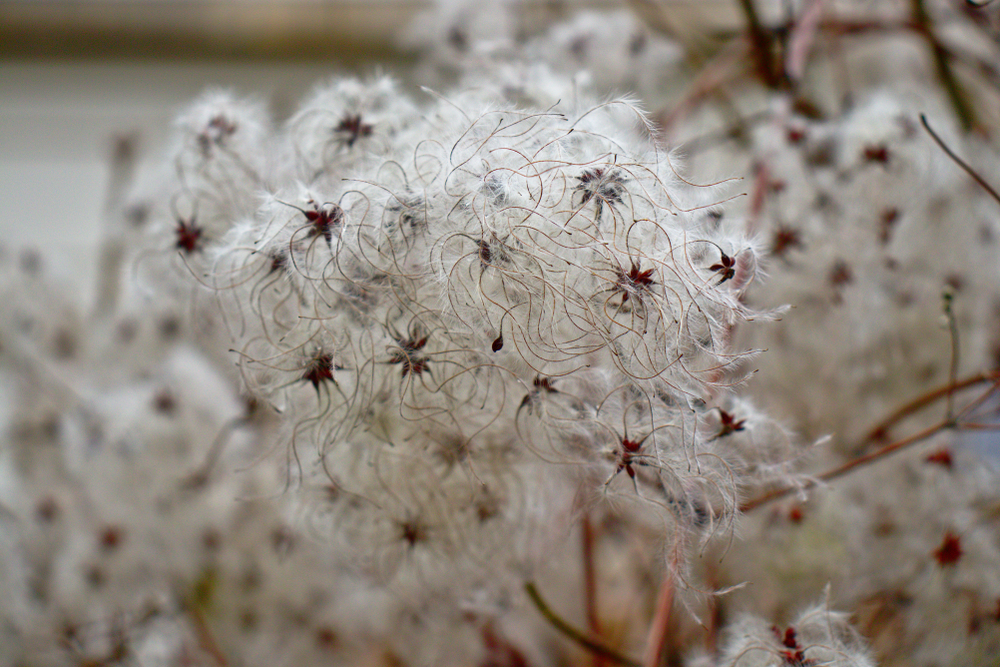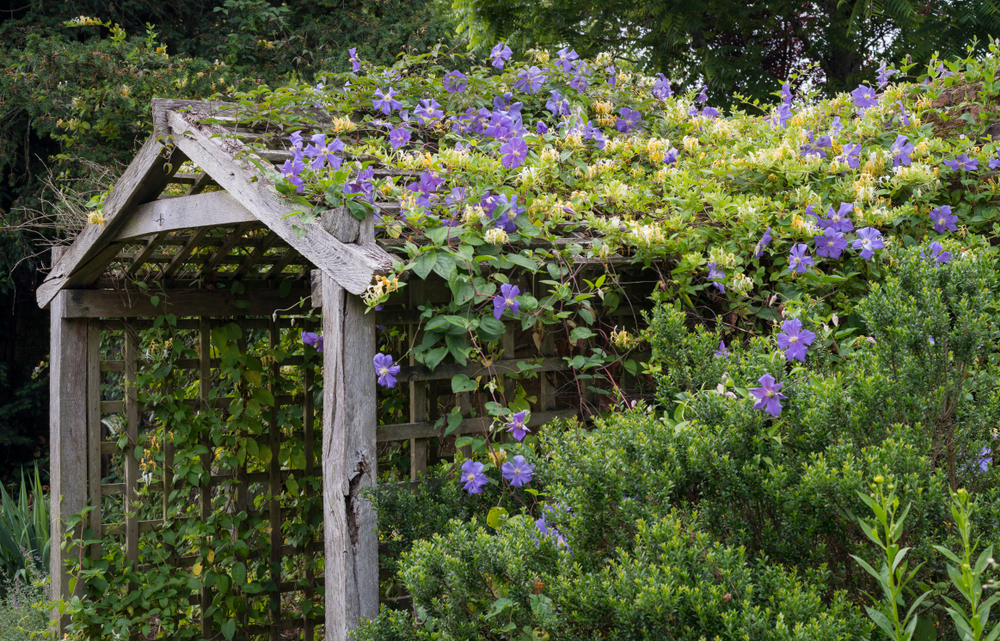
When it comes to planting Clematis, most of us head straight to the garden center for container-grown plants. If we’re feeling adventurous with propagation, we usually stick to cuttings or layering. You’ll rarely see a gardener starting these beauties from seed, and there’s a very good reason for that: Clematis seeds can take up to three years to germinate! So, if you’re planning on sowing your own, the most important tool in your shed is going to be a massive dose of patience.
Gathering Your Supplies
Before you get started, you’ll need to gather a few essentials along with your certified seeds. Grab some nursery pots, sterilized seed-starting mix, disinfectant, and soft water (low in lime). You’ll want to use that disinfectant on all your tools and pots. Because these seeds take so long to sprout, they are sitting ducks for mold and rot—keeping everything sterile is your best line of defense.
Getting the Prep Right
Sterilized potting soil can get a bit pricey, but here’s a pro tip: you can easily “cook” your own at home. Just put your soil in an oven-safe dish at 300°F (150°C) for about 30 minutes, or pop it in the microwave for ten minutes at 800 watts.
There’s one more quirk you should know: Clematis are “cold germinators.” Unlike your typical veggies or marigolds, these seeds need a bit of a wake-up call. To trigger growth, they have to experience a cycle of temperatures right around the freezing mark.
Sowing Your Clematis Seeds
Start by sowing your seeds in that sterile soil and covering them with just a very thin layer of substrate. You’ll want to keep the pots consistently moist. I recommend using a clear humidity dome or a plastic cover to create a cozy little microclimate. During the winter months, make sure those pots stay outside in the cold—that chill is exactly what the seeds need to eventually sprout.
Here’s your quick checklist for success:
- Gather your seeds, pots, covers, and sterilized soil.
- Sow the seeds, cover lightly, and keep the soil damp.
- Let the pots stay outdoors during the winter.
- Stay patient—good things come to those who wait!