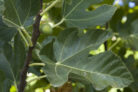
Looking to expand your fig collection? You’re in luck! Figs are actually pretty easy to propagate, and you can do it either by seed or by taking cuttings. If you want the best results, though, I usually recommend going the cutting route.
Here’s the breakdown on how to get more of these Mediterranean beauties in your garden.
Seeds
Growing figs from seeds is what we call “generative” propagation. Since the seeds carry genetic material from two different parent flowers, it’s a bit of a gamble—you never quite know which parent the new plant will take after. It’s like a botanical surprise package!
If you’re planning on planting figs in cooler climates, here’s a pro tip: make sure you use seeds from self-fruiting varieties. Non-self-fruiting types rely on a specific pollinator (the fig wasp) that generally can’t survive cold winters. Without that little helper, your tree won’t produce fruit.
To get started, remember that fig seeds are “light germinators,” meaning they need light to wake up. Don’t bury them under a thick layer of soil! Use an indoor seed-starting kit filled with high-quality seed-starting mix. Spread the seeds generously on the surface and give them a gentle misting. Keep them warm—around 77°F (25°C) is the sweet spot. You should see sprouts in about one to four weeks. Once they’ve grown their first set of “true” leaves (the ones after the initial seed leaves), you’re ready to transplant your young figs into their own pots.
Cuttings
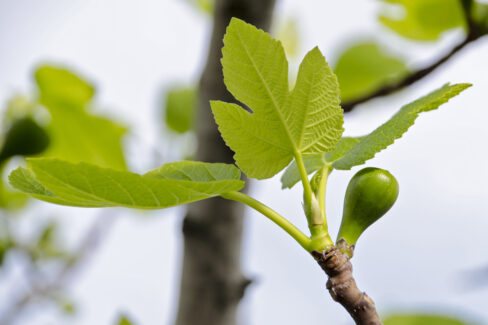
If you’re impatient like me, you’ll probably prefer propagating from cuttings. Growing from seed takes years before you see a single fruit, but cuttings get you there much faster.
In the spring, cut a few 6- to 8-inch stems (hardwood cuttings). Make sure each one has at least three “nodes” or buds. Strip off the lower leaves and pop them into a jar of water to root. This can take several weeks, so be patient and make sure to change the water regularly to keep it fresh. Once you see a healthy root system developing, you can move them into soil.
Alternatively, you can stick the cuttings directly into pots with potting soil. This way takes up a bit more space and requires a closer eye, as you have to make sure the soil stays consistently moist so the cuttings don’t dry out. You’ll know you’ve been successful when you see new green leaves popping out! Wait until at least the fall before you think about moving these youngsters to their permanent home.