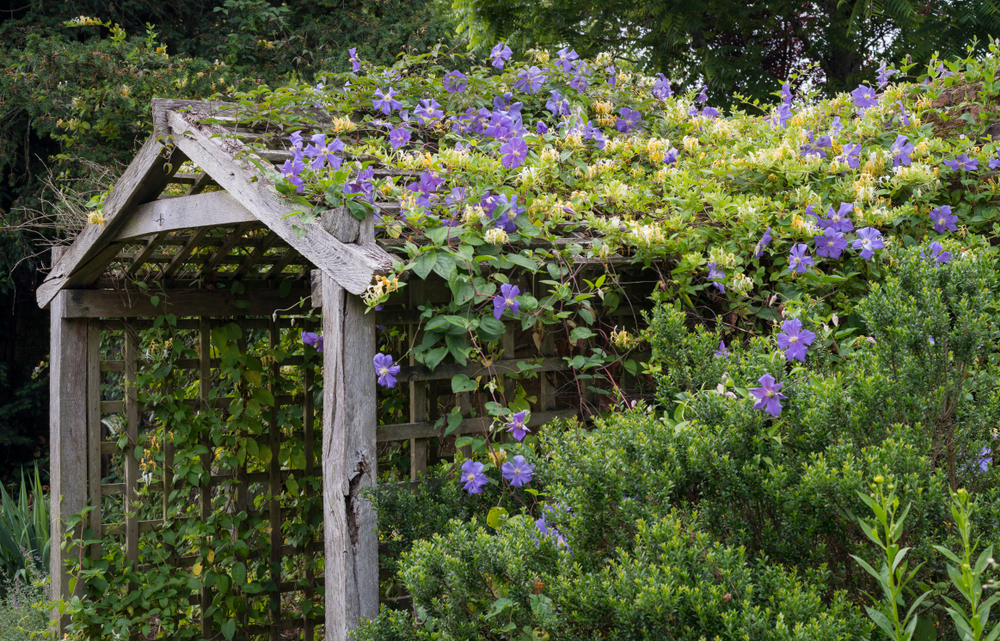
Most of us usually grab our Clematis as container plants from the local garden center or supermarket. There’s a good reason for that: trying to grow Clematis from seed can be a real test of patience, sometimes taking up to three years just to germinate! However, once you have a healthy plant established in your garden or a patio pot, you can easily expand your collection by taking cuttings.
The Best Time to Take Cuttings
For the best success rate, you’ll want to take your cuttings right when your Clematis is in full bloom. Since different varieties have different schedules, keep an eye on your specific plant. Depending on the type, this could be as early as April or as late as the fall.
How to Snip Your Cuttings
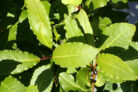
Clematis can be a bit sensitive to various diseases, so it’s super important to use sterilized pruners or a clean knife. Look for a healthy stem and make your cut between two leaf nodes. Aim for a piece about 6 to 8 inches long. Once you’ve got your cutting, strip off all the leaves except for the pair at the very top. To give it a little boost, dip the bottom end into a rooting hormone (like Garden Safe or Bontone).
Planting and Care
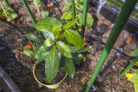
Grab some small pots—about 6 inches wide—and fill them with a low-nutrient seed-starting mix. Poke the cuttings into the soil so they are about three-quarters deep, then give them a good drink of water. To keep the humidity up, cover the pot with a clear plastic dome or bag, just make sure it’s not actually touching the plant itself.
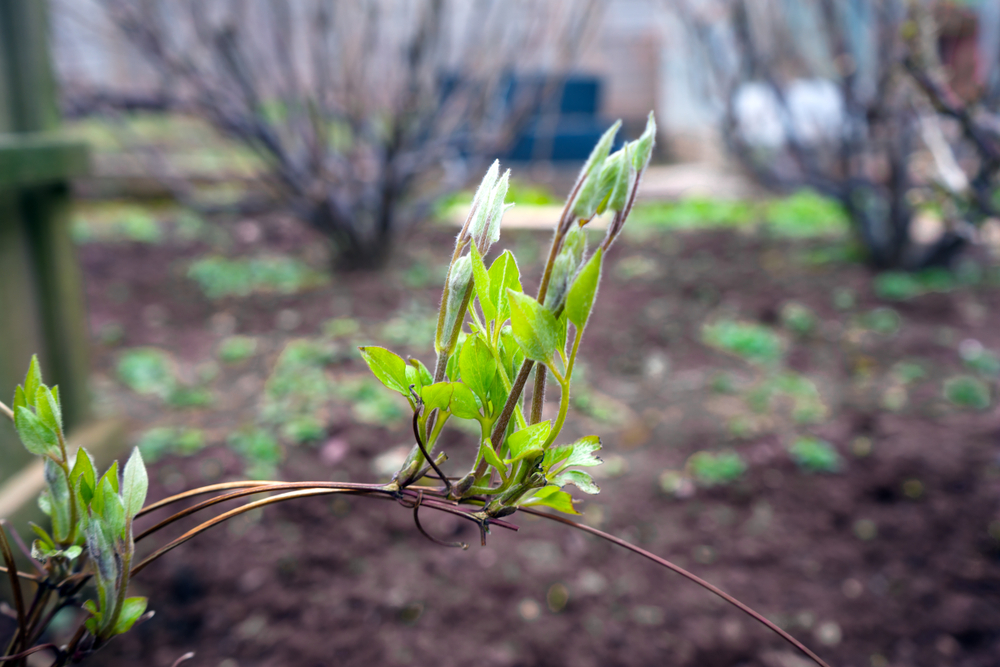
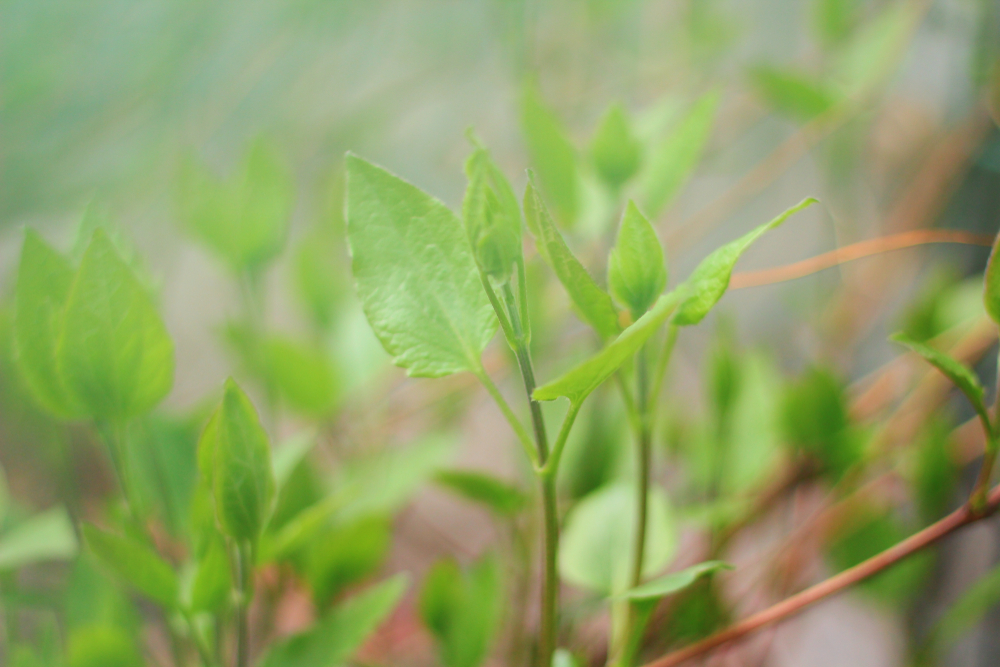
Find a warm spot in partial shade for your new babies. Over the next six to eight weeks, keep the soil consistently moist but not soggy. You’ll also want to “air out” the pots for about 30 minutes every day to prevent mold. As soon as you see fresh new growth popping up, you’ll know they’ve rooted! At that point, you’re ready to move them into a larger pot or find them a permanent home in your garden.