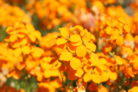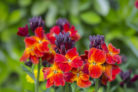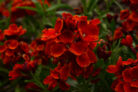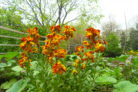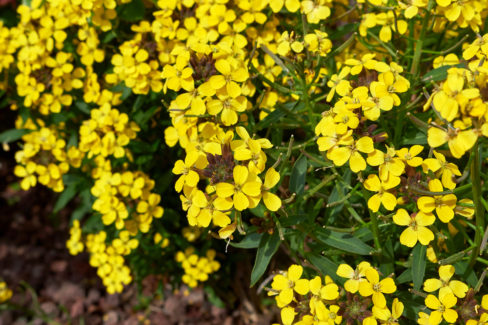
Wallflowers aren’t just a garden staple; you’ll actually spot them growing wild, too! While they originally hail from the sunny Mediterranean regions of Southeast Europe, they’ve become classic “garden escapees” here. The fact that they’ve made themselves so at home in cooler climates just goes to show how incredibly easy they are to grow from seed.
Buying vs. Collecting Seeds
If you don’t have any wallflowers in your garden yet, your first step is easy: grab a packet of seeds from your favorite garden center. However, if you already have some that have finished their first blooming season, you can harvest your own! The trick is to resist the urge to deadhead the faded flowers so the seeds can ripen. Just keep a close eye on them—you want to pick the pods before they burst open and scatter their seeds everywhere.
Sowing Directly in the Garden
Whether you bought your seeds or saved them yourself, early summer is the perfect time to get them in the ground. One thing to keep in mind: wallflowers are “dark germinators,” meaning they need total darkness to sprout. You can’t just scatter them on top of the soil; you’ll need to tuck them in or cover them with a light layer of dirt. Also, make sure you pick a spot for your plants that gets plenty of bright, direct sunlight.
Starting Seeds Indoors
While direct sowing usually works like a charm, you can give your wallflowers an extra head start by starting them indoors in the spring. Here’s my go-to method:
- Fill small starter pots with a high-quality seed-starting mix.
- Plant the seeds about half an inch to an inch deep.
- Lightly mist the soil with a spray bottle so it’s damp but not soggy.
- Place the pots in a warm, bright spot.
You should see those little green sprouts popping up within about two weeks!