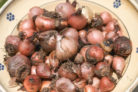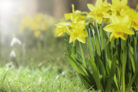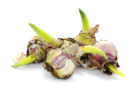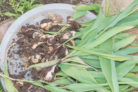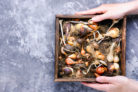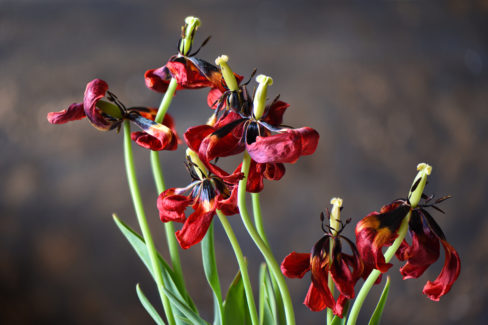
Tulips are easily some of the most beloved spring flowers out there. They start popping up in late March and keep the garden looking gorgeous well into May. But once they fade, that’s usually it until next year. If you’re like me and aren’t ready to say goodbye to those vibrant colors, you can actually preserve your favorites by drying or pressing them!
Can You Actually Dry Tulips?
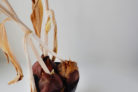
To be honest, tulips aren’t the easiest flowers to dry because their stems are so thick and fleshy. If you try the classic “hang them upside down” method, the petals usually dry out but fall off almost immediately. You can try giving them a few coats of hairspray to help the flower heads hold their shape, but in my experience, pressing individual parts of the tulip works much better.
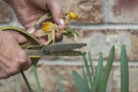
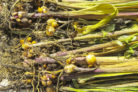
For the best results, carefully remove the flower head from the stem and separate it into individual petals and stamens. The ovary (the center part) and the thick stem don’t press very well because they hold too much moisture. However, the leaves are great for pressing—just pluck them off the stem before you get started.
What You’ll Need to Get Started
You can always buy a professional flower press online, which comes with everything you need. But if you’re a DIY fan like me, you can easily make one at home! Here’s your shopping list:
- Several pieces of cardboard cut to your preferred size.
- Plenty of absorbent paper towels.
- Parchment paper (wax paper works too).
- Heavy weights—think thick textbooks, bricks, or large stones.
- Scissors and tweezers (trust me, tweezers make handling delicate petals so much easier).
The Step-by-Step Guide to Pressing Tulips
First, lay your flower parts out on an absorbent surface and let them air-dry for about a day to get rid of surface moisture. Once they’ve wilted slightly, arrange them on a sheet of parchment paper, making sure they aren’t touching. Cover them with another sheet of parchment paper, and then sandwich that between layers of paper towels. Use your cardboard pieces to separate each “layer” of your press.
Stack all your layers up and pile on those heavy books or stones. Over the next few weeks, that pressure will squeeze the moisture out of the petals, and the paper towels will soak it all up. Pro tip: Make sure to change the parchment paper at least once a week. If the paper towels feel damp, swap those out too—this is the best way to prevent mold from ruining your hard work. Once the petals feel “crispy” and completely dry to the touch, you can carefully peel them off and use them for your next craft project!