You don’t need a massive backyard to enjoy home-grown harvests! Fruit, veggies, and herbs actually do great in pots, making them perfect for patios and balconies. With a little TLC, fruit trees can thrive in containers and reward you with plenty of delicious snacks.
It’s All About the Rootstock
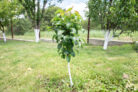
If you’re looking for success, start with a young two- or three-year-old tree grafted onto a “dwarfing” rootstock (like M9 for apples). This keeps the tree’s size manageable for pot life. Pro tip: even if you pick a self-fertile variety, having a second tree nearby usually helps boost your harvest.
Finding the Perfect Spot
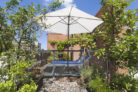
Small trees can absolutely flourish in large pots as long as the location is right. You’ll want a sunny, sheltered spot—a cozy courtyard is usually ideal. Just make sure your container isn’t sitting in a “frost pocket” or a windy tunnel, which can stress the plant.
Boosting Your Harvest
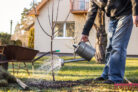
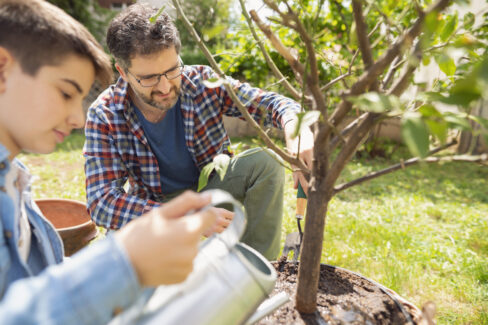
To keep your potted tree happy, consistency is key. Water regularly and give it a boost in the spring with some slow-release fertilizer. Don’t skip out on winter pruning; it’s essential for maintaining a nice shape and keeping the branches from getting too crowded. You should also thin out the young apples so the remaining fruit has room to grow big and juicy. If you’re looking for specific varieties that love pot life, try Discovery, Red Falstaff, Pixie, or Ellison’s Orange.
How to Plant Your Potted Fruit Tree
Container trees are a gorgeous and functional addition to any patio. Placing them against a wall often provides the warmth and protection they crave. Just remember: watering is your most important job!
- Give the root ball a good soak in a bucket of water until it’s completely saturated.
- Choose a sturdy pot at least 20 inches (50cm) in diameter with drainage holes at the bottom.
- Create a drainage layer using broken terracotta shards, pebbles, or even pieces of Styrofoam to prevent “wet feet” (root rot).
- Fill the pot with a thick layer of high-quality potting soil—loam-based mixes work great here.
- Mix in some slow-release fertilizer according to the package directions.
- Keep that root ball soaking until the air bubbles stop rising, then lift it out to let it drip-dry for a moment.
- Gently loosen the roots and place the tree in the pot, making sure the trunk is nice and straight.
- Ensure the tree sits at the same depth it was in its original nursery pot. Fill in the gaps with your fertilized soil.
- Firm the soil down well with your fingers to remove any air pockets.