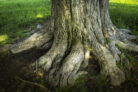
The Golden Elm is a total standout in any yard, mostly thanks to those stunning, sun-kissed yellow leaves. Another huge plus? This variety is way more resilient against diseases than many of its cousins. If you’ve already got one of these beauties in your garden, I bet you’re looking for ways to grow a few more. Here’s the lowdown on how to successfully propagate your Golden Elm.
- ## Your Best Options for Propagation
- Grafting onto a rootstock
- Using root suckers (offshoots)
- ## Is Grafting Worth the Effort?
- ## Root Suckers: Your Best Bet for Success
Grafting is basically “plant surgery” where you join a piece of one plant onto the rootstock of another. The result is a tree that grows on someone else’s roots! This can be super handy if you’re trying to achieve a specific look—like a perfectly shaped Golden Elm standard. It can also help with better blooms or extra resistance to diseases.
However, grafting takes some serious know-how. If any dirt gets into the graft site or if the plant isn’t cared for perfectly afterward, the whole thing can fail. Plus, it takes a long time. Honestly, if you’re dreaming of a grafted tree, it’s usually much easier to just pick one up at your local nursery or order one online.
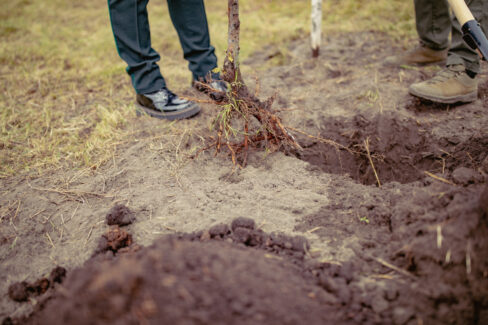
If you want the easiest route, look down! Golden Elms are famous (or maybe infamous) for sending out root suckers near the base of the trunk. While some gardeners find these a bit annoying—since they can pop up in flower beds or even nudge up patio pavers—they are actually a goldmine for propagation. Pro tip: If you prune the main tree back, you’ll actually encourage the tree to produce even more Golden Elm root suckers.
How to propagate using root suckers:
1. Dig around a healthy-looking shoot not too far from the main trunk.
2. Look for an offshoot that has already started developing its own little root system.
3. Carefully snip it off, making sure you don’t damage the main mother root.
4. Plant your new little elm directly into its new home in the garden.
5. Give it a good soak immediately and keep it well-watered for the first few weeks while it settles in.