Let’s be honest: you can never really have too many daylilies in your garden. Not only are they absolutely stunning, but they’re also some of the most low-maintenance plants out there. If you’re looking to expand your collection, growing them from seed is a fantastic way to go. Here is everything you need to know to get started.
Identifying Daylily Seeds
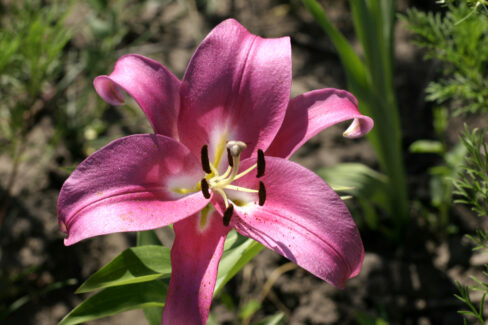
Daylily seeds have a very distinct look. They are shiny, jet-black, and usually round or shaped a bit like a teardrop. When they’re fresh off the plant, they look nice and plump with a smooth surface. They’re quite small, though, usually only measuring about 1/8 to 1/4 of an inch in diameter. Many gardeners prefer to deadhead their spent blooms before seeds can even form to prevent the plants from spreading uncontrollably on their own, but if you want to propagate them, you’ll want to leave a few pods alone!
The Ripening Process
Once your daylilies have finished their big summer show, it takes about six to eight weeks for the seeds to fully ripen. You’ll know they’re ready when the seed pods turn brown and start to crack open—that’s your green light to start harvesting. Pick them on a dry day and let them air dry completely (a spot near a heater works great, too). Pro tip: store your seeds in the fridge before planting. This cold treatment (stratification) significantly boosts your germination success rate.
How to Sow Your Seeds
To be fair, there are definitely easier ways to propagate daylilies. For instance, simply dividing the root clump with a sharp spade is much faster. But if you love the reward of growing from scratch, sowing seeds is a fun project. Here’s the step-by-step:
- Between late February and April, soak your seeds in water for one to three days to soften the outer shell.
- Plant the seeds about a quarter-inch deep in high-quality seed-starting mix and keep the soil consistently moist.
- Be patient! Germination times vary wildly—it can take anywhere from four days to a full month.
- Once they sprout, keep the seedlings in a cool, bright spot.
- As they grow, you may need to thin them out (prick them) and give them a little bit of liquid fertilizer to help them along.
- Once the threat of frost has passed in the spring, you can transplant your young daylilies into their permanent home in the garden.