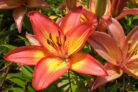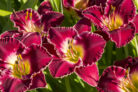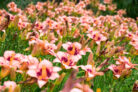
If you want to enjoy a garden full of stunning, vibrant daylilies, picking the right spot is key. While these plants are pretty hard to kill, a little bit of “insider knowledge” goes a long way in making them truly pop! Let’s dive into what you need to know.
Finding the Perfect Spot
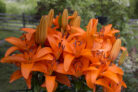
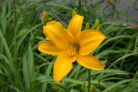
One of the best things about daylilies is how low-maintenance they are. They’ll happily grow in full sun or partial shade. However, here’s a pro tip: the more sunlight they get, the more spectacular their blooms will be! You don’t really need to worry about wind protection, either—these guys are tougher than they look. And hey, if you realize you picked a bad spot, don’t sweat it. You can easily transplant your daylilies. The best time to move them is early spring or during their dormant phase in winter.
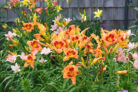
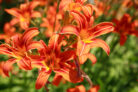
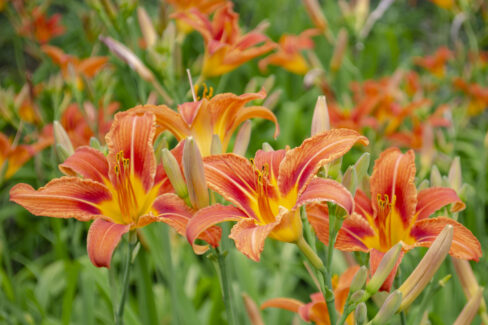
Just make sure to give them some breathing room. Depending on the variety, you’ll want to space them about 20 to 35 inches apart. Daylilies are great neighbors and play well with other plants; just ensure their companions enjoy the same sun and soil conditions. Because they’re so easy-going, you can get really creative with color combinations in your flower beds!
Soil and Substrate
Meeting a daylily’s soil requirements is even easier than finding a spot for them. For a truly show-stopping plant, aim for soil that is:
- Well-loosened
- Well-draining
- Rich in organic matter (humus)
- Balanced in nutrients
When it comes to substrate, they aren’t picky at all. Whether your soil is lime-heavy, alkaline, dry, or moist, your daylilies will likely settle in and thrive without a fuss.
Planting Your Daylilies
Once you’ve found that perfect sunny spot, it’s time to get planting. Start by digging a hole about 12 inches deep and loosening the soil on all sides. Here’s a little trick: form a small mound of earth in the center of the hole and set the root crown right on top. Spread the roots out evenly in all directions, then cover them with soil and firm it down gently with your hands. To finish things off, give them a good soak and add a layer of mulch to keep the roots happy.