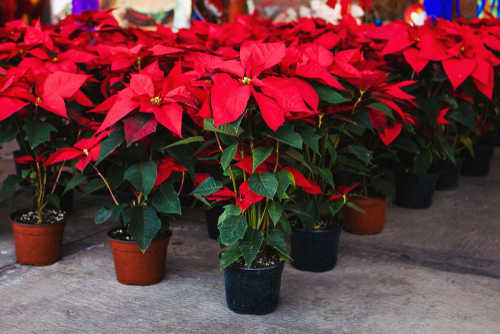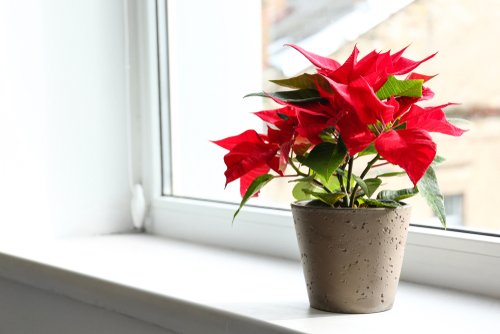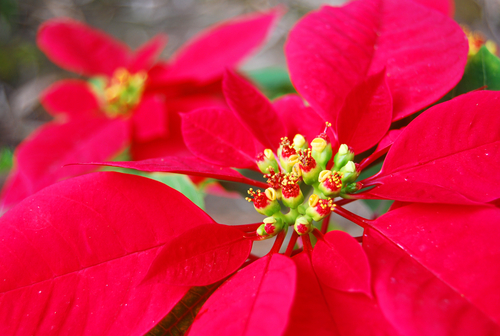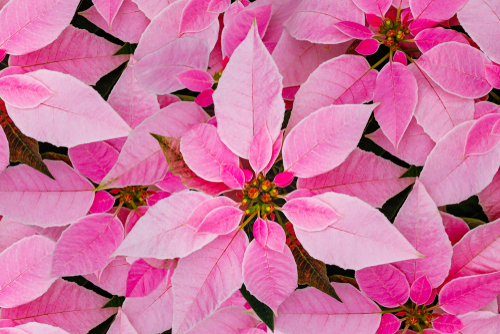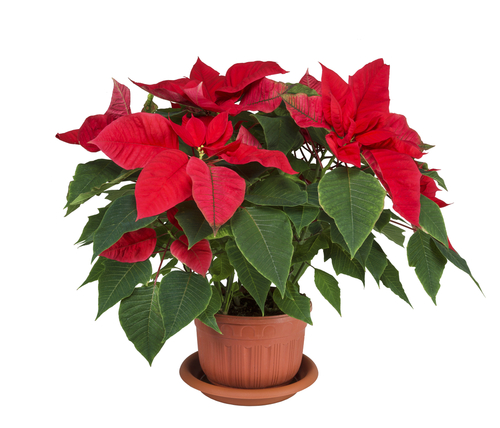
Poinsettias are such gorgeous plants, and they’re perfect for adding a much-needed pop of color to your living room during those gloomy winter months. If you’ve got a little patience and a green thumb, you can actually propagate your own and grow a whole collection of them!
How do you propagate a Poinsettia?
The best way to grow new poinsettias is by taking cuttings. I’ll be honest with you—it can be a bit tricky, and not every single one will make it, but that’s all part of the gardening adventure. You’ll want to take your cuttings from a healthy, vigorous mother plant. The perfect time to do this is in the spring, right after the blooming season ends and you’re pruning the plant back anyway.
Cutting and Growing Your Cuttings
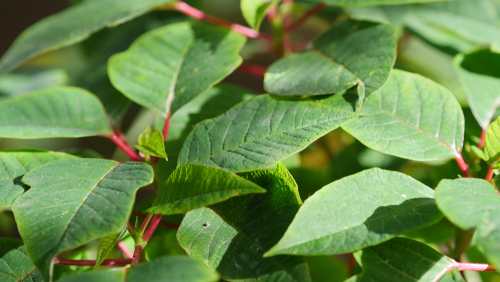
Since not every cutting is guaranteed to take root, it’s a smart move to start several at once. You’re looking for “tip cuttings”—these should be about 2 to 6 inches long, without any flowers or buds, but with at least one pair of leaves. Here’s my step-by-step guide to getting them started:
- Use a sharp, clean knife to take your cuttings. I always recommend disinfecting your blade first to keep things sterile and prevent any plant diseases.
- Poinsettias have a milky sap that leaks when cut. To stop this, dip the fresh ends into hot water for a few seconds.
- If you want to give them a head start, you can dip the ends into some rooting hormone powder.
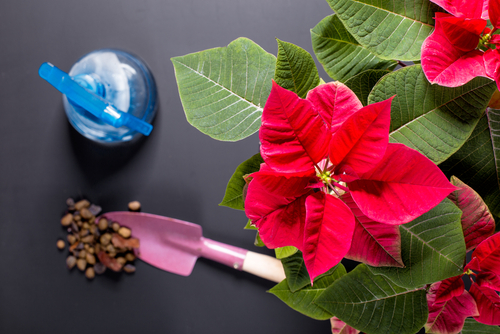
- Fill several small pots with a high-quality seed-starting mix or potting soil.
- Make sure there’s only one pair of leaves left on the stem, then tuck it about an inch deep into the soil.
- Give them a good watering to settle the soil.
- To create a mini-greenhouse effect, place a clear plastic bag over each pot. This keeps the humidity high and the air warm.
- Find a warm, bright spot for your pots, but keep them out of direct sunlight so they don’t “cook” under the plastic.
- Don’t forget to open the bag for a bit every day to let in fresh air and prevent mold from growing.
- Keep the soil consistently moist, but make sure it’s not waterlogged.
Once you see new growth popping up, you’ll know your cutting has successfully rooted! At that point, you can move your “babies” into larger pots. These young plants will be happiest in a bright location with a steady temperature around 65°F (18°C).