There are a few different ways to propagate blackberries, but let’s be real: growing them from seed takes forever and requires a ton of patience. If you want to expand your berry patch without the long wait, using cuttings is definitely the way to go. Here’s the lowdown on how to do it right.
Propagating via Cuttings
When you take cuttings and root them, you’re essentially creating a “clone” of your mother plant. This is called vegetative propagation, and it’s the gold standard for home gardeners. Why? Because it ensures your new plants will have the exact same tasty fruit and growth habits as the original.
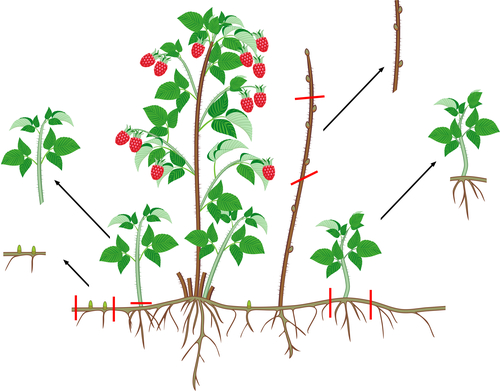
Beyond keeping the genetics consistent, you’re also saving a massive amount of time. Even if you take cuttings from relatively young blackberry bushes, those new plants will be ready to produce fruit much sooner than a seedling ever would. While you could also try seeds, root suckers, or layering, cuttings are usually the most reliable bet.
How to Take Your Cuttings
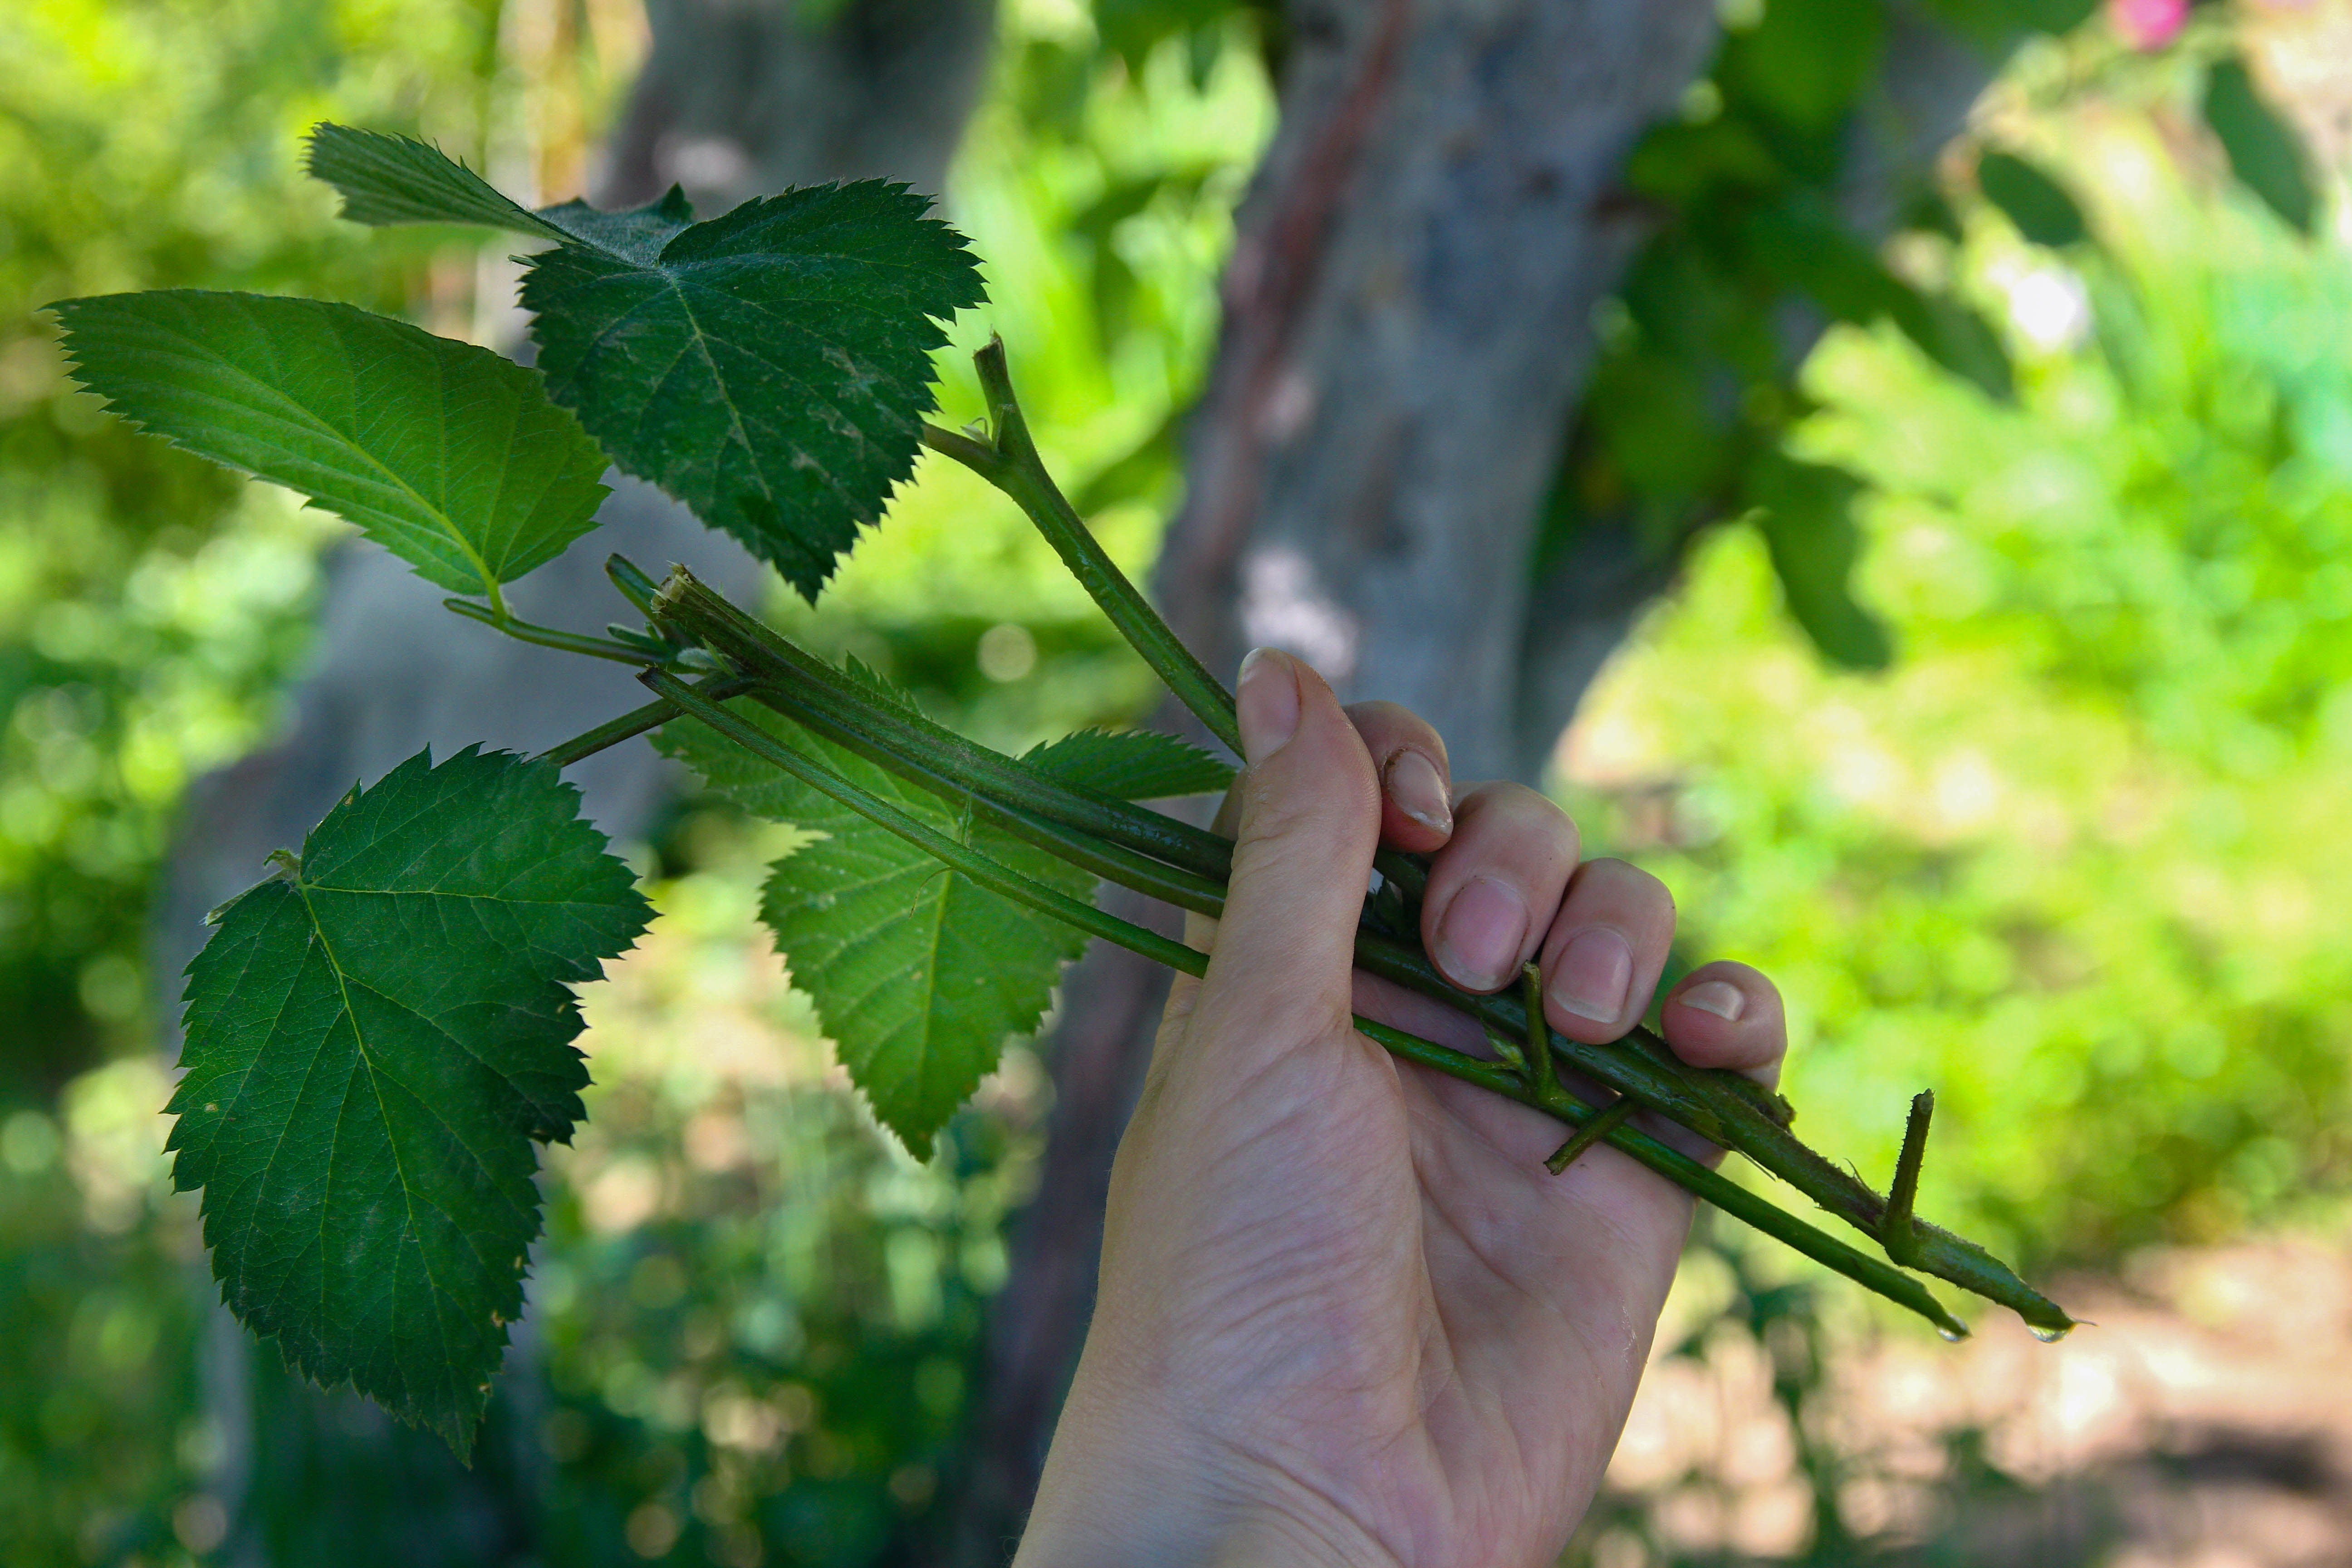
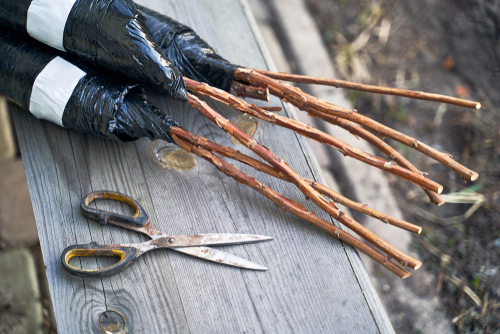
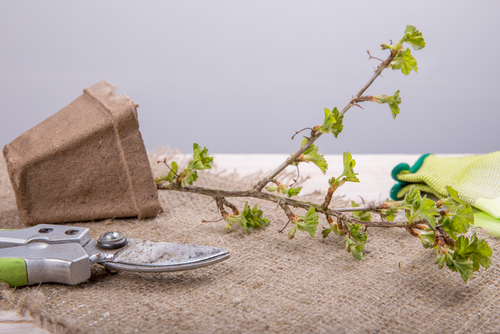
The best time to grab your cuttings is in late summer. Look for a cane that has already finished fruiting for the season. Grab a sharp, clean pair of pruning shears and get to work. The great thing about this timing is that blackberries only produce fruit on two-year-old canes anyway, which are usually pruned back after harvest. Instead of tossing those trimmings in the compost, use them to grow new plants!
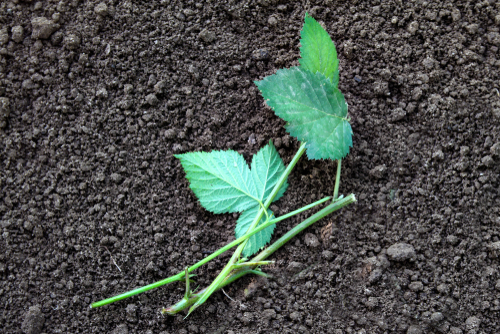
Cut a section of the cane near the base of the plant, making sure it has about three to four leaf nodes (those little bumps where leaves grow). Strip off all the leaves except for the very top pair. Then, poke the bottom end into a pot filled with loose, nutrient-rich potting soil. You want to bury it deep enough so that at least two of those leaf nodes are underground. If all goes well, those nodes are where the new roots will sprout.
Helping Your Cuttings Root Successfully
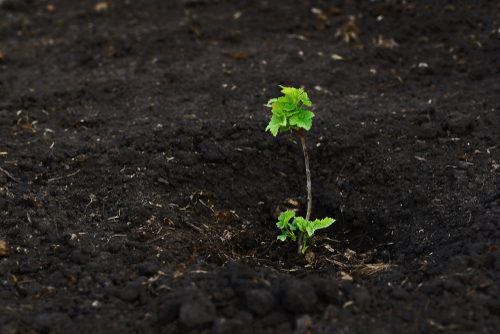
To get those roots growing, your cuttings need two main things: warmth and moisture. I recommend starting them in pots rather than directly in the ground; this way, you can move them around to find the perfect spot for light and temperature. A greenhouse or a sunny windowsill works wonders.
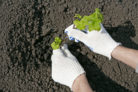
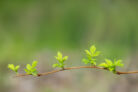
However, the real secret is keeping them hydrated. You never want the soil to dry out completely, so keep a close eye on your watering schedule. If you keep the soil consistently moist and the air warm, you should see root development within just a few weeks. Once they’ve established a solid root system, they’re ready to be moved to their permanent spot in the garden!