Juicy, sweet blackberries are a total summer treat, which is why so many of us are clearing a spot for them in our backyards. While wild blackberries seem to take over the world all on their own, propagating your garden varieties requires a little more intent. Here’s the lowdown on how to get more berry bushes for your buck.
Wild Blackberries vs. Cultivated Varieties
In theory, the way wild blackberries spread like wildfire sounds like a win—more berries in your basket, right? That’s exactly why some gardeners are tempted to transplant a wild bush into their yard. But trust me, the “buyer’s remorse” hits a few years later when that single plant has turned into an uncontrollable thicket. If you ever decide you want to get rid of them, you’re in for a serious workout.
Within just two seasons, wild blackberries can completely take over the soil at their location. Removing them is a massive chore because they spread via “tip rooting” (where the branches touch the ground and grow new roots) entirely on their own. Even a root barrier won’t do much to stop them. My advice? Stick to cultivated garden varieties for your backyard.
How to Propagate Garden Blackberries
Cultivated blackberries (the kind you buy at a nursery) are much better behaved. They don’t spread aggressively and usually only send out a few underground runners. If you want to move those runners, just snip them off with a spade and replant them elsewhere. Generally, you have four main ways to multiply your berry patch:
- Tip layering (Absenker)
- Seeds
- Air layering
- Cuttings
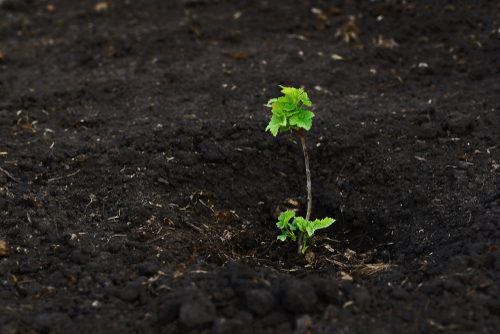
Propagating via Tip Layering
This is probably the easiest method because the plant does most of the work. Since blackberries grow long, flexible canes, you can use them to your advantage. In late April, find a healthy-looking cane and arch it down until the tip touches the ground. Bury the tip under a little soil and weigh it down with a rock. By fall, it should have developed its own root system. At that point, you can snip it away from the “mother” plant and you’ve got a brand-new bush!
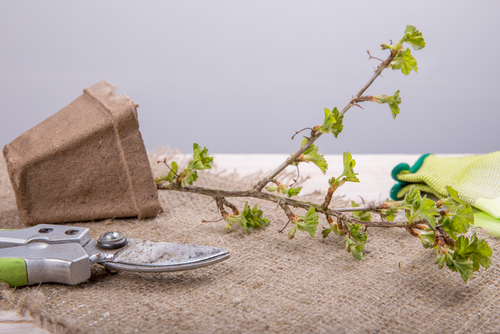
Propagating via Cuttings
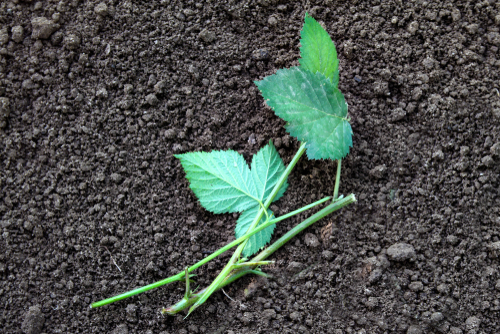
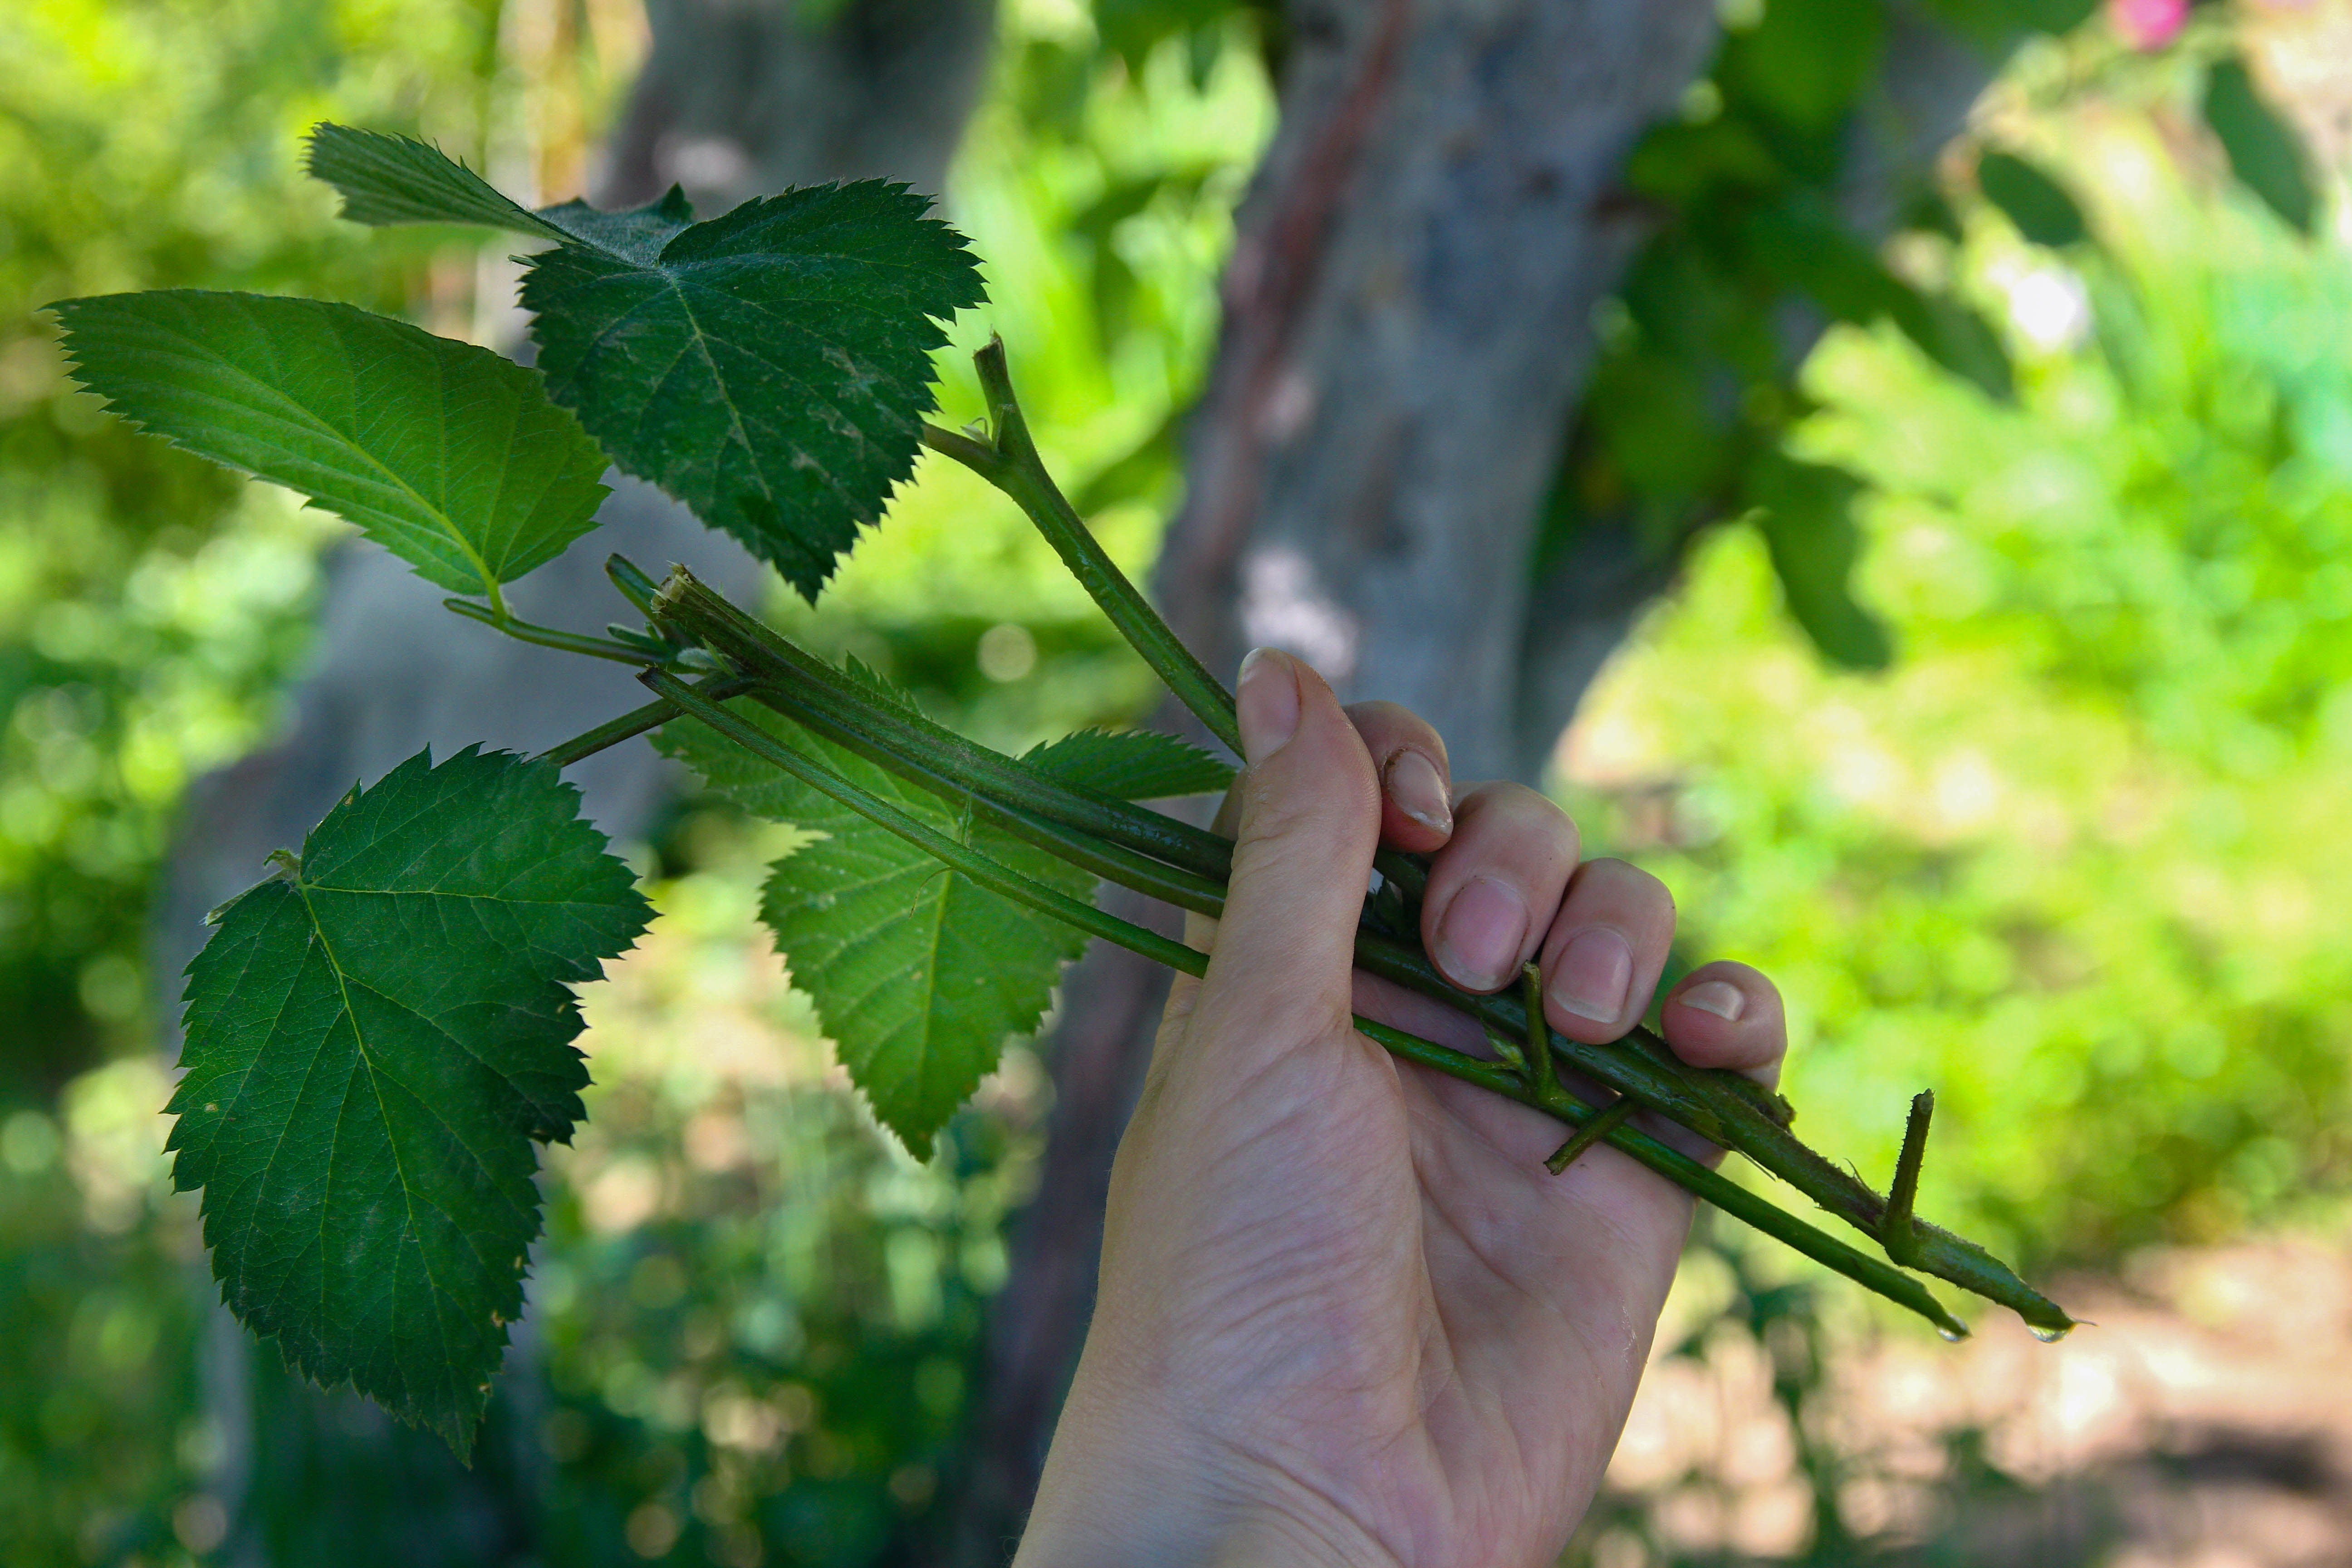
This method is also super straightforward. In the fall, cut a one-year-old cane near the base of the plant. Divide that cane into smaller sections, making sure each piece has three pairs of leaves. Strip off the bottom two pairs of leaves and stick the cutting into a pot filled with seed-starting mix.
Keep the soil consistently moist. By the following year, these little guys will be strong enough to move into the garden. Since these are already sturdy young plants, you can expect a decent harvest pretty quickly. Just a quick heads-up: check if your specific variety is patented. Some trademarked “designer” varieties from garden centers are protected, meaning you can propagate them for your own use, but you aren’t allowed to sell or distribute them.