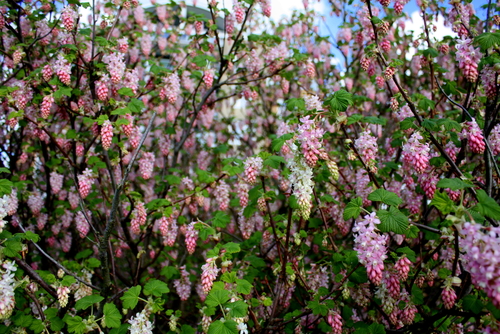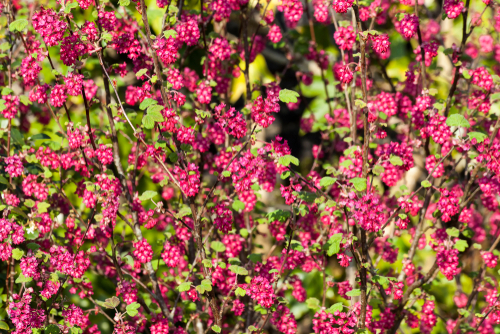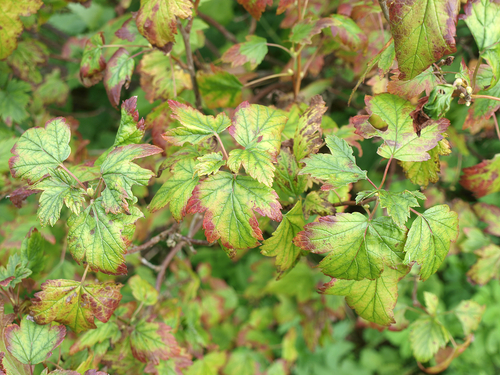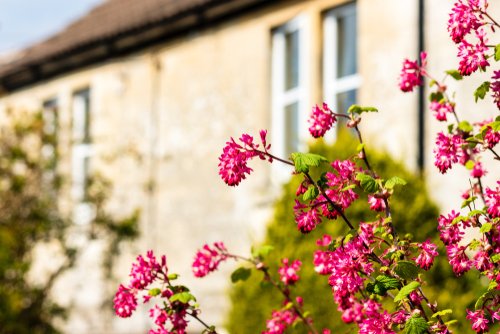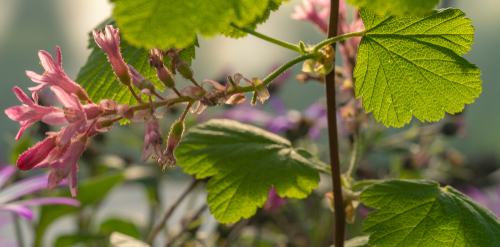
Propagating a Red Flowering Currant (Blutjohannisbeere) is actually a lot easier than you might think! Whether you choose to use cuttings or layering, you’ll end up with “true-to-type” young plants that carry all the same great traits as the parent shrub. Ready to expand your garden for free? Here is everything you need to know about propagating your Red Flowering Currant.
Propagating via Cuttings
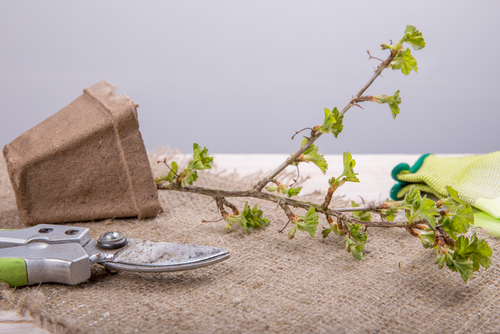
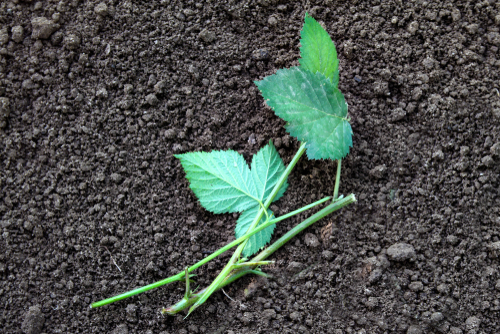
You can take cuttings in either the summer or the winter. If you’re a summer gardener, July and August are your best bets. If you prefer winter projects, any frost-free day will work just fine. Look for a healthy, one-year-old shoot that looks full of life. You’ll want to make your cut right below a bud—ideally, your cutting should have a bud at both the top and the bottom.
Divide your shoot into several pieces, each about four inches (10 cm) long. Here’s a pro tip: cut the top straight across and the bottom at an angle. This helps you remember which end is “down” and increases the surface area for roots! Make sure each piece has at least one “eye” (bud). Stick the angled end into the soil deep enough that the eye is buried. Firm the soil down gently and give them a good soak. To get started, you’ll need:
- Healthy, vigorous shoots
- A pair of sharp, sterilized pruning shears
- A small stick or dibber to prep the planting hole
Propagating via Layering
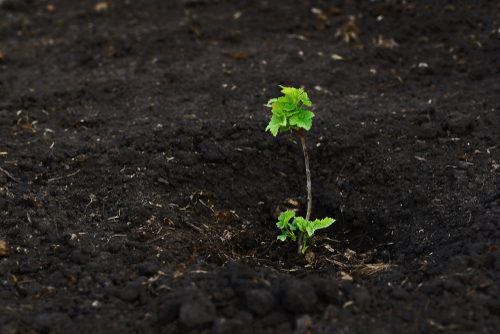
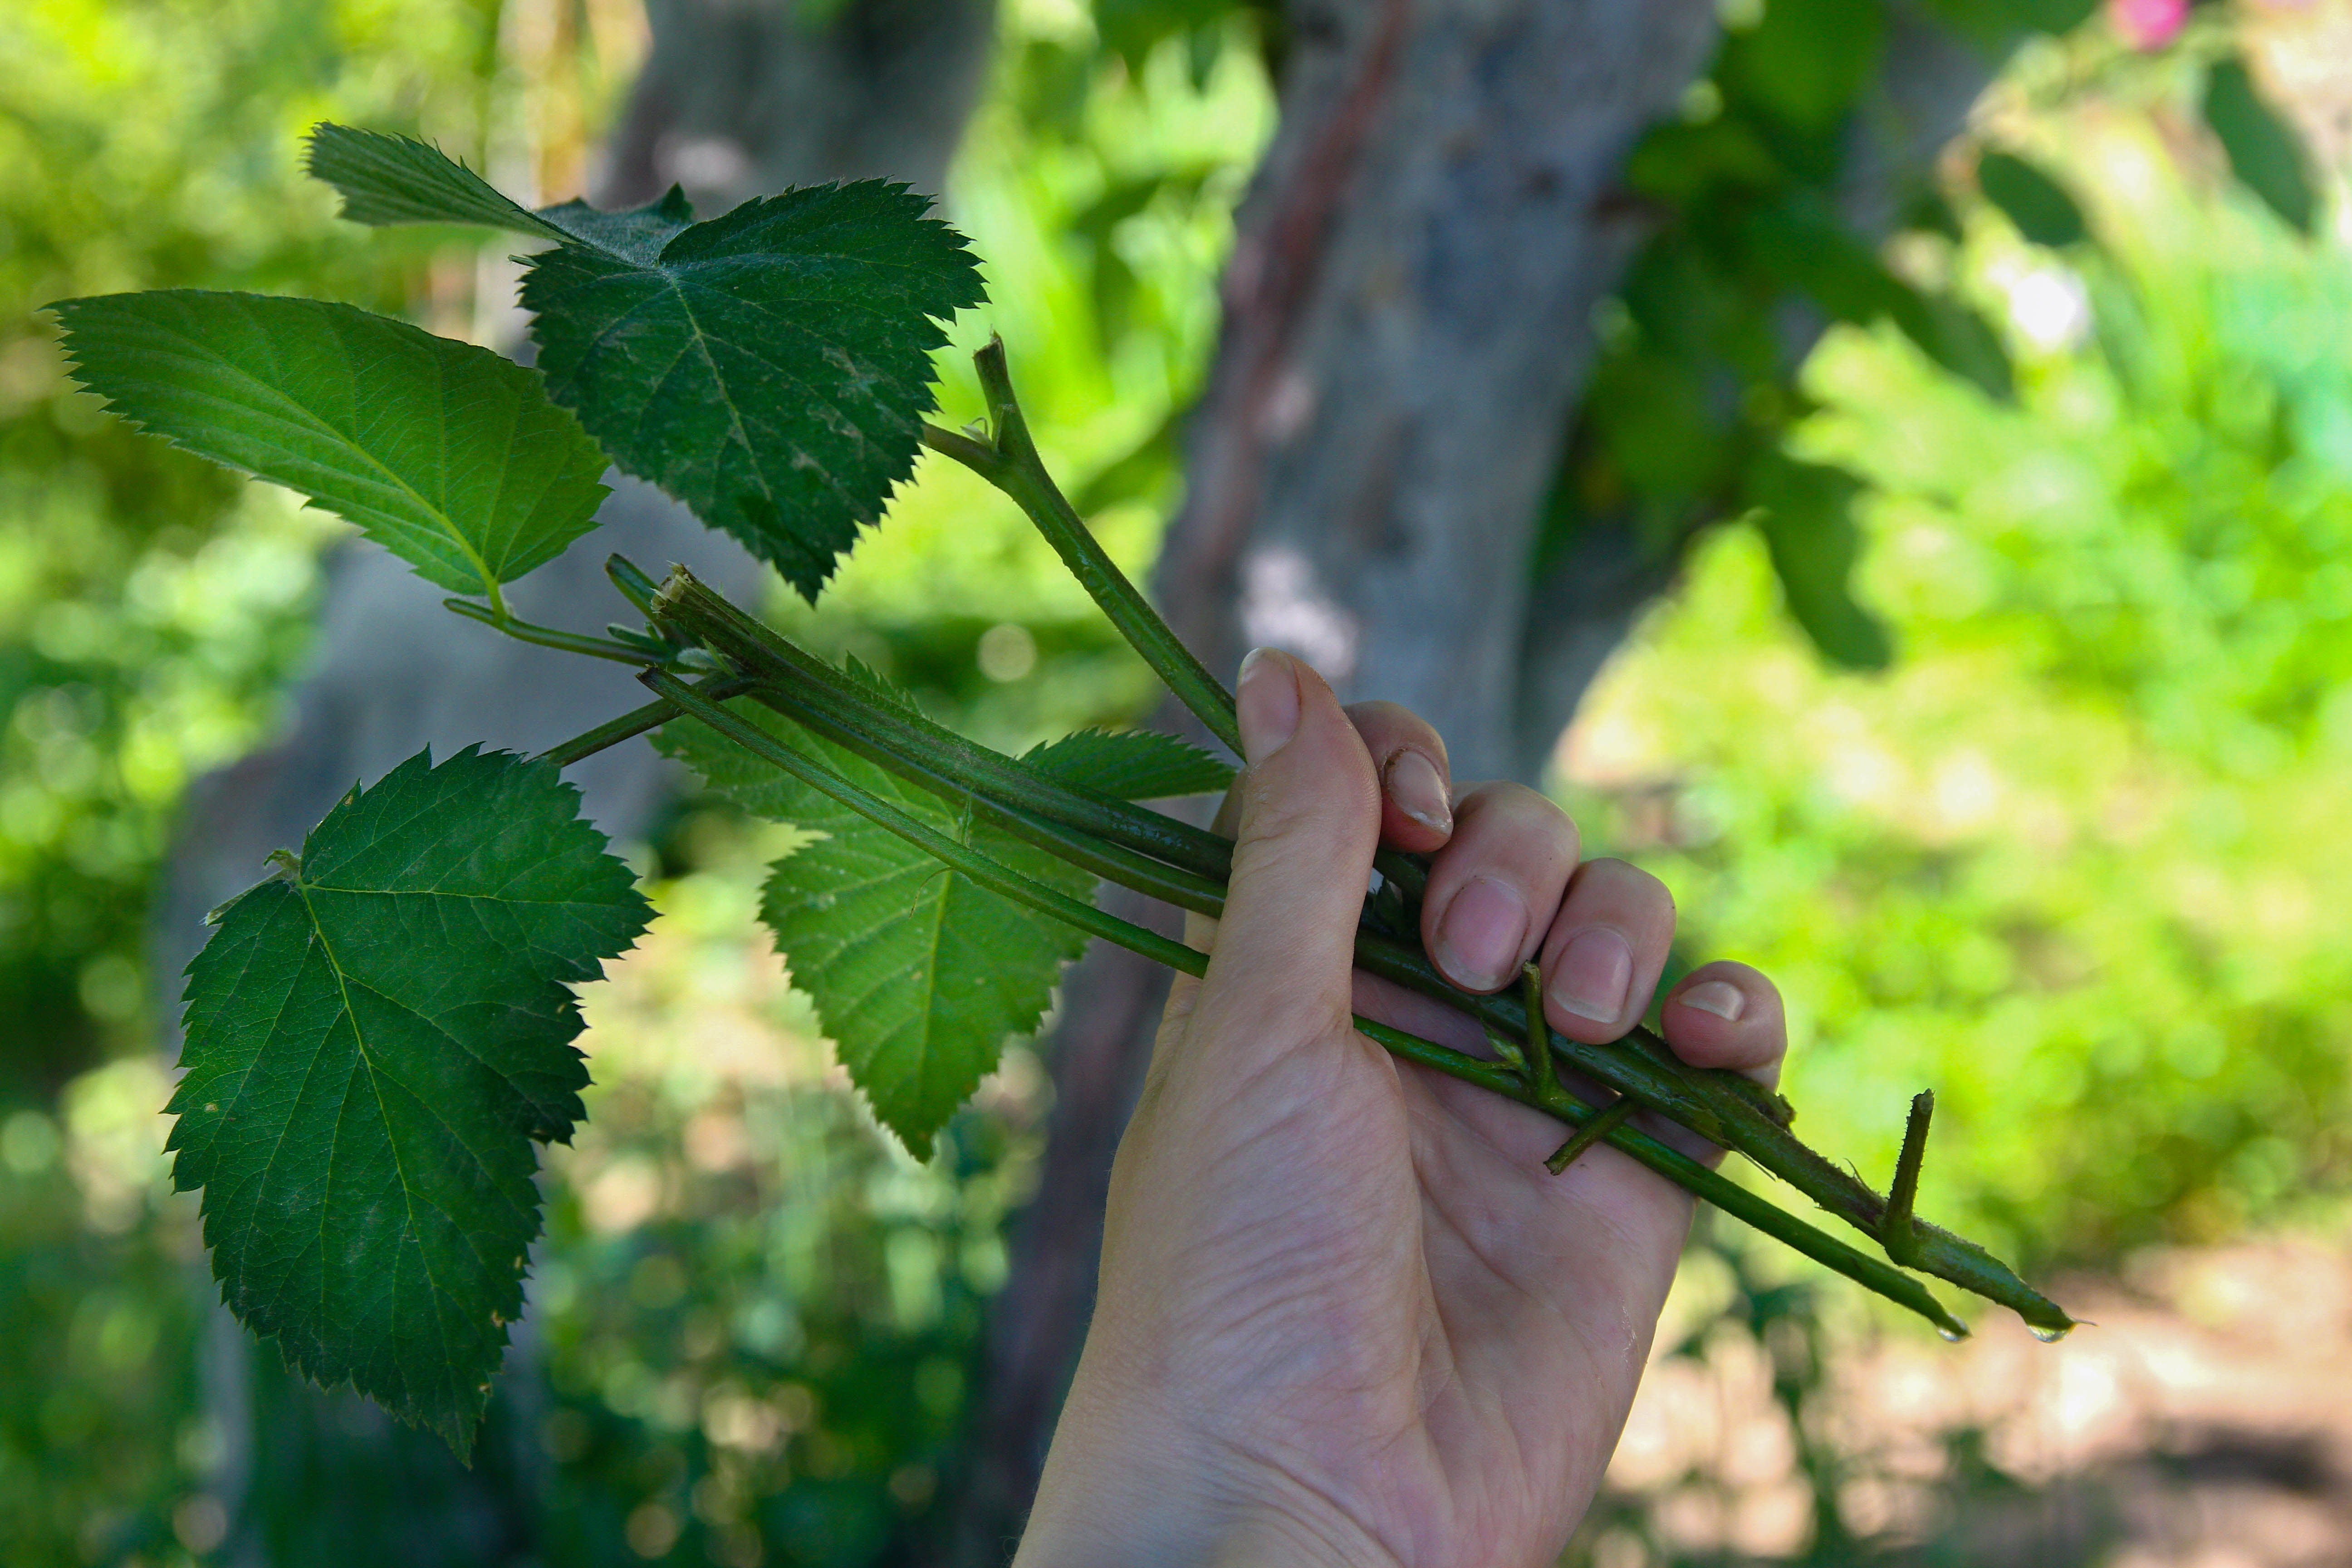
Most berry bushes are incredibly easy to propagate through layering, and the Red Flowering Currant is no exception. Simply find a long, healthy branch that’s low enough to reach the ground. Bend it down and pin it to the soil using a little mound of dirt or a few small stones. Cover the middle section of the branch with plenty of soil, leaving just the tip of the shoot peeking out.
Keep the area moist with a spray bottle or a light watering. If you check back in the spring, you should find that the branch has sprouted its own roots! Once it’s established, you can simply snip it away from the mother plant and transplant your new shrub to its forever home.
An Old Gardener’s Trick
Want to speed things up? Here is a classic nursery secret: every 4 inches or so along the layered branch, lightly nick the bark with a razor blade or wrap a bit of copper wire around it. This causes the plant’s sap to “pool” at those spots, which triggers the branch to grow roots much faster.
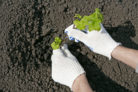
By interrupting the sap flow, you’re basically telling the plant, “Hey, grow some roots here!” Just be extra careful when you finally plant your new starts so you don’t damage those delicate new root systems. Happy gardening!