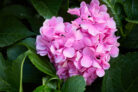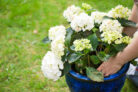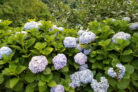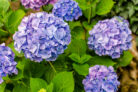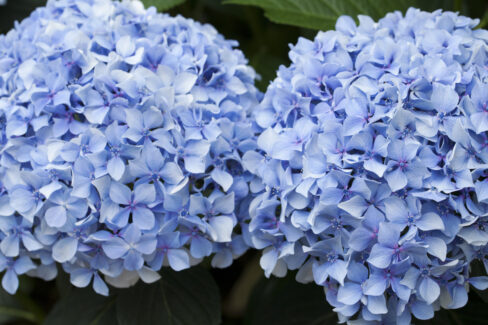
With their stunning, oversized blooms, it’s no wonder hydrangeas are a total garden favorite. If you’ve already got a few of these beauties in your yard, you’ll be happy to know that propagating them is actually pretty straightforward. Whether you want to fill out your flower beds or share a plant with a neighbor, here’s everything you need to know about growing new hydrangeas from the ones you already have. It’s easier than you think!
There are a few different ways to get the job done:
- Propagating via cuttings
- Growing from seeds
- Using the “layering” method
- Dividing the root ball
How to take hydrangea cuttings
One of the most popular ways to grow new plants is by taking cuttings. The secret is timing: you want to snip off juicy, green shoots that are at least 6 inches long. The best window for this is between June and July. Pro tip: Pick a healthy “mother” plant that has plenty of blooms. Since the new plant will be a clone, choosing a prolific bloomer now means you’ll have plenty of flowers later!
Make sure you’re taking cuttings from this year’s fresh growth. Avoid the older, woody stems; the fresh, green shoots are much better at developing the roots you need. Without healthy root development, your cutting won’t make it, so give it the best start possible.
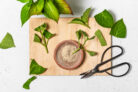
Step-by-step for the perfect cutting:
- Grab a pair of sharp, clean gardening shears.
- Cut a 6-inch shoot just below a pair of leaves.
- Strip off all the leaves except for the very top pair.
- Snip those remaining two leaves in half horizontally. This helps the plant focus on roots rather than keeping large leaves hydrated.
Nurturing your cuttings
Once you have your cuttings, get your pots or seed trays ready. Use a loose, well-draining potting mix or a specialized seed-starting soil to make sure water doesn’t sit and rot the stems. Poke the bottom half of the cutting into the soil, making sure the remaining leaves aren’t touching the dirt.
Give them a good drink, and then pop a clear plastic bag over the pot. This creates a mini-greenhouse effect that keeps the humidity high. Every so often, lift the bag to water them and let some fresh air in—this prevents mold from moving in. Keep your pots in a bright spot, but out of direct, scorching sunlight. Before long, you’ll see new roots and leaves starting to sprout!
Growing hydrangeas from seed
You can also grow hydrangeas from seeds, but it’s a bit more of a challenge than you might expect. Those big, showy petals we love are actually “sterile” flowers and don’t produce seeds. The real seeds are hidden deep inside the flower head. You can try to harvest them yourself or just buy a packet from your local garden center. If you go the seed route, just follow the instructions on the packet, but be patient—this method takes a lot longer to show results.
Propagating by layering
If you’re looking for the easiest method with the highest success rate, “layering” (or *Absenker*) is the way to go. You basically let the plant do the work while it’s still attached to the mother plant. Wait for the warmer months and pick a healthy, flexible branch that has some room around it.
How to layer:
- Choose a long, flexible shoot.
- Gently bend the shoot down until it touches the ground.
- Dig a small trench where the stem meets the soil.
- Bury that part of the stem in the dirt and weigh it down with a stone to keep it in place.
- Make sure the tip of the shoot is still poking out of the ground on the other side.
Now, just let nature take its course. By next year, the buried section should have developed its own root system. Once that happens, you can snip it away from the mother plant and move your new hydrangea to its permanent home or a pot. With a little luck, you’ll see blooms in no time!
Propagation by division
Finally, there’s division. As hydrangeas get older, their root systems expand significantly. If you have a large, established plant, you can actually split the root ball into up to four separate plants.
Fair warning: you’re going to need a garden saw for this! Hydrangea root crowns are very tough and woody in the center, so you won’t be able to pull them apart by hand. Once you’ve made your cuts, get those new sections into the ground at their new location immediately. You don’t want the roots to dry out, or the plant won’t survive the move.