If you’re looking to add more mulberry trees to your yard, you’re in luck! There are two main ways to propagate them: starting from seed or using cuttings. Both methods have their pros and cons and require a little bit of elbow grease, but the payoff is totally worth it.
Propagating from Seed
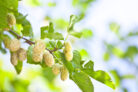
Did you know that mulberry trees used to be everywhere? They were originally planted to feed silkworms back when folks were trying to kickstart a silk industry in Europe. Unfortunately, as pesticides became more common, both the trees and the silkworms started disappearing because they’re super sensitive to chemicals.
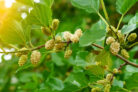
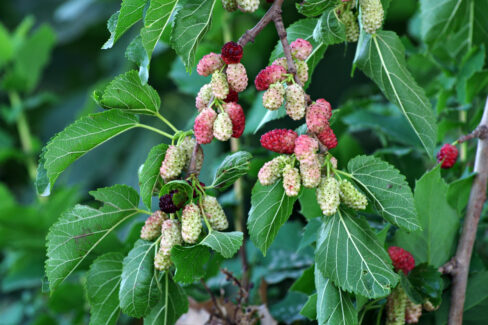
However, you can still find these beauties in parks or preserved as natural monuments. If you manage to snag some fruit from one, you can harvest the seeds yourself! Just clean the pulp off the seeds and let them dry out before you get started.
How to sow your seeds:
- Fill a seed tray with a good quality seed-starting mix.
- Spread your seeds evenly across the surface.
- Cover them with a layer of soil about twice as thick as the seed itself.
- Give them a gentle watering.
- Pop a humidity dome or cover over the tray.
To get those seeds to sprout, keep them somewhere warm—around 70°F (20°C) is the sweet spot. You should see the first little sprouts in about two to four weeks. Once they’ve grown their first set of “true leaves” (the ones that come after the initial seed leaves), you can carefully transplant them into their own individual pots.
Propagating from Cuttings
If you’re already pruning your mulberry tree, don’t throw those branches away! You can easily turn them into new trees. Look for “hardwood cuttings”—these are one-year-old branches that have started to get a bit woody at the base. Aim for a length of about 6 to 8 inches.
Strip off all the leaves except for the top two or three. Since you’ll be burying most of the cutting in the dirt, any buried leaves would just rot and could kill off your new little tree. Push the cutting into the soil so that at least two-thirds of it is underground, then firm the soil around it.
Pro tip: You can also start your cuttings in a jar of water. The best part about this method is that you can actually see the roots growing, which makes it easy to spot which ones are thriving and which ones aren’t going to make it.