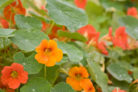
Nasturtiums are a total favorite for home gardeners, and it’s easy to see why. They’re gorgeous, packed with health benefits, and—best of all—completely edible and delicious! It’s no surprise that so many of us want to fill our gardens with them. If you’re looking to grow your collection, you’re in luck. I’m going to walk you through exactly how to propagate these beauties yourself.
Ways to Propagate Your Nasturtiums
Not only are nasturtiums incredibly low-maintenance to grow, but multiplying them is a breeze, too. Even if you don’t have a green thumb, you can definitely handle this. There are basically three ways to get the job done:
- Using cuttings
- Layering (the “drop and cover” method)
- Sowing seeds
All three methods work like a charm, so let’s break them down so you can pick the one that works best for you.
Propagating via Cuttings
For this method, you’ll need to be a little brave with the garden shears. Snip off a fresh, healthy shoot about 6 inches long from your main plant. Prep a small pot with some moist seed-starting mix and tuck your cutting right in. You’ll want to keep the soil consistently damp. Find a warm spot for your new little plant—somewhere around 70°F to 75°F is the sweet spot. Within just a few days, it should start developing roots. Once those roots feel nice and sturdy, you’re ready to transplant it into its permanent home.
Propagating by Layering
This is a great “set it and forget it” technique. Simply dig a shallow little trench in the soil right next to your mother plant. Take one of the outer trailing stems and gently tuck it into the trench, covering it with soil. Use a small stone to weigh the stem down so it stays put, but make sure the very tip of the shoot is still peeking out above the ground. Give it a gentle watering, and before long, that buried section will sprout its own roots. Once the baby plant looks strong and established, you can snip the “umbilical cord” connecting it to the original plant.
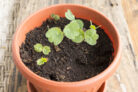
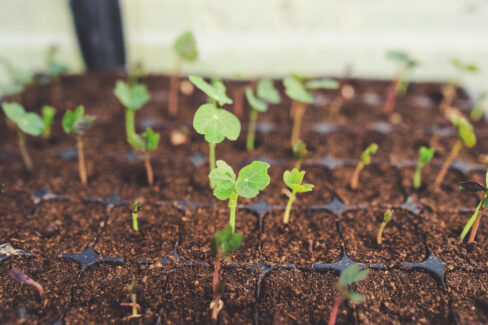
Propagating from Seed
Growing from seed is hands-down the easiest way to go. You can actually harvest the seeds yourself from your existing plants—just make sure to dry them out thoroughly. If you store them properly, they’ll stay viable for up to three years! You can start sowing them outdoors in May. Just poke two or three seeds into the dirt and cover them well. If the weather is hovering around 68°F, you’ll usually see sprouts within a week. If you’re eager to get a head start, you can even start them in pots on a sunny windowsill as early as March.