If you want a healthy, productive pear tree, getting your pruning game on point is absolutely essential. To help you succeed, I’ve put together this guide on how to give your tree the haircut it needs to thrive.
The Anatomy of a Tree Canopy
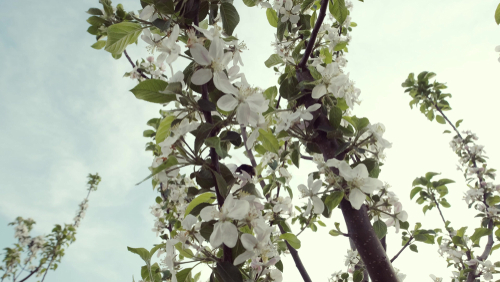
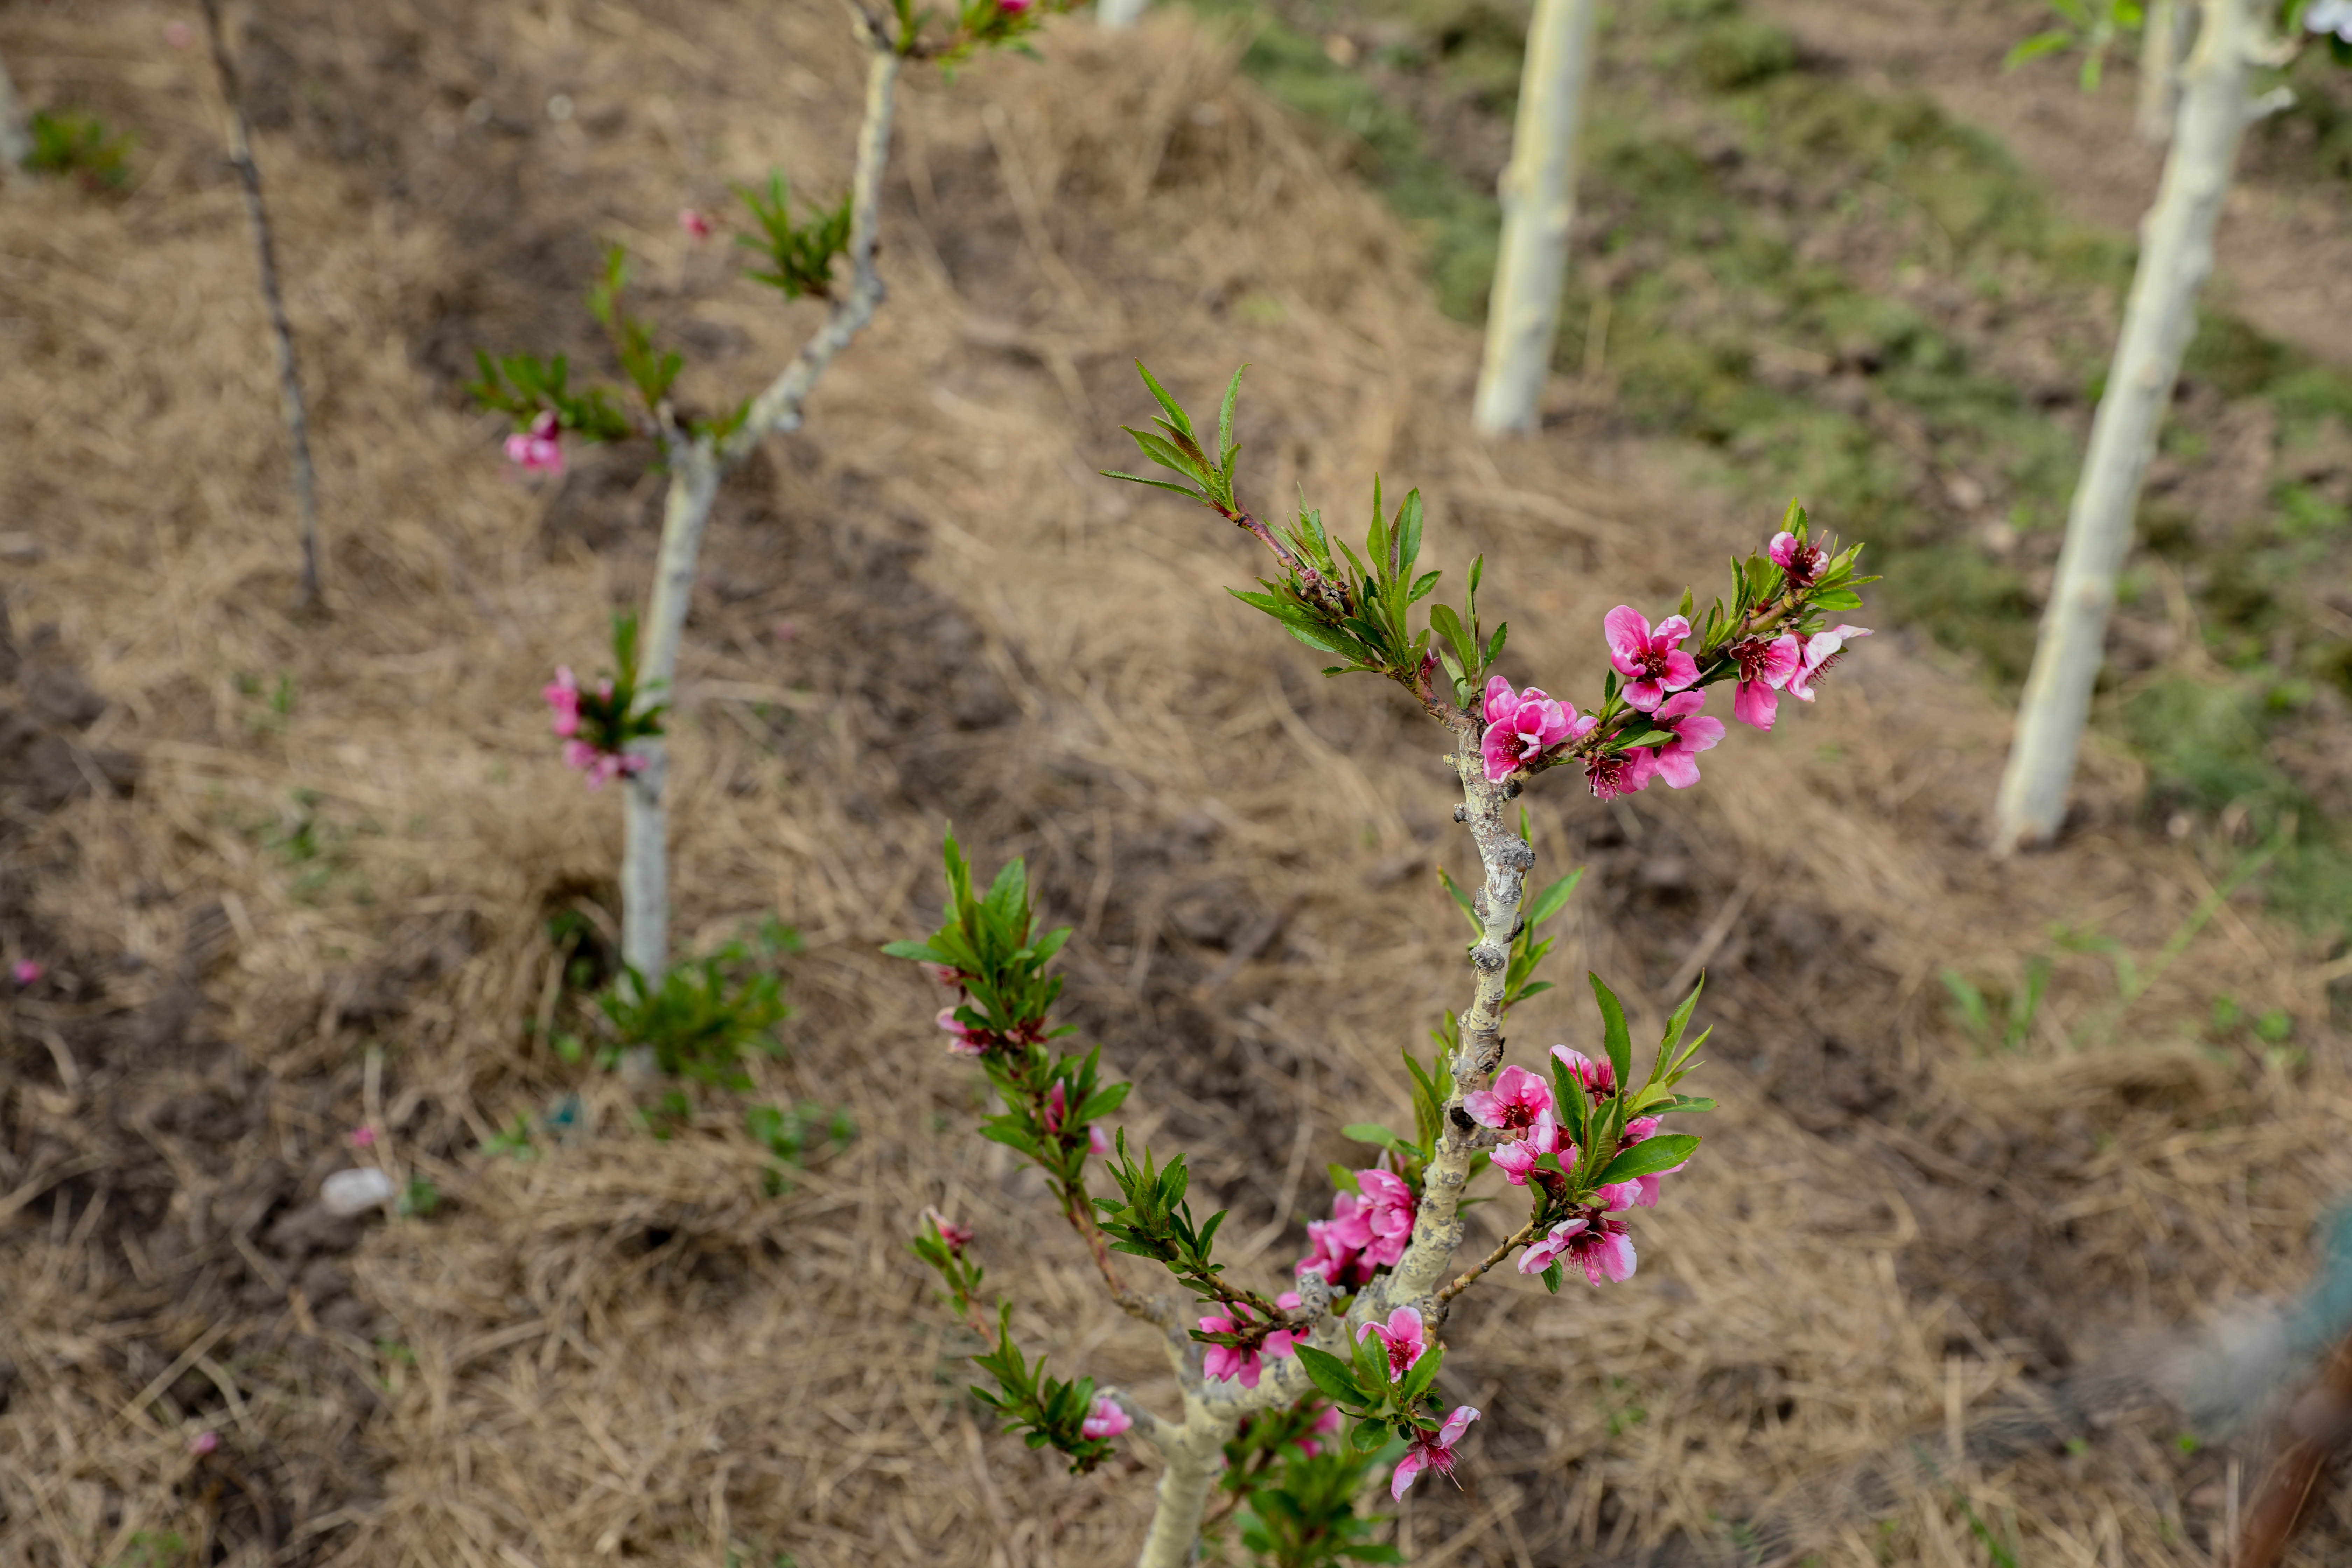
Before you grab your shears, let’s talk shop. A typical tree canopy is made up of the central leader (the main trunk extension), scaffold branches (the main limbs), and fruiting wood. New growth from the current year is called a shoot, and these usually just have leaf buds. As those shoots get older, they become your scaffold branches or fruiting wood. Usually, by the second year, a branch will start producing blossoms . These spots will keep producing buds for several years. Think of the central leader as the backbone where the scaffold branches attach, which in turn support all those one-year and multi-year shoots.
Why Pruning Matters
The goal of pruning is to find that “sweet spot” balance between new growth and fruit production. This actually starts the moment you put the tree in the ground with a good planting cut. You’ll want to trim back all branches evenly, making sure the central leader doesn’t stand more than about 4 inches (10 cm) higher than the rest of the canopy. This ensures the tree distributes water and nutrients evenly. Regular maintenance leads to a consistent, high-quality harvest. Without pruning, trees tend to shoot straight up toward the sky and produce very little fruit-bearing wood.
Different Pruning Methods
Thinning Out Older Trees
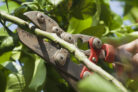
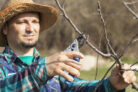
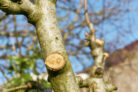
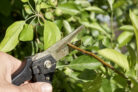
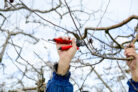
The best time to prune is during late winter or very early spring. Just make sure the temperature isn’t dipping below 21°F (-6°C), or you might end up with frost damage on the fresh cuts. Pear trees love to grow tall and lanky. To keep them in check, you’ll need to head back the central leader significantly and trim the scaffold branches. Any branches that are hanging low or drooping should be removed entirely. Don’t be afraid to thin things out—good airflow through the canopy is one of the best ways to prevent diseases. When you remove a branch at the trunk, make sure the cut is smooth and flush. It’s also a good idea to apply some pruning wax to help the “wound” heal.
Pruning Espalier Trees
Growing espalier-style takes a bit of extra effort. These trees are trained to grow flat against a wire frame or a wall. To start, you’ll keep the central leader and just two main scaffold branches that grow out horizontally, pruning back and tying them to the support. Everything else gets snipped. In the second year, remove any branches growing inward and trim the three main leaders back slightly. Aim to tie the branches at about a 60-degree angle.
- Take a good look at your tree and identify the central leader versus the scaffold branches.
- Cut the central leader back by a third to a half.
- Make sure your cut is straight and about 1/8 inch (3-4 mm) above a bud.
- Pick three strong scaffold branches growing from the central leader. Ideally, these should be spaced out at different heights.
- Any other scaffold branches should be cut off flush with the trunk.
- Trim those three remaining scaffold branches so they sit about 4 inches lower than the central leader. Make sure you cut just above a bud that is facing outward.
- If you were to draw an imaginary line between the top of the leader and the side branches, it should form a wide, blunt angle.
- This maintains the “sap balance,” ensuring water is distributed equally to every part of the tree.
Pro Tip: Pruning a tree correctly can be a bit tricky at first! Don’t be afraid to ask a pro for help or pick up a few gardening books with plenty of diagrams to help you visualize the process.