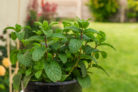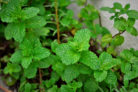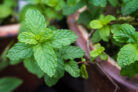
It doesn’t take long for mint to outgrow its home. Between its aggressive growth habit and its hunger for nutrients, that store-bought pot or last year’s container can quickly become a cramped, nutrient-depleted zone. When your mint starts looking a little tired, it’s usually a sign that it’s time for a fresh start. A bigger pot and some nutrient-rich soil will keep your mint happy—at least for a while!
Timing is Everything
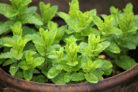
A well-cared-for potted mint plant will explode with growth over the summer. While you’re busy enjoying all those lush green sprigs, the roots are quietly staging a takeover underground. After about two years, there’s usually no room left for new growth, and the soil is completely spent. That’s when repotting becomes a must.
- Repot your mint in the spring after it wakes up from winter dormancy.
- Early fall is a great alternative.
Pro Tip:
If you just bought a mint plant from the grocery store, repot it as soon as you get home. Those plastic nursery pots are almost always way too small for long-term growth.
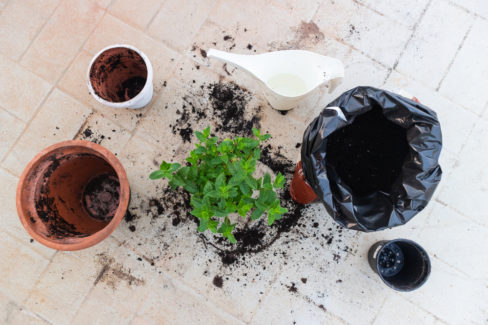
Gather Your Gear
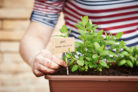
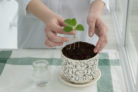
Grab a larger pot for your mint, unless you plan on reusing the old one (which works if the plant is already huge or you’re tight on balcony space). Just make sure whatever container you use has drainage holes! For the soil, you can easily mix your own by combining standard potting soil with some sand and compost. You’ll also want some expanded clay pebbles or coarse gravel for a drainage layer at the bottom.
Repotting is also the perfect time to propagate new plants from runners. If you want to expand your herb garden, have a few extra small pots and soil ready to go.
How to Repot Your Mint
Set up your workspace first so you can breeze through the process. Along with your pots and soil, you’ll need a sharp, clean pair of garden shears. Here’s the game plan:
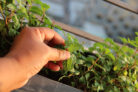
- Give the mint a heavy prune. Cut it back so only about two “sleeping eyes” (nodes) remain per stem.
- Give the root ball a good soak; this makes it much easier to slide the plant out of its old pot.
- While it’s soaking, add your drainage layer to the new pot.
- Fill the new pot about one-third of the way with your soil mix.
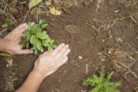
- Gently remove the mint from its old container.
- Don’t be afraid to trim the roots back—especially if you’re putting the plant back into the same size pot.
- Place the mint in the new pot, holding it upright.
- Fill in the gaps with soil. Make sure the plant sits at the same depth it was before.
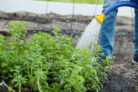
- Lightly press the soil down and water thoroughly. Be sure to empty any excess water from the saucer after a few minutes.
- Put the plant back in its usual spot. If you’re picking a new location, partial shade is usually the sweet spot.
Pro Tip:
Don’t toss those trimmings! Use the fresh leaves immediately for tea or mojitos, or save them for later by drying or freezing them.
Post-Repotting Care
Right after repotting, your mint is going to be pretty thirsty. Depending on the weather, you might need to water it as often as once a day for a little while. The good news? You’re off the hook for fertilizing for about a year, as the fresh soil has all the nutrients your plant needs to thrive.