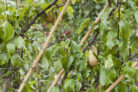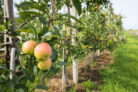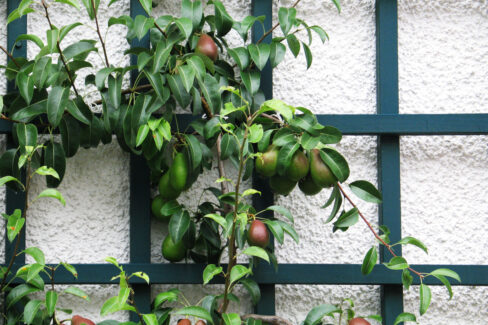
Espalier fruit trees are a total showstopper, and they’re a lifesaver if you’re working with a small backyard but still want a home orchard. That said, don’t underestimate the “haircut” these trees need! To get that classic look, you have to train and secure the branches to a support system right from the start.
Setting Up Your Support System
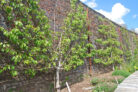
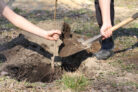
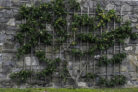
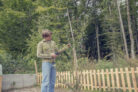
Whether you’re planting against a brick wall or a wooden fence, espalier trees always need a sturdy frame to lean on. Pro tip: Get your support structure anchored in the ground *before* you put the tree in the dirt. You can actually build your own DIY trellis pretty easily with a few supplies from the hardware store. Some heavy-duty wooden posts or iron stakes driven into the ground with horizontal wires stretched between them will do the trick. Just don’t skimp on sturdiness—a tree loaded down with ripe fruit gets surprisingly heavy!
Choosing the Right Ties
Back in the day, gardeners used willow twigs, straw, or even strawberry runners to tie their trees. If you’re a traditionalist, willow is still a great choice, but for the rest of us, garden twine, sisal, or hollow plastic tie cord is much easier to work with. Natural raffia is a personal favorite because it’s easy to tie and naturally biodegrades after a few months. This is actually a plus because it prevents the tie from “choking” the branch as it grows. Just plan on refreshing the ties during your spring pruning. If you use permanent stuff like wire or cable ties, you’ll have to manually cut and replace them every single year to keep the tree healthy.
How to Tie the Branches
When you’re securing those branches, give them some breathing room! Remember, these branches are going to get thicker every year. To prevent the ties from cutting into the bark, try using stretchy rubber ties, coconut fiber rope, or specialized branch clips.
The Art of Training Your Espalier
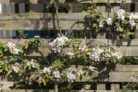
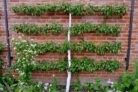
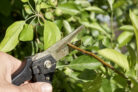
- Year 1: Start by picking out three strong shoots. Take the two outer ones and gently tie them down horizontally. The middle one (the leader) stays growing straight up. Snip off any other stray shoots.
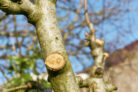
- Year 2: In the winter, head back the vertical leader to encourage new branching. During the following summer, take the next set of side shoots and tie them down horizontally to create your next “tier.” Keep repeating this process until your tree has reached the height and number of levels you want.
Quick Gardener’s Tip
If your tree is overachieving and producing too much fruit, don’t be afraid to thin it out. You want the tree to save some energy for next year’s flower buds rather than putting every ounce of “juice” into this year’s harvest. Thinning out the fruit now ensures you’ll have a great crop again next season!