Growing your own sweet potatoes is actually super easy because they’re masters at propagating themselves! To get a head start on your garden, you can either take cuttings in the fall or grow “slips” (those little sprouts) directly from the tubers to plant later.
Choosing the Best Tubers
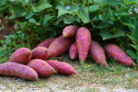
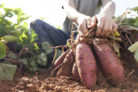
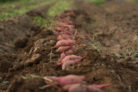
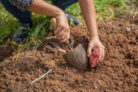
When you’re picking out sweet potatoes to sprout, look for the ones that are in perfect shape. This starts right at the sweet potato harvest—try to be extra gentle so you don’t nick or bruise the skin. Damaged tubers are much more likely to rot during the sprouting process, which can ruin the whole potato before you even get started.
Pro tip: You don’t need to use your biggest, prize-winning potatoes for this. Those tiny little tubers that usually get left behind in the soil during harvest are actually perfect for propagation!
Sprouting in Water
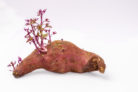
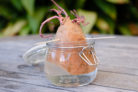
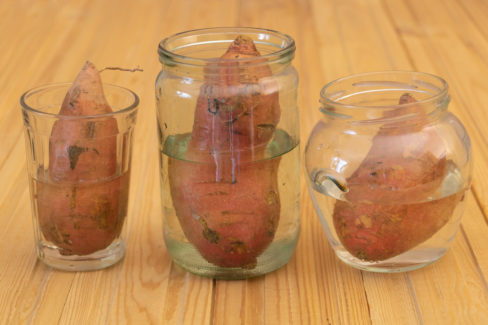
One of the most popular ways to get slips growing is the classic water method. Just pop your sweet potato into a glass of water. It doesn’t really matter which end is up, as long as about a quarter of the potato stays above the water line. That exposed top part is where your new shoots will eventually pop out.
You can also try this with cut pieces of a sweet potato, but fair warning: since the “flesh” is exposed, there’s a higher risk of it rotting. Still, if you have a leftover chunk from dinner prep, it’s definitely worth a shot!
Once those shoots (slips) have grown a bit, carefully wiggle them off the main tuber and plant your sweet potatoes in a pot. Keep them cozy indoors until the danger of frost has passed (usually mid-May) before moving them to the garden. If they start getting too leggy in the meantime, just trim them back and use those trimmings as new cuttings!
Sprouting in Soil
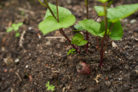
If you prefer a more “set it and forget it” approach, you can sprout them directly in dirt. Just place a whole tuber in a large pot and cover it with soil. Keep the soil lightly moist, but don’t overwater—you want to avoid rot at all costs.
As soon as you see several shoots poking through the surface, gently dig up the potato. Snap the slips off the tuber and give them their own individual pots. The best part? You can re-bury the original “mother” potato and it will likely keep producing even more slips for you!
The big advantage of the soil method is that the slips usually develop their own root systems while still attached to the potato. This gives them a serious head start and makes them a bit hardier than the ones grown in water.