Ferns are some of the most low-maintenance plants you can have in your garden. However, they can be a little dramatic when it comes to being moved! Many varieties are quite sensitive to being transplanted, so getting the timing and technique right is key to keeping them happy.
Spring into Action
Just like when you’re dividing ferns, timing is everything. You’ll want to grab your shovel as early in the spring as possible. Ferns generally don’t handle a move very well once their new fronds have started to unfurl. Ideally, aim to get them in the ground in February or March before they really start waking up.
Dig Deep (and Wide)
When it’s time to dig, the goal is to keep the rhizomes and root system as intact as possible. I always recommend giving the plant a wide berth—place your spade a bit further out than you think you need to and lift the roots out gently. Once it’s out, you’ll need to find the perfect new home for your fern. Look for a spot that hits these marks:
- Full to partial shade
- Loose, organic soil
- Plenty of nutrients in the ground
Prepping the New Spot
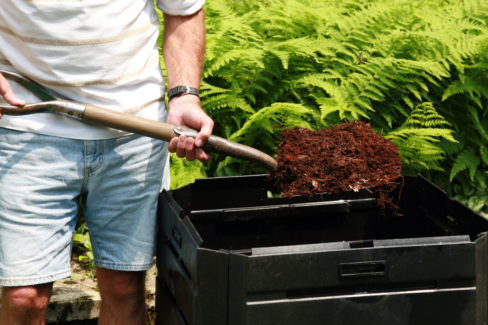
Knowing what ferns love helps you prep the perfect hole. You’ll want to dig about 12 inches deep and 16 inches wide, since fern roots like to spread out horizontally. To give your plant a head start, mix in some well-aged compost. If you’re dealing with heavy clay soil, toss in some sand to improve drainage. Ferns are picky—they hate drying out, but they also can’t stand “wet feet” from standing water.
Pro Tip:
Work quickly! The less time the roots spend exposed to the air, the less likely they are to dry out. Once your fern is settled in its new spot, give it a long, deep drink of water to help it get established.