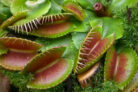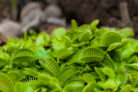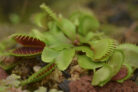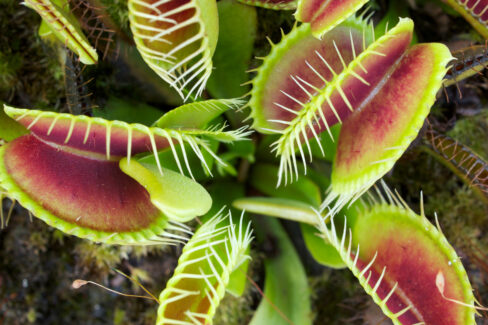
In the wild, the Venus flytrap (botanically known as Dionaea muscipula) spreads its wings through seeds or by growing new rhizomes. If you’re growing these cool carnivores at home, you can also propagate them using seeds, division, or leaf cuttings.
- ## Your Options for Growing More Flytraps at Home
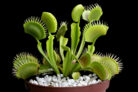
If you’re looking for the easiest and fastest way to expand your collection, division is definitely the way to go. Since these plants regularly grow new rhizomes, you can simply separate them when you’re repotting in the spring. Growing them from seeds or cuttings is a fun project, but it definitely takes a bit more time and patience before you’ll see those iconic snapping traps and flowers.
Propagating Venus Flytraps from Seed
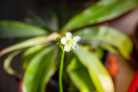
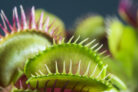
Once your plants hit their third or fourth year, they’ll start producing flowers. If you decide not to trim the blooms and pollinate them instead, they’ll develop seeds. You can easily harvest these seeds to start a new generation. Just a heads-up: Venus flytrap seeds are “cold germinators” and “light germinators.” This means they need a period of cold to wake up, and once you sow them, you shouldn’t cover them with soil—they need light to sprout!
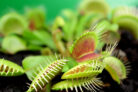
Propagation via Rhizomes
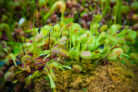
In their natural habitat, Venus flytraps love to spread via rhizomes. Essentially, the plant grows underground rootstocks that you can gently pluck or snip off. The best time to divide your flytrap is in the spring during its annual repotting. Stick to dividing larger, established plants. Once you’ve got your offsets, just tuck them into their own pots and they’re good to go.
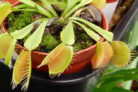
Propagation via Leaf Cuttings
The third way to multiply your flytrap family is by taking leaf cuttings. It’s a bit of a process, but super rewarding! Here’s how to do it:
- Pick out a healthy, vibrant plant to start with.
- Snip off a leaf as low as possible—right at the base.
- Ideally, you want a tiny bit of the white rhizome (the root base) still attached to the leaf.
- Get some pots ready with fresh peat moss.
- Tuck your cuttings into the substrate.
- Place the pots in a bright spot, but keep them out of direct, scorching sunlight.
- Keep the soil nice and moist at all times.
- Be patient! It’ll take a few weeks for roots to start forming.
- Once your baby plants are established, move them into pots with specialized carnivore soil.