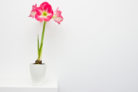
Whether you’re looking to save a few bucks or you just love a good gardening challenge, propagating your own Amaryllis is actually a total breeze! You don’t need a green thumb to pull this off. Check out our quick guide on how to grow these stunning “Knight’s Stars” from seeds or offset bulbs.
Growing Amaryllis from Seed
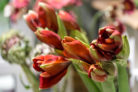
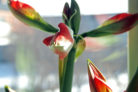
Once your Amaryllis has shown off its gorgeous blooms, you can actually try your hand at pollinating it yourself. Here’s the play-by-play:
- Grab a small paintbrush or a clean Q-tip and gently swirl it inside the flower.
- Collect that yellow pollen and transfer it onto the creamy-colored stigma.
Over the next two months, the plant will develop seed pods. Once those pods pop open, you can easily harvest the dark, papery seeds inside.
How to sow your seeds:
- Fill a seed tray or a small pot with coconut coir or a light seed-starting mix.
- Lay the seeds out next to each other, making sure they aren’t touching.
- Give them a gentle drink with some lukewarm water.
- Cover the tray with plastic wrap to create a little greenhouse effect.
Place them on a warm, bright windowsill (out of direct harsh sun), and you should see sprouts within about four weeks. Once they pop up, ditch the plastic wrap. When the leaves start looking sturdy, you can transplant the seedlings into their own pots. Keep them watered and fertilized regularly—unlike adult bulbs, these babies don’t need a dormant rest period until they’re older.
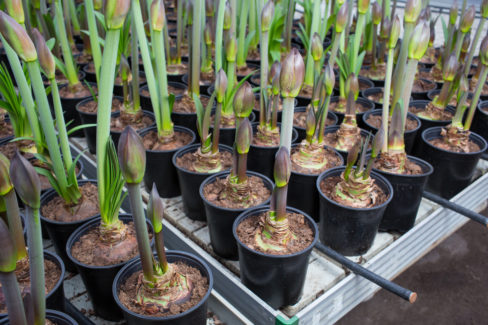
Growing Amaryllis from Offset Bulbs
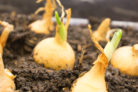
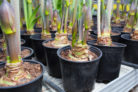
If you’ve been taking good care of your Amaryllis and following its natural growth cycle, you’ll likely notice “baby” bulbs (offsets) growing at the base of the main bulb. These are clones of the mother plant, so you know exactly what the flowers will look like! Here’s how to pot them up:
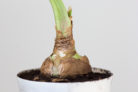
- Using a sharp, clean knife, carefully remove an offset from the main bulb. It’s best to wait until it’s at least 1.5 to 2 inches in diameter.
- Pot it in a well-draining cactus mix or potting soil, and make sure to add a layer of clay pebbles at the bottom for drainage.
- Find a warm spot with indirect light.
- Water sparingly from the bottom (in the saucer) to keep the bulb from rotting.
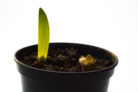
- Once you see the first leaves sprouting, you can start using a standard liquid flower fertilizer.
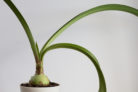
Pro tip: When planting, make sure the bulb is only halfway buried in the soil. In about two years, you’ll be rewarded with a spectacular floral show!