Propagating your own laurel (bay leaf) plants from cuttings is a super easy way to expand your garden without spending a dime. If you’ve been wanting more of these fragrant evergreens, here’s the lowdown on how to take cuttings and care for them so they thrive. With these simple tips, you’ll have a whole new batch of plants in no time!
The Best Time to Take Your Cuttings
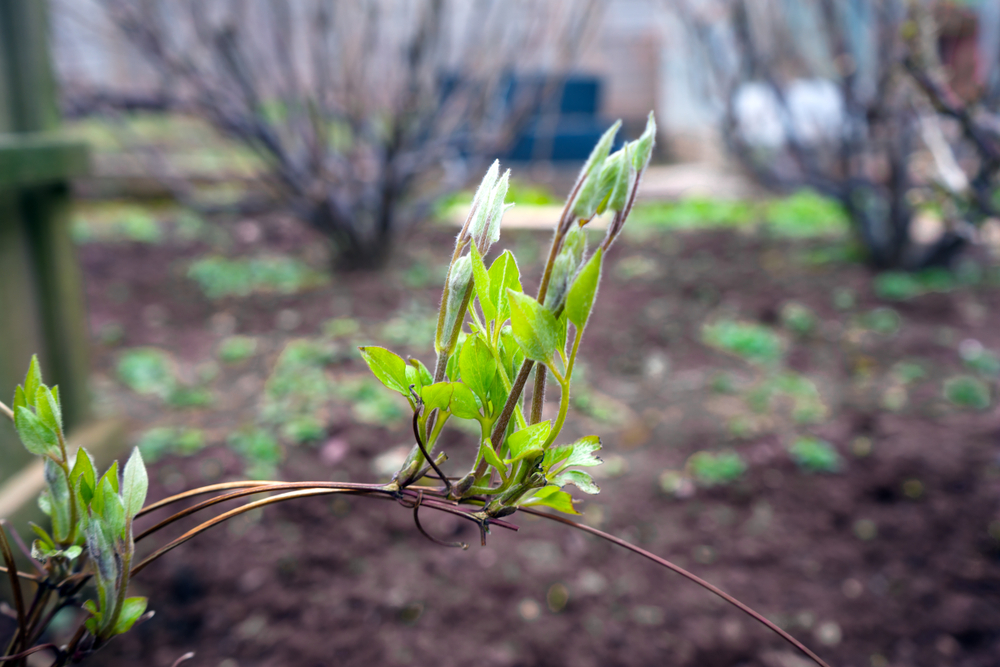
Timing is everything when it comes to propagation. The sweet spot for laurel is usually from late summer to early autumn. During this window, the plant has produced plenty of fresh new growth at the tips, but the stems haven’t turned completely woody yet. These “semi-ripe” tips are perfect for rooting. Plus, since most gardeners are already pruning their laurel at its location this time of year anyway, you’ll have plenty of material to work with!
How to Grow Your Tip Cuttings
For the best results, you’ll want to use “tip cuttings”—basically the very ends of the branches. Aim for cuttings that are about eight inches (20 cm) long to give the new plant enough energy to establish itself. Strip the leaves off the bottom half of the stem and place it in a glass of water briefly, or go ahead and tuck it straight into a starter pot filled with high-quality potting soil. The biggest rule for the first few days? Keep that soil consistently moist! Give your little plant some time and patience to do its thing.
Pro-Tips for Cutting Success
- Always use sharp garden shears for a clean cut
- Don’t leave any jagged or half-cut leaves on the main plant
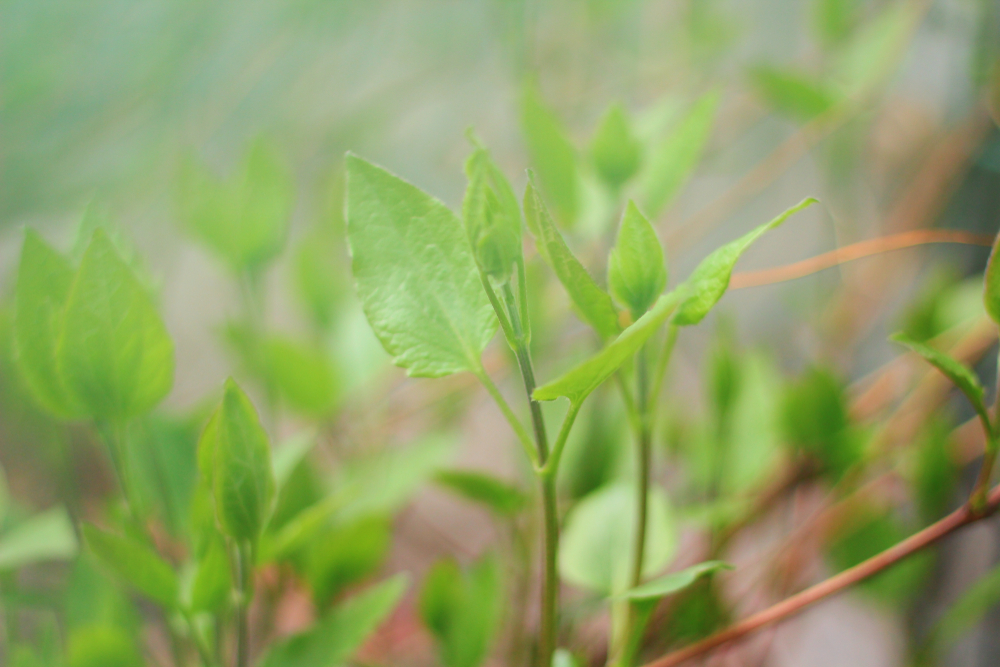
- Use the fresh growth from the tips for your cuttings
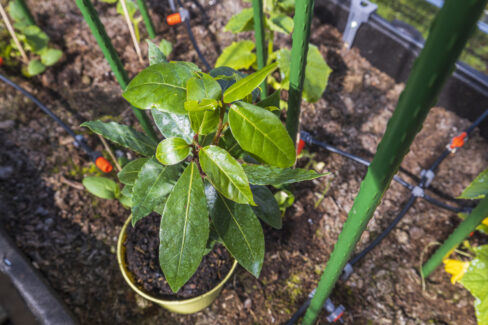
Once your cuttings have developed a solid root system, it’s time to transplant them. As those roots grow, they’re going to need more elbow room. You can move them into a larger pot, a decorative planter, or find them a permanent home right in your garden soil. One quick tip: try to resist the urge to harvest any leaves for cooking until the plant is at least a year old—it needs all that energy to get established!