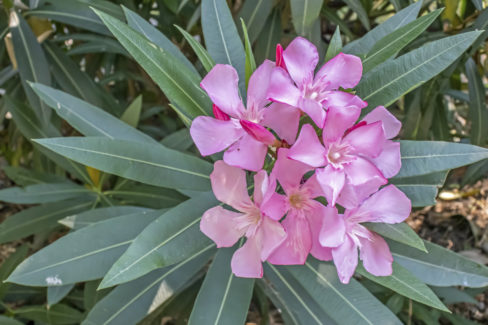
Propagating your own oleander is a great way to expand your garden for free! While there are a few ways to do it, using cuttings (or “slips”) is by far the easiest and most reliable method. Before you know it, those little cuttings will grow into beautiful new plants that are exact clones of their mother plant.
Different Ways to Propagate Oleander
When it comes to propagating oleander, you’ve got four main options:
- Taking cuttings or “slips” (the most popular method)
- Dividing the root ball
- Grafting
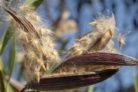
- Growing from seed
Why Cuttings are the Way to Go
Propagating through cuttings is the gold standard for home gardeners because it has the highest success rate. Plus, since the new plants are genetically identical to the parent, you know exactly what you’re getting—same flower shape, same gorgeous color. No surprises here!
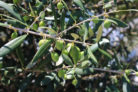
Choosing the Right Cuttings
To get started, you’ll need to snip some healthy pieces from your plant. A pro tip: the best time to do this is when you’re already pruning your oleander. You’ll have plenty of trimmings to choose from!
Look for young, green shoots, as these tend to root the fastest. That said, oleander is pretty hardy, and you can actually get almost any part of the branch to sprout roots if you’re patient.
Step-by-Step Guide
Ready to get started? Just follow these simple steps:
- Strip off the leaves from the stem, leaving only the very top pair. If those top leaves are huge, you can actually snip them in half with clean scissors to reduce moisture loss.
- The “water glass method” works wonders here because oleanders are thirsty plants. Pop your cuttings into a glass of water and place them in a warm, bright spot—a sunny windowsill is perfect. Just make sure to swap out the water for a fresh refill every day.
- In about four weeks, you should see the first roots appearing. Once they’re a few inches long, it’s time to move your babies into small pots filled with seed-starting mix.
- To keep the humidity high, you can place a clear plastic bag or a glass jar over the pot. Just remember to lift it off for a bit every day to let some fresh air in so the plant doesn’t rot.
Moving Your New Plants Outdoors
Once your young oleanders have put on some size and look sturdy, you can transplant them into larger pots with regular potting soil. Find a location that is nice and warm, but make sure they’re tucked away from harsh winds and heavy downpours while they’re still finding their footing.
A Quick Safety Note: Oleander is Toxic
Safety first! Always wear gloves when you’re cutting or handling oleander. The milky sap that leaks out is toxic and can cause some pretty nasty skin irritation if it gets on you. Stay safe while you garden!