Bay leaf bushes aren’t just a pretty face in the garden; they’re a total game-changer for your home cooking. Once your plant reaches a certain age, you can start harvesting and drying your own leaves to use as a signature spice. Here’s everything you need to know to get started.
The Right Way to Harvest at the Perfect Time
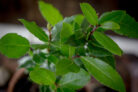
Patience is key here! You’ll want to wait until your plant is at least a year old before you start harvesting. If you get too eager with a young plant, you might accidentally stunt its growth. Generally, there are two ideal windows for harvesting: spring and fall. Just remember not to go overboard—your bay laurel needs its leaves to stay healthy and nourished.
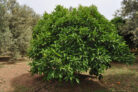
Only harvest from True Bay Laurel!
- Stick exclusively to *Laurus nobilis* (True Bay Laurel).
- Stay away from Cherry Laurel—those leaves are toxic!
When you’re ready, use a pair of garden snips to cut individual leaves or small branches. I definitely recommend staying away from electric hedge trimmers for this job. Those heavy-duty tools tend to shred the leaves, which causes them to turn brown and increases the risk of disease for your plant. It’s just not worth the risk! If you’re careful with your cuts, your plant will stay happy and healthy. Many gardeners find that simply hand-picking the leaves works just as well.
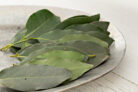
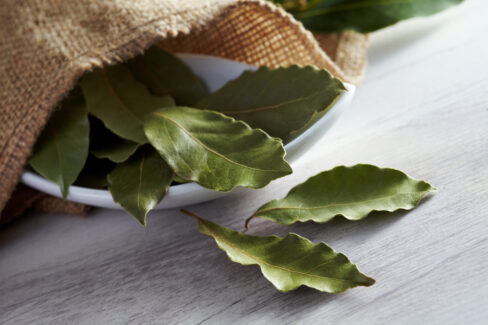
How to Dry Your Bay Leaves
Once you’ve gathered your leaves or branches, bundle them together with some twine to make small bouquets. Hang them upside down in a well-ventilated room and let them air dry. It usually takes about one to two weeks for them to get perfectly crisp. After that, you can pluck the leaves and store them in a glass jar or a paper bag. Personally, I love keeping them in those pretty bundles right in the kitchen—they look great and smell even better! There are so many recipes that only truly “pop” once you add a bay leaf or two.
Bay leaves are the secret ingredient for:
- Tomato soup
- Roasted lamb
- Hearty stews
- Pot roast
- Coq au Vin