Marigold seeds are usually a gardener’s dream because they have an incredibly high germination rate. But have you ever prepped your pots, tucked your seeds in, and then… nothing? Even with perfect watering and warmth, sometimes those little green sprouts just won’t show up. The culprit (and the solution!) is usually one thing: light. Marigolds are what we call “light germinators.”
What exactly is a light germinator?
Before a seed can transform into a sturdy little plant, it has to go through the germination process. Usually, we think about the basics: good soil, moisture, and warmth. But “sowing depth” is just as important when planting your seeds. This depth determines exactly how much light reaches the seed. Light germinators are named that way for a reason—they literally need light to “wake up” and start growing.
The soil layer makes or breaks your success
The deeper you bury a seed, the darker its environment becomes. Marigolds (also known by their botanical name, *Tagetes*) simply don’t have the energy to push through to the surface if they don’t get that life-giving light right at the start.
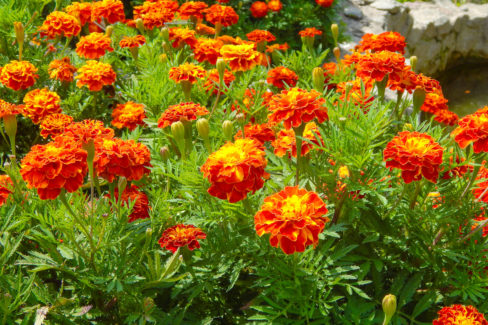
- Marigolds are classic light germinators.
- They require plenty of light to trigger germination.
- They should not be buried; they need to stay on the surface or have only a paper-thin dusting of soil.
How to sow light-germinating seeds
If you want to grow your own marigolds from scratch, you’ll need to master the light-sowing technique. Since marigolds aren’t frost-hardy, you can either sow them directly in the garden in mid-May or start them indoors as early as late February. Starting them inside gives them a massive head start, which means an earlier blooming season for you! Whichever method you choose, light is the key. Here is how to do it right in a pot:
- Fill your pots with seed-starting mix and press it down firmly.
- Scatter your seeds evenly and press them gently into the surface so they have good “soil contact” without being buried.
- If you want to cover them at all, use only a tiny dusting of soil. The layer shouldn’t be thicker than the seed itself. Since marigold seeds are thin and needle-like, this takes a bit of a delicate touch!
- Use a spray bottle to mist the soil. A heavy stream from a watering can will wash these light seeds away or bury them too deep.
- Cover the pot with a clear plastic bag or dome to keep humidity in, but make sure to vent it for a few hours every day to prevent mold.
- Place the pot in a warm spot (around 65-70°F) that is very bright. Avoid direct, scorching sunlight, but make sure it’s not in a dark corner.
- Once your seedlings have grown 2-3 pairs of true leaves, it’s time to prick them out (transplant them). Move the strongest ones into potting soil mixed with a little sand.
- Wait until mid-May for planting time. Once the danger of frost has passed, you can move your young plants to a sunny spot in your flower beds, vegetable garden, or balcony containers.
Pro Tip:
To get that “paper-thin” layer of soil just right, try putting a little bit of dirt into a fine mesh kitchen sieve and lightly dusting it over the seeds. This ensures the soil is fine, crumbly, and perfectly distributed.