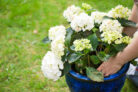
Hydrangeas aren’t just for the garden beds! These beauties actually do great in containers, too. However, if you want your potted hydrangea to thrive, you’ll need to give it a little TLC in the form of regular repotting. To keep those iconic, lush blooms coming, the roots need plenty of room to stretch out and fresh, nutrient-rich soil to snack on.
Growing Hydrangeas in Containers
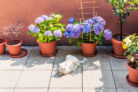
As a general rule of thumb, you should move your container-grown hydrangeas into a new pot every two to four years. Remember, hydrangea roots are ambitious growers! They develop large root systems with a woody center, so don’t be stingy when picking out a new home for them—a pot that’s too small just won’t cut it.
Ideally, your new planter should be about three sizes larger than the old one. Drainage is also super important because hydrangeas hate “wet feet” (standing water). Make sure your pot has drainage holes at the bottom so excess water can flow out freely. If your plant has become an absolute unit and is outgrowing your space, you can also divide the hydrangea during the repotting process.
Choosing the Right Soil
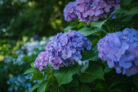
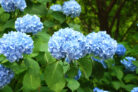
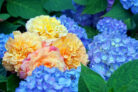
One of the biggest perks of repotting is giving your plant a fresh buffet of nutrients. It’s also the perfect time to check your soil’s pH level. Hydrangeas are a bit picky—they need acidic soil to really thrive. The pH level even dictates the color of the flowers! If the soil isn’t acidic enough, the colors can look washed out. On the flip side, you can actually change the bloom color just by tweaking the soil.
For the best results, try using:
- Rhododendron soil
- Azalea mix
- Forest soil/compost
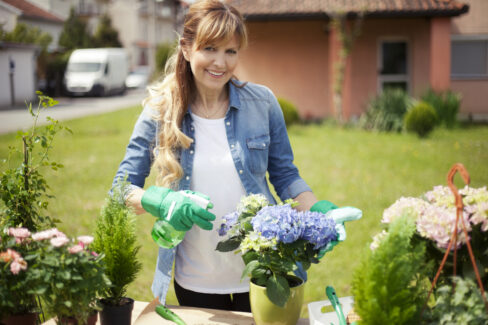
How to Repot Like a Pro
Settling into a new home takes a lot of energy, so your hydrangea will be thirstier than usual while it’s establishing new roots. If you follow these steps, you’ll support your plant’s needs and be rewarded with a gorgeous blooming season in no time.
Step-by-Step Repotting:
- Give your hydrangea a good soak while it’s still in the old pot.
- Carefully slide the plant out of its current container.
- Cover the drainage holes of the new pot with some broken pottery shards or stones to keep them from clogging.
- Add a layer of fresh soil to the bottom, then set your hydrangea inside.
- Fill the rest of the pot with soil and press it down gently to remove air pockets.
- Give it a generous watering and keep a close eye on it for the next two weeks to make sure it stays hydrated.