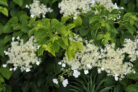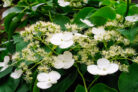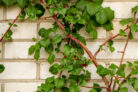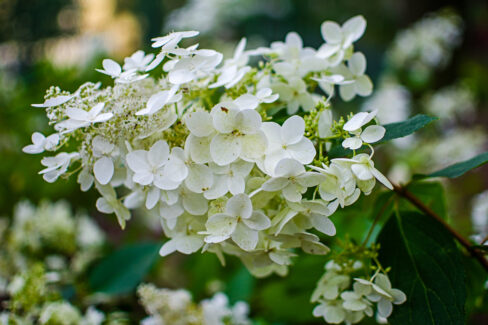
If your climbing hydrangea hasn’t hit its fifth birthday yet, moving this “climbing artist” to a new spot is usually a breeze. However, keep in mind that these beauties can soar up to 30 feet high and develop a pretty serious root system. To make sure the move goes smoothly, there are a few things you’ll want to keep in mind.
1. Step 1: Plan Ahead
Before you start digging, a little prep work goes a long way in making sure your hydrangea feels right at home in its new location. Ideally, you’ll want to start planning a few months in advance so you can get the groundwork done during the summer.
The absolute best time to transplant is late fall. By then, the plant has finished blooming and is ready to settle in for a long winter nap. If you’re in a pinch, you can also move it in early spring before the new buds start to pop.
2. Step 2: Prep the Roots
Here’s a pro tip: during the summer, take a spade and dig a narrow, hand-wide trench around the base of your hydrangea. Fill that trench back in with some nice, loose potting soil. This encourages the plant to grow a fresh batch of tiny feeder roots close to the main root ball.
Doing this makes the actual move much easier later on, prevents major root damage, and helps the plant establish itself in its new home way faster.
3. Step 3: Making the Move
Once late fall rolls around and the weather is on your side, it’s moving day! Aim for a mild, overcast day to keep stress low for the plant. Here’s your game plan:
- Start by gently detaching all the climbing vines from their support.
- Prune back the main framework and the vines significantly.
- Don’t be shy—give it a radical prune down to about 20 inches (50 cm).
- Carefully dig around the plant, making sure to drive your spade deep enough to get under the root ball.
- Lift the hydrangea out, keeping as much soil around the roots as possible.
- Trim off any roots that got snapped or damaged during the process.
- Replant your hydrangea in its new favorite spot.
4. Step 4: Aftercare
A newly moved hydrangea is a thirsty hydrangea! You’ll want to thoroughly soak the new planting hole and keep the roots well-watered after it’s in the ground. Creating a small soil “moat” or watering ring around the base will help the water soak right down to where it’s needed most.
By the way, don’t feel bad about that radical pruning! It’s actually vital for the plant’s survival. Those fresh, smaller roots wouldn’t be able to support a massive vine right away, so cutting it back gives the hydrangea a chance to focus all its energy on building a strong foundation.