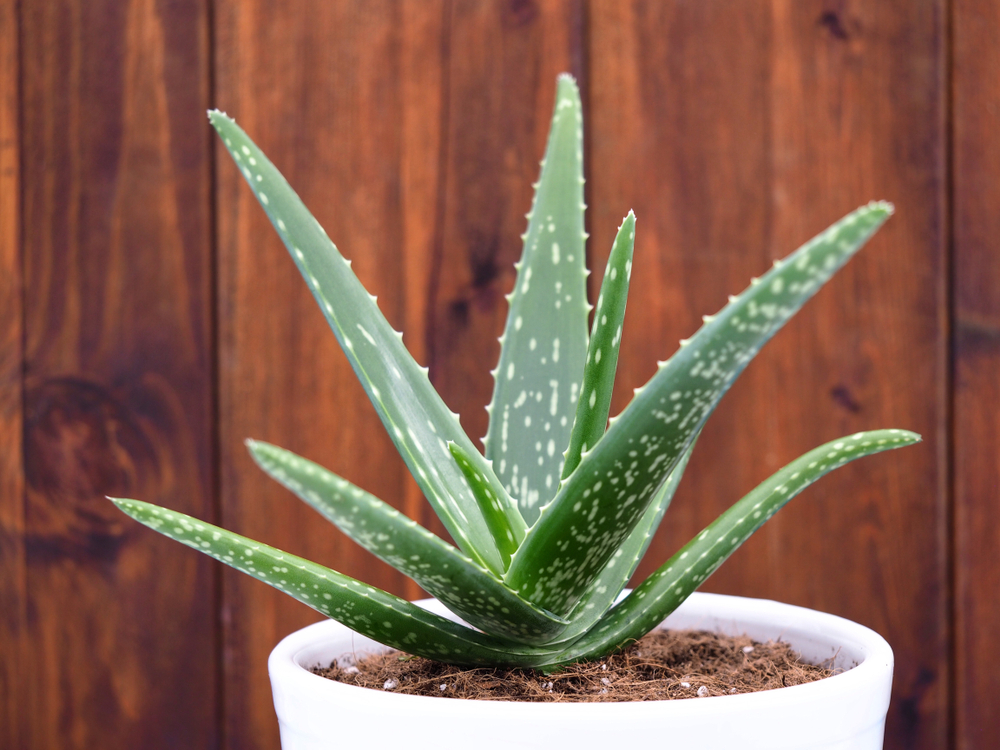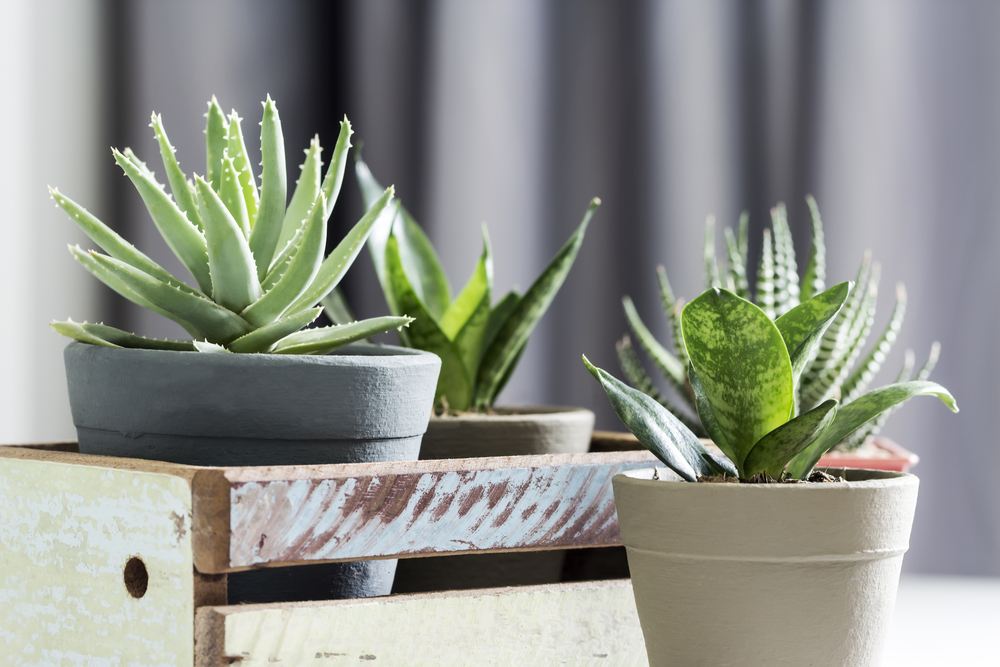
Aloe vera is one of those wonderfully low-maintenance succulents that looks just as great on a sunny windowsill as it does out on the patio during the summer. The best part? Caring for them is a total breeze. However, because these guys are surprisingly fast growers, they’ll eventually need a little more elbow room. If your Aloe is starting to look a bit cramped, it’s time for a repotting session!
What to Keep in Mind When Repotting
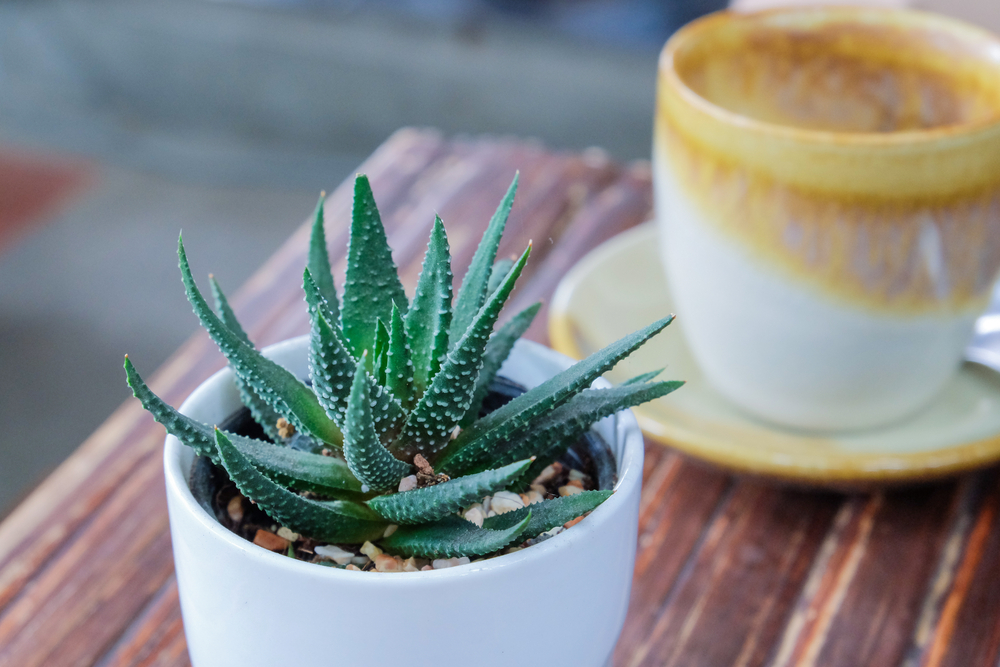
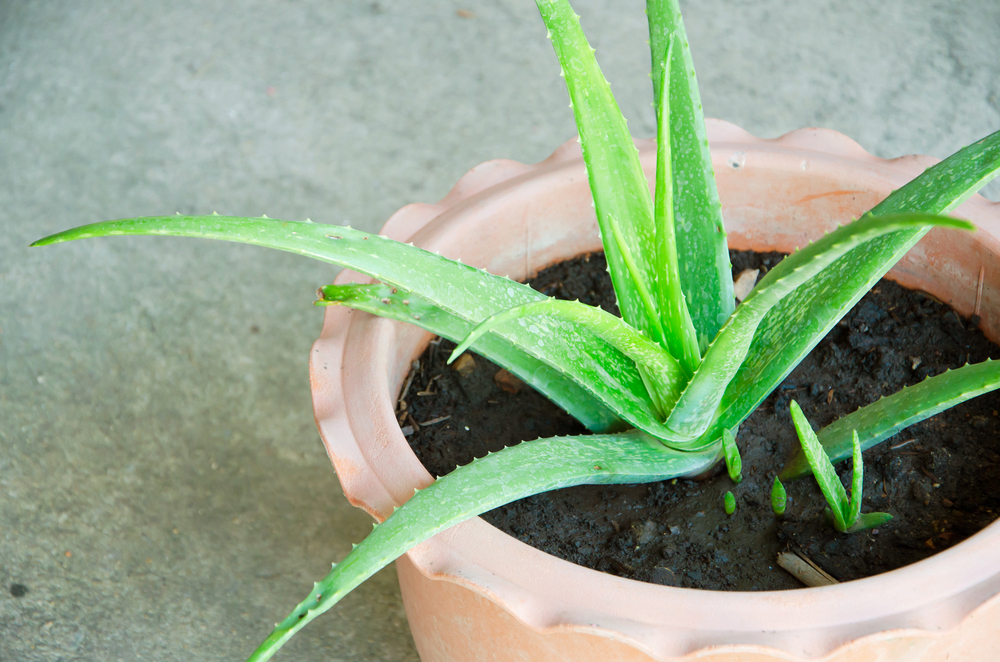
Technically, you can repot an Aloe vera almost any time of year, as long as it isn’t currently blooming. You’ll know it’s time for a change when the pot looks like it’s bursting at the seams. Usually, this happens about every two years. If you see roots poking out of the drainage holes—or if the plant is literally cracking its container—don’t wait!
Ideally, you want to plan your repotting for early spring. This is that “sweet spot” right after the plant wakes up from its winter nap but before it starts producing flower stalks. Pro tip: Let the soil dry out a bit before you start; it makes sliding the root ball out of the old pot so much easier.
Before you get your hands dirty, make sure you have your supplies ready. You’ll need a new pot that’s at least an inch or two wider than the old one. For soil, a high-quality cactus or succulent mix works perfectly. If you’re a DIY fan, you can mix your own using standard potting soil blended with plenty of sand and perlite to ensure excellent drainage. Once you’ve got your gear, you’re ready to go!
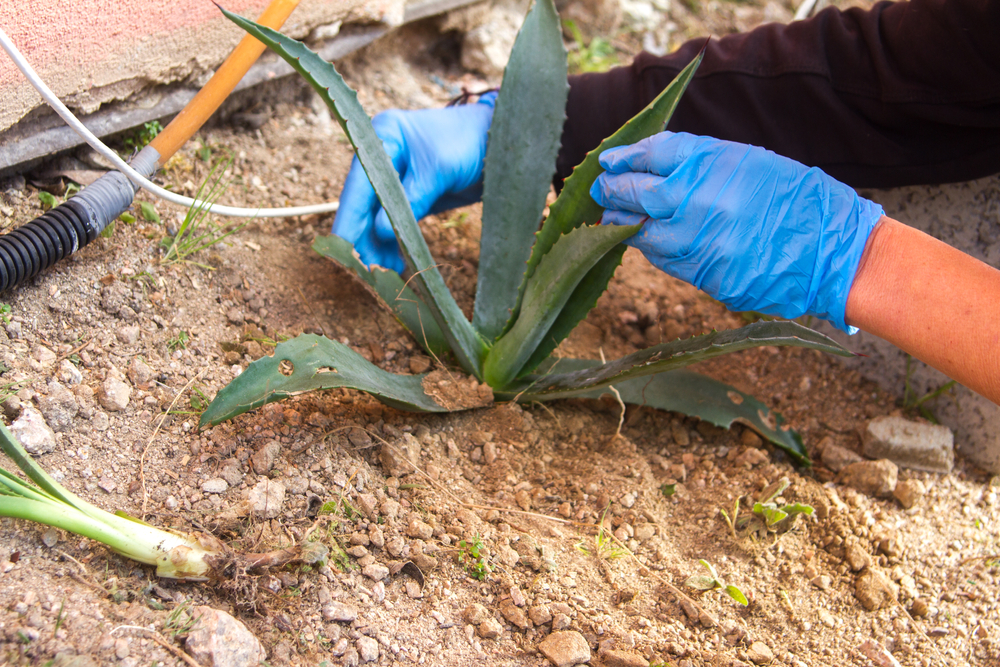
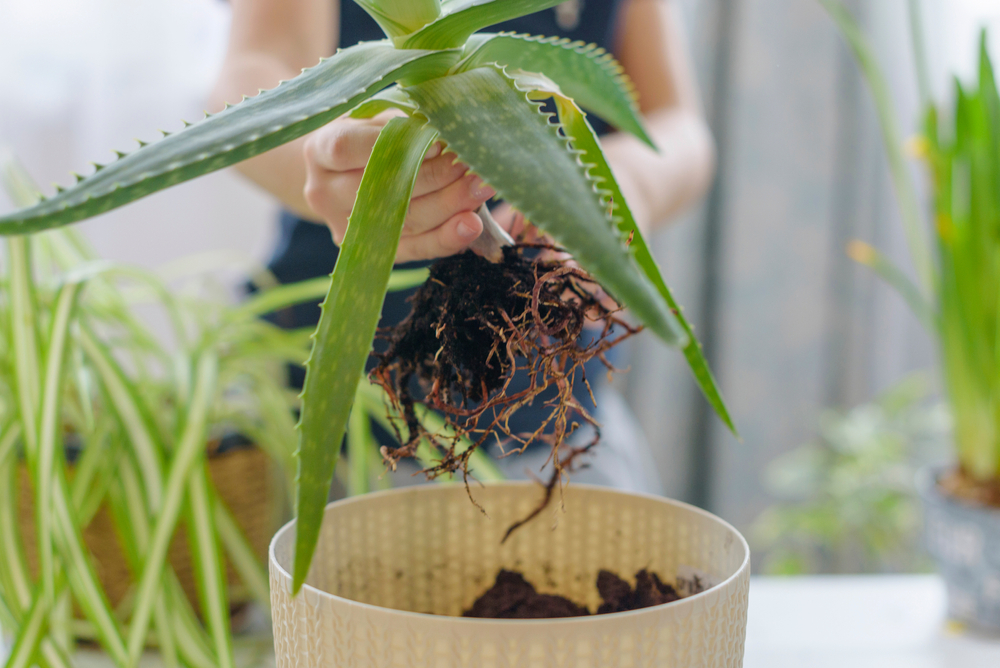
- Gently wiggle the plant out of its old container.
- Shake off as much of the old, spent soil as you can.
- Give the roots a quick inspection. Use a clean knife to snip away any parts that look shriveled or mushy.
- Create a drainage layer at the bottom of the new pot using expanded clay pebbles or coarse gravel. This is key to preventing root rot!
- Lay a small piece of landscape fleece or mesh over the drainage layer so the soil doesn’t wash away.
- Add a base layer of soil and center your Aloe in the pot.
- Fill in the rest of the space with soil, pressing down firmly to stabilize the plant.
- If you have a particularly large or top-heavy Aloe, feel free to use a stake for support until it settles in.
Once the move is complete, keep your Aloe out of direct sunlight for a few days to let it recover, then slowly move it back to its favorite sunny spot. You can also skip the fertilizer for a while—fresh soil is packed with all the nutrients this hardy plant needs. In fact, if you repot regularly, you might never need to fertilize at all! Finally, hold off on watering for about a week to let the roots get settled in their new home.