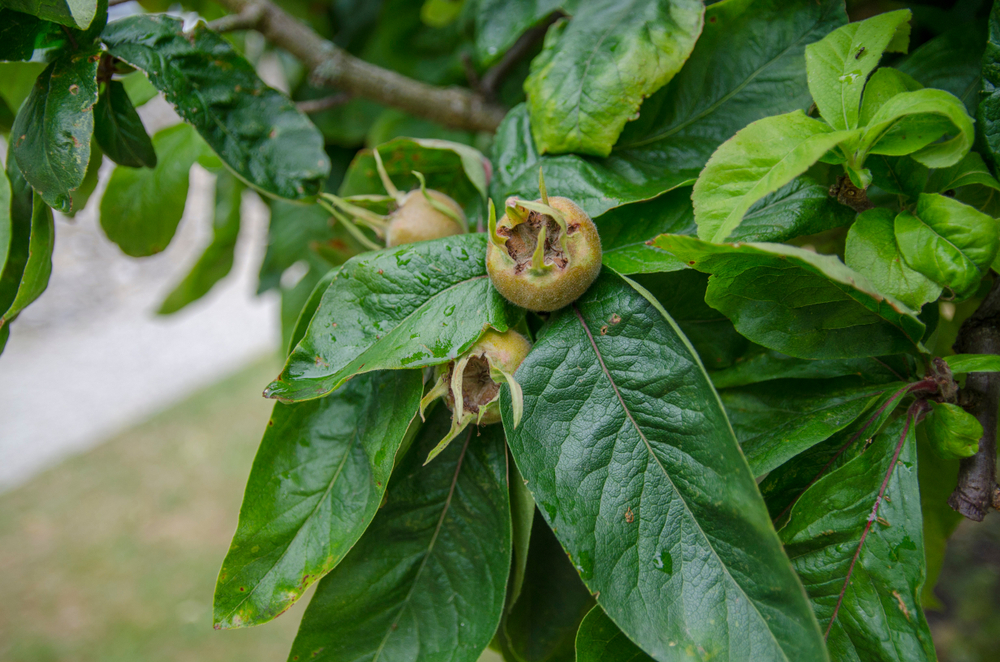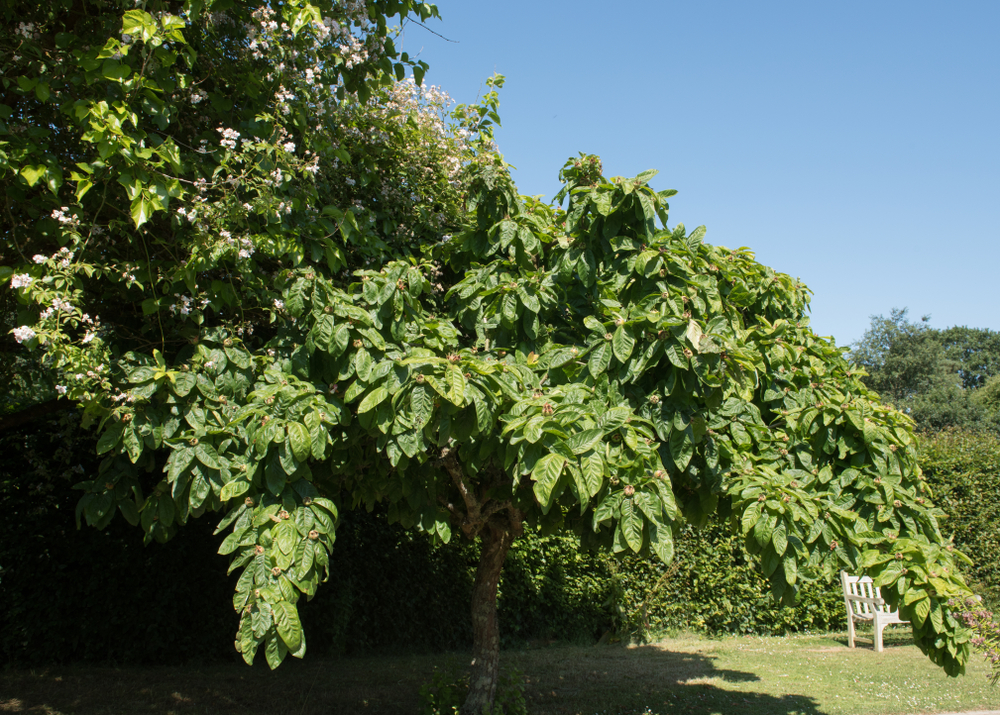
Back in the Middle Ages, the medlar tree was the star of the garden. These days, it’s sadly fallen off most people’s radar, which is a real shame! Not only does it produce a massive harvest of fruit, but it’s also one of the most low-maintenance trees you can grow. If you’re looking for an easy-going addition to your backyard, this might be it.
Pruning Young vs. Established Trees
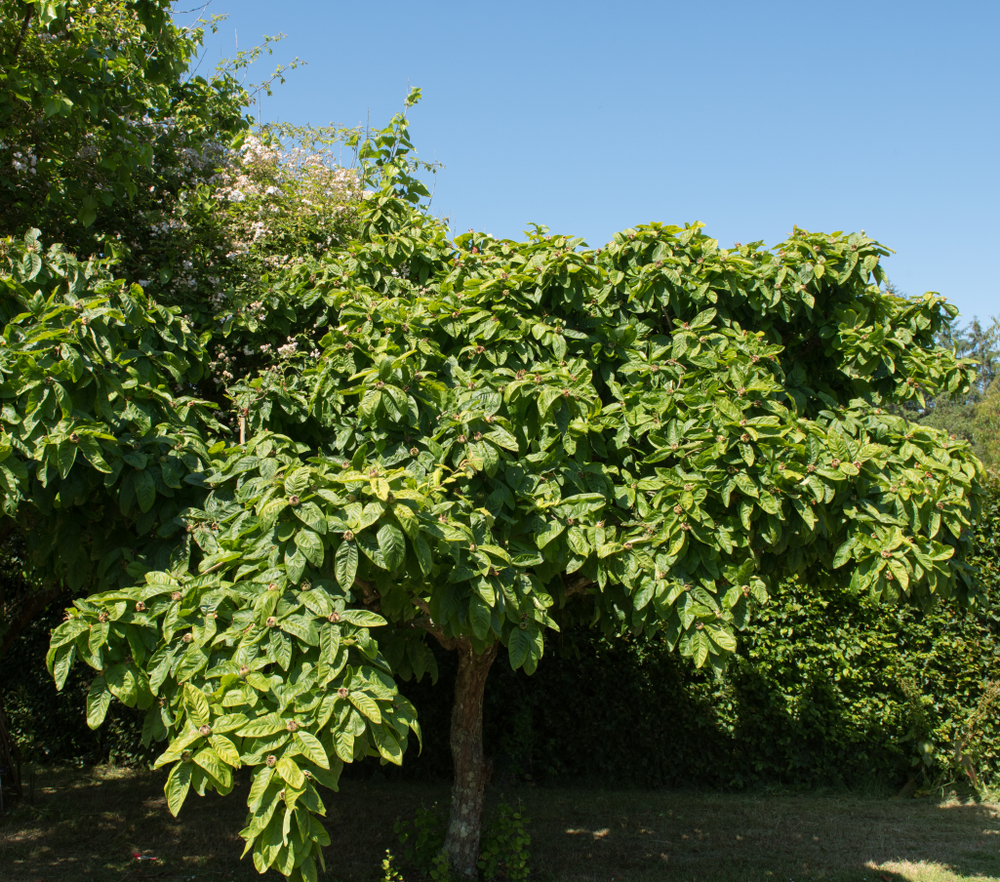
When you first plant your medlar, a good initial pruning is key. It helps the tree settle into its new home and ensures it gets the nutrients it needs. You’ll want to trim back the height and thin out some branches. Right now, the tree’s main job is to establish a strong root system so it can take care of itself down the road.
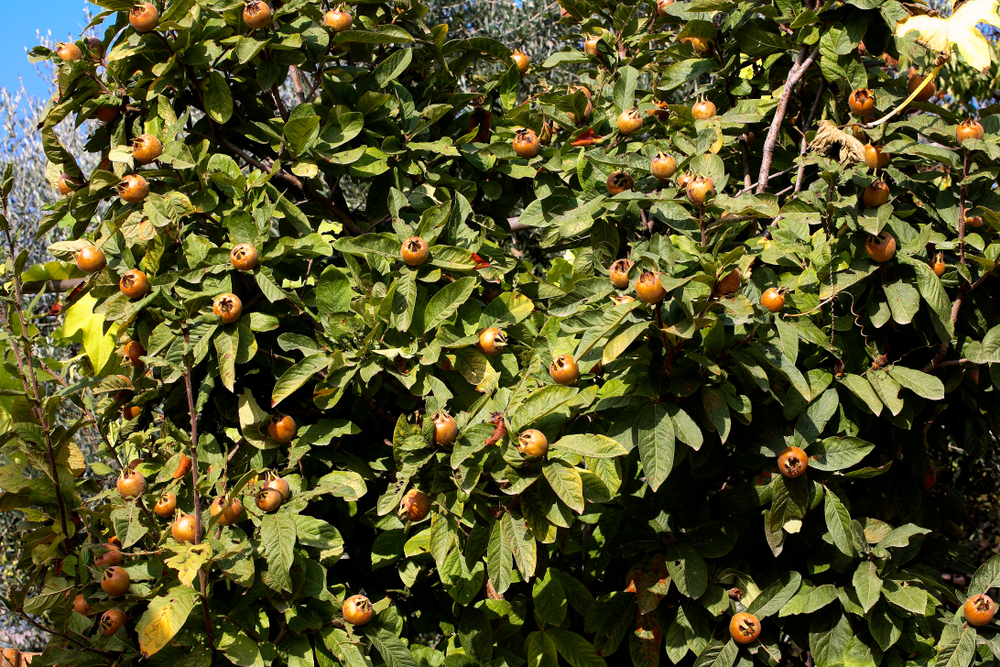
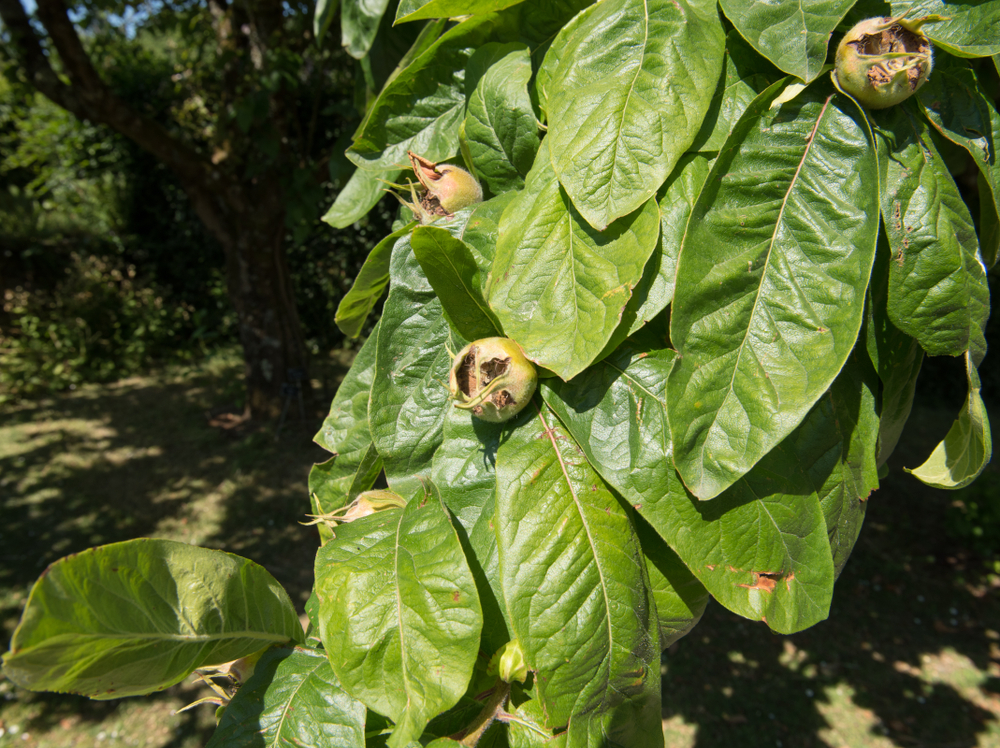
After about three years in its new spot, your young tree will start producing its first fruit. If you treat it right, it’ll keep producing for the next fifty years! To keep those yields high, you’ll need to grab your shears every now and then. Focus on removing old, withered wood or branches that are drooping heavily toward the ground.
Summer Shaping and Fall Thinning
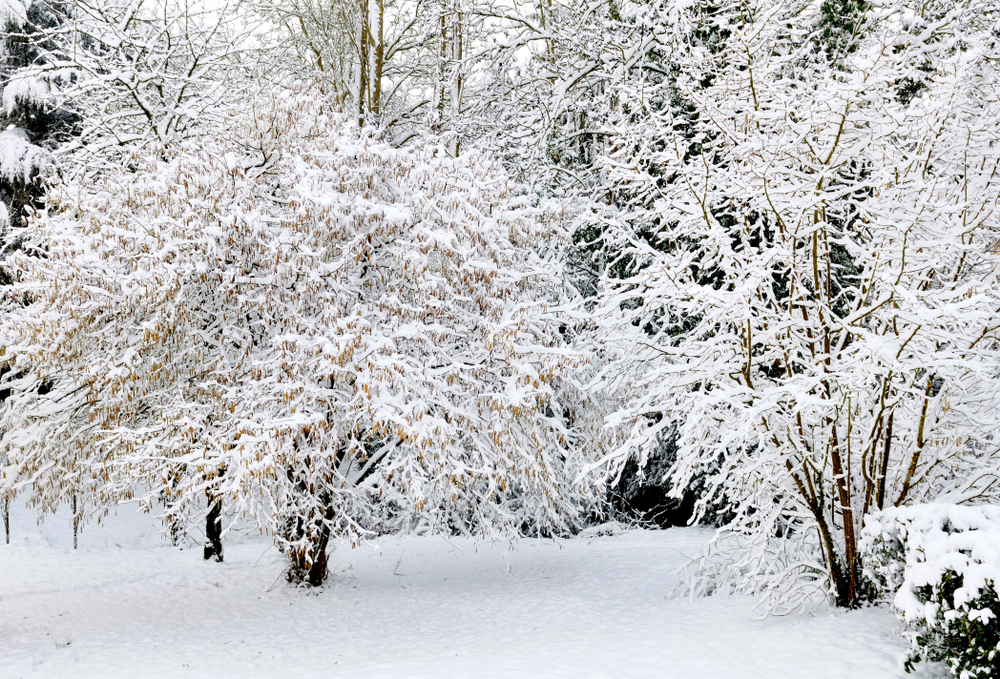
If your medlar is getting a bit too wild or tall for your liking, summer is the best time for a “training cut” to bring it back into shape. On the other hand, if the canopy is getting too dense and needs more airflow and light, wait until fall to do some thinning.
One golden rule for pruning: always use sharp, sanitized tools. Ragged cuts are like open wounds that invite pests and diseases. Make sure every cut is clean and decisive—never pull or tear at the branches. I also highly recommend disinfecting your shears or knives with rubbing alcohol both before and after you work. Your tree will thank you!