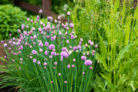
Chives are a total kitchen staple thanks to that amazing, mild onion flavor. Plus, they’re usually pretty tough and low-maintenance. However, even the hardiest herbs can run into trouble, and you might notice your vibrant green stalks starting to turn a sad shade of yellow. If your chives are looking a little peaked, don’t worry! Here’s how to fix it and keep them thriving.
Why are my chives turning yellow?
Believe it or not, diseases or pests are rarely the culprits when it comes to yellowing chives. Most of the time, it’s a “lifestyle” issue. The most common causes are:
- Bone-dry soil
- Excessive heat
- Standing water (soggy feet!)
- Lack of nutrients
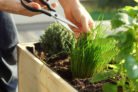
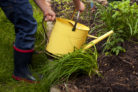
Watering your chives the right way
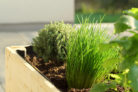
Chives aren’t too picky about their location, as long as their soil stays consistently moist. This can get tricky during the peak of summer when the heat cranks up. You’ll need to water them more frequently during heatwaves, but try to avoid watering during the scorching midday sun. Your best bet is to give them a drink in the early morning or late evening.
On the flip side, you don’t want them sitting in a puddle. Too much water leads to root rot, which—you guessed it—turns the leaves yellow. If your chives are drowning in soggy soil, transplant them into fresh, well-draining soil immediately. Be sure to snip off any mushy, rotting roots before replanting.
Feeding your chives
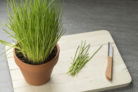
It’s actually pretty rare for chives to suffer from a nutrient deficiency. However, if you have potted chives or plants that have been in the exact same spot for years, they might need a little fertilizer boost. Since you’ll be eating these herbs, stick with an organic fertilizer. Liquid organic fertilizers are great because they reach the roots quickly and get to work right away.
How to rescue yellowing chives
If your chives are looking rough with yellow or dried-out stalks, the best solution is actually a “tough love” approach: a radical pruning. Here’s how to hit the reset button:
- Cut all the stalks down to about an inch (2 cm) above the soil.
- Give the plant a good watering.
- Let it regrow from scratch.
- In just a few weeks, you’ll have a fresh batch ready to harvest!
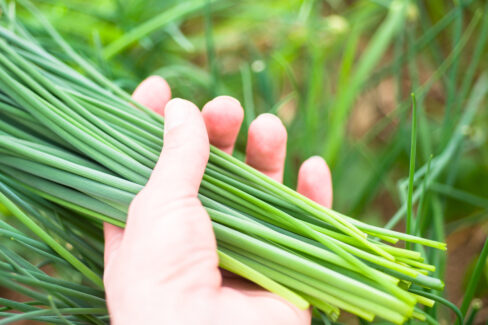
The key here is to take all the stalks down at once. Don’t toss the healthy green ones, though! You can use them immediately or preserve them for later.