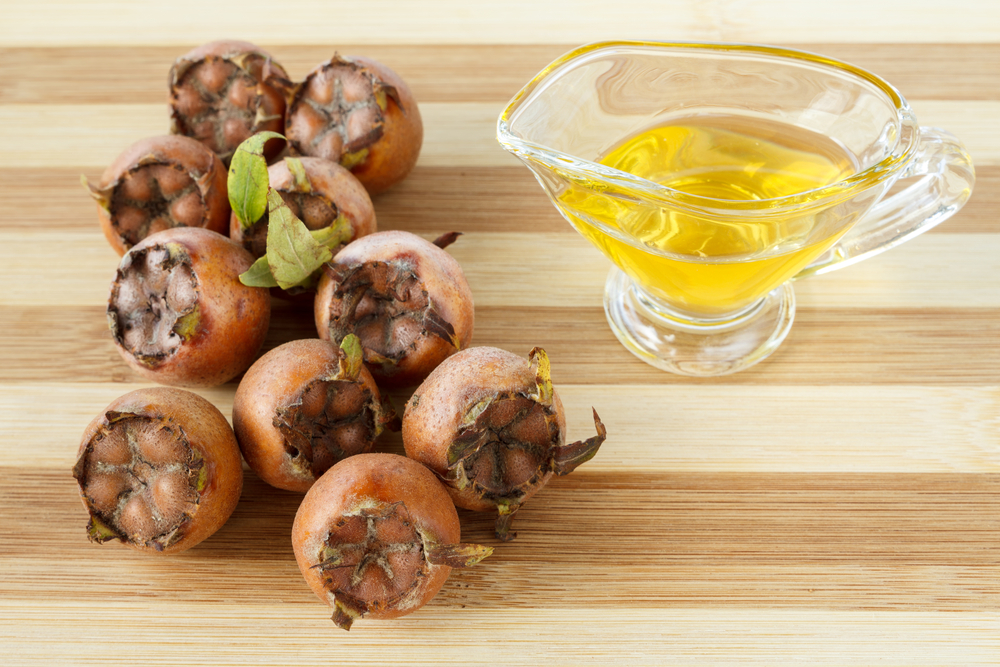
If you’ve ever been lucky enough to snack on the fruit of a medlar tree, you’ve definitely run into its seeds. They’re incredibly hard, so most people just spit them out and move on. But wait! Before you toss them, you should know those little guys are actually perfect for starting your own tree.
What’s the Deal with Medlar Seeds?
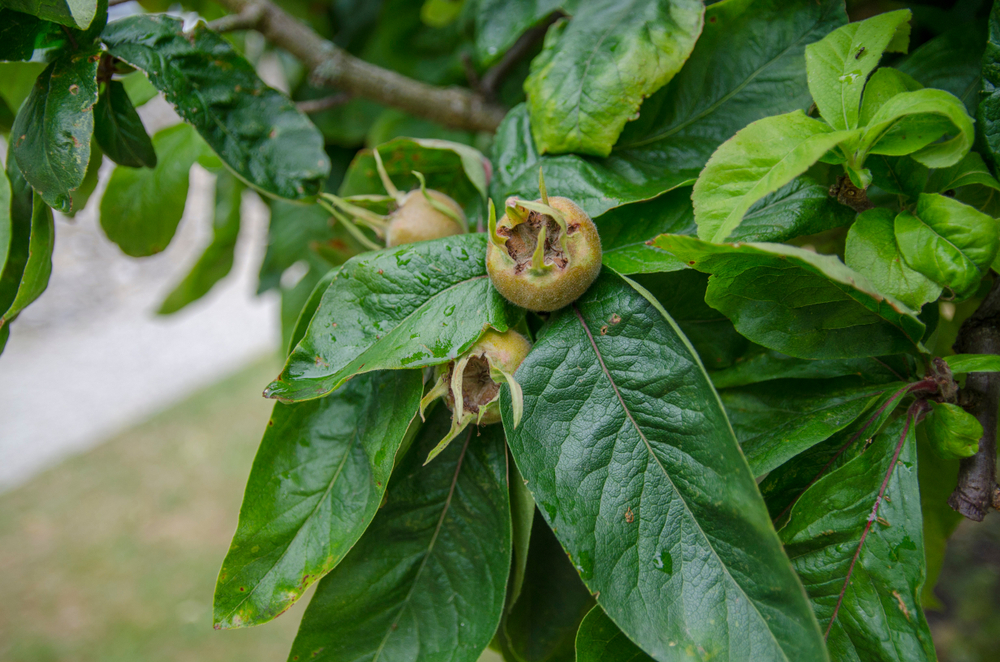
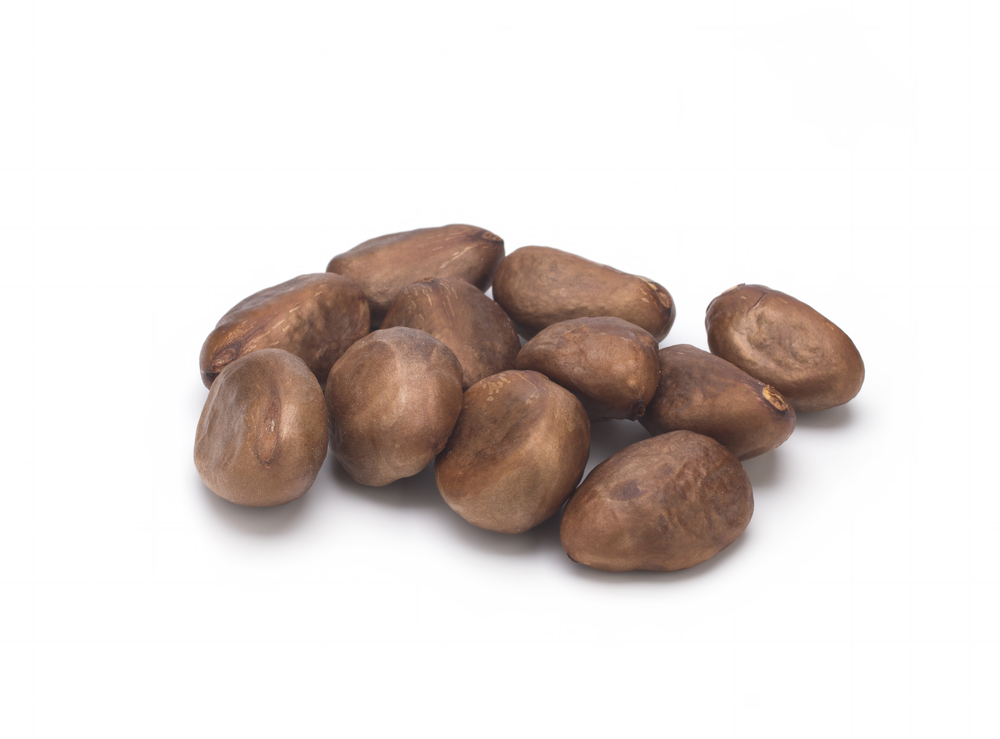
Medlar seeds are a bit… quirky. They’re brownish and don’t really follow a standard “seed shape.” Some are flat, some are round, and others are more oval-shaped. They are rock-hard and have all sorts of different textures on the surface.
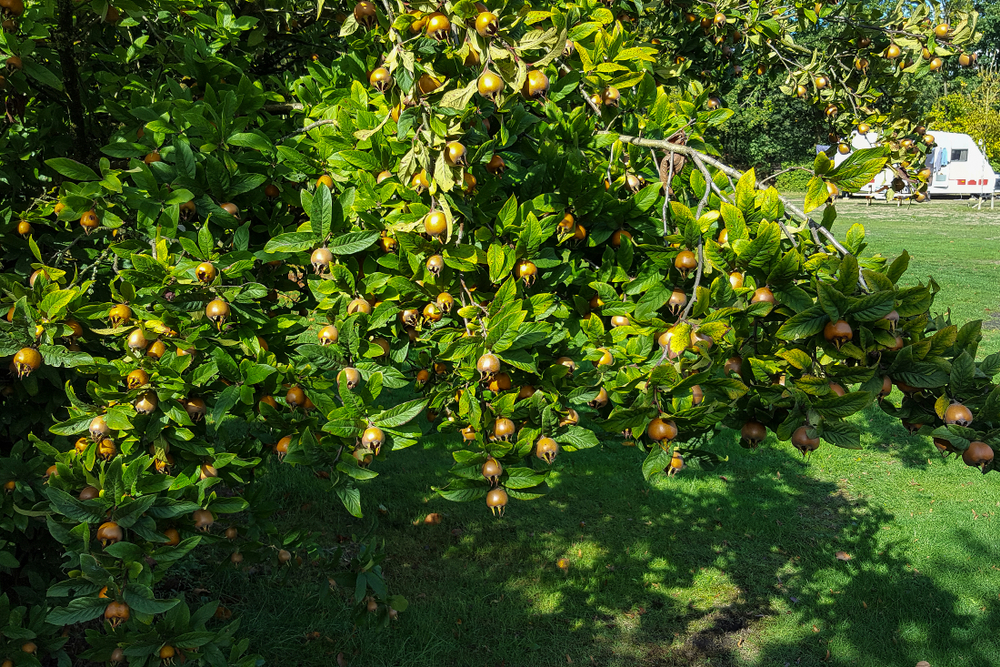
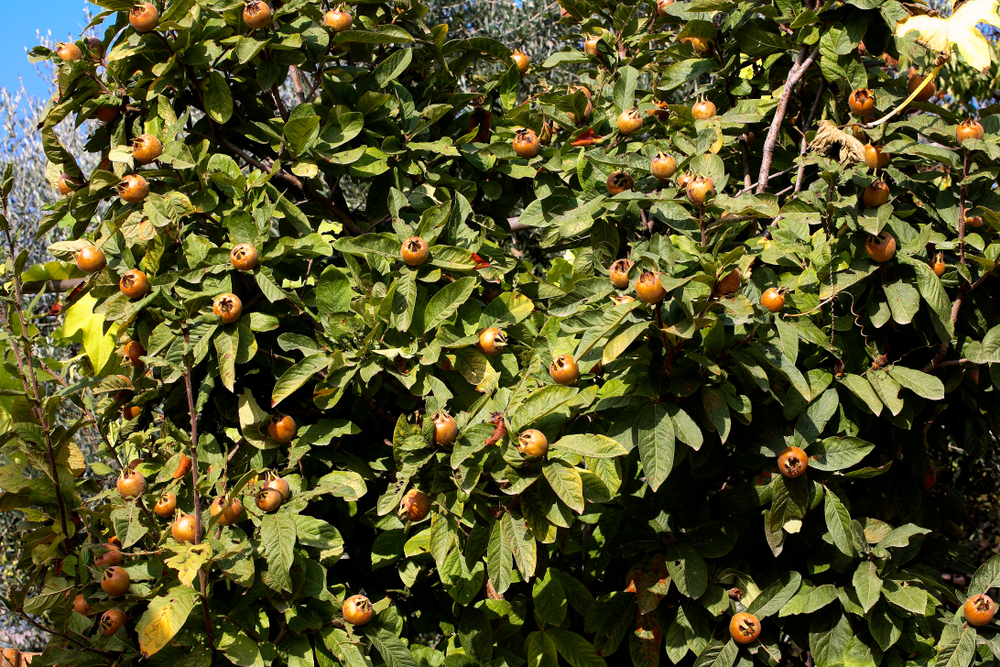
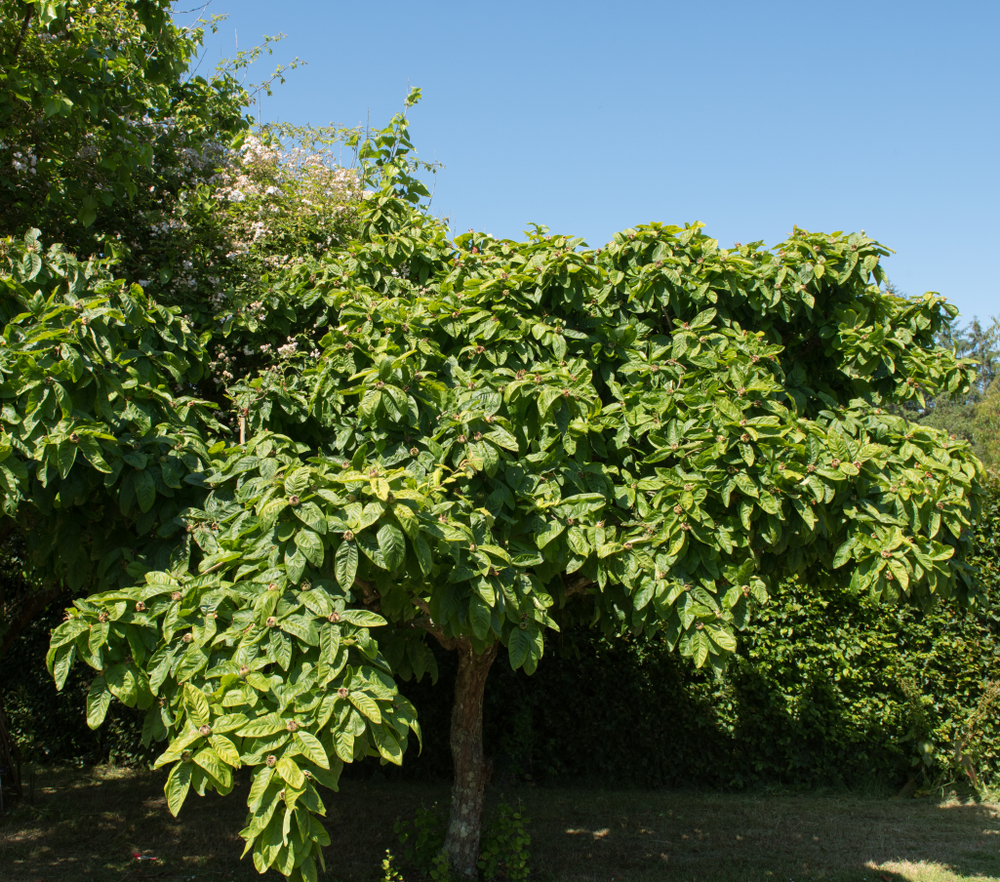
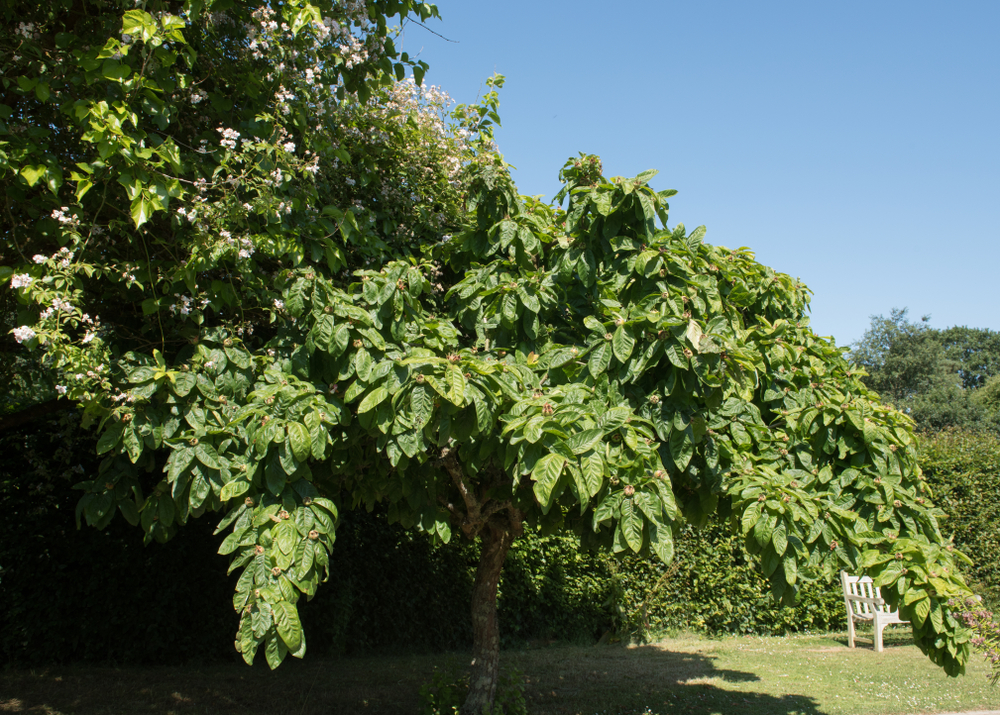
Honestly, it’s like every single seed is a little individual work of art. It actually fits the vibe of the whole plant perfectly—between the unique crown of the tree and those bright red fruits that hang on all through the winter, the medlar is definitely a standout in any garden.
How to Get Your Seeds Growing
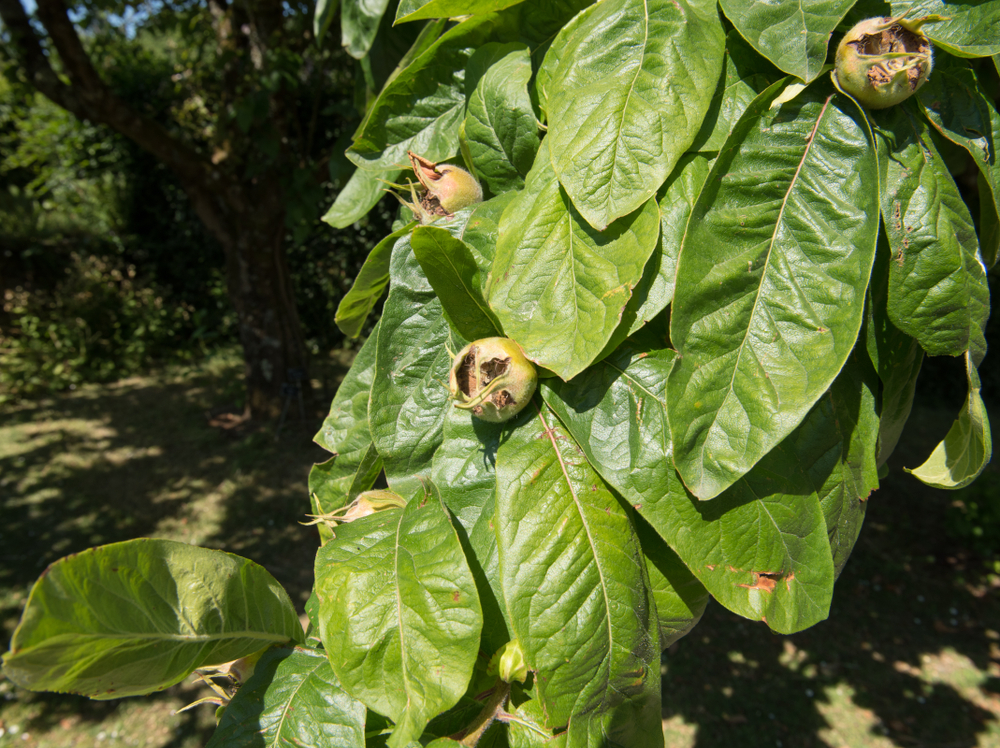
First things first: you’ve got to get the seeds out of the fruit. Since they’re so tough, you don’t have to worry about accidentally breaking them. However, it’s much easier if the fruit is nice and soft. Fall is the perfect time for this because that’s when they’re fully ripe. Once you’ve harvested your seeds, you can plant them directly in your garden bed or start them in a pot.
Whichever way you go, make sure you pick a sheltered location so the young plant has a chance to establish itself. If you’re planting outdoors, here’s a pro tip: use a biodegradable clay pot. Just fill it with soil, pop the seed in, and bury the whole thing in the ground. The pot will eventually break down on its own.
One super important thing to remember: medlar seeds are “cold germinators.” This means they need to go through a cold snap before they’ll even think about sprouting.
This process is called stratification. Nature usually handles this over the winter, but if you’re impatient (like me!), you can mimic this by putting the seeds in the freezer for a bit. Before you actually plant them, soak the seeds in water for about 24 hours to give them a little “wake-up call.” Then, tuck them into some seed-starting mix about a quarter-inch (0.5 cm) deep. Give them a good drink of water and make sure to keep the soil consistently moist while you wait for those first sprouts to appear!