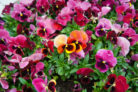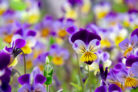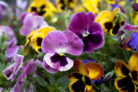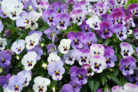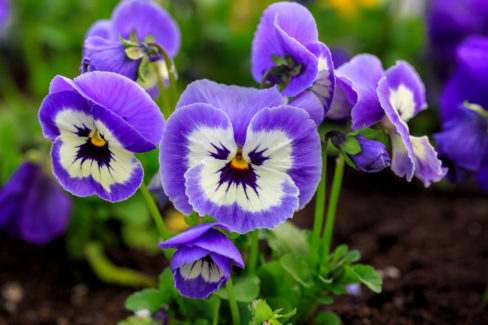
While they originally hail from the Pyrenees mountains, horned violets (Viola cornuta) feel right at home in our backyard gardens. Once you’ve found the perfect spot for them, they’re incredibly low-maintenance—just a little fertilizer at the start of the season and they’re good to go. They even love to self-seed! If you want to be more intentional about your garden layout, you can grab some starts from your local nursery or try your hand at starting them from seed yourself.
When to Plant
You can get your horned violets in the ground as soon as the threat of frost has passed, usually starting in late March. You can actually keep planting them all the way through October. If you’re planning to grow them from seed, I recommend getting a head start by starting them indoors on a sunny windowsill as early as January.
Location and Soil
Horned violets are happiest in partial shade. Ideally, you want soil that is rich in organic matter, loose, and well-draining. The biggest “no-no” for these beauties is standing water. If they get “wet feet” for too long, the roots will rot, and you’ll lose the plant. If you’re dealing with heavy clay soil, try mixing in some sand or adding a layer of broken pottery shards at the bottom of your pots for drainage. To give them a nutritional boost, work in some compost or a bit of horn meal before planting.
How to Plant
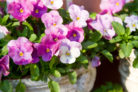
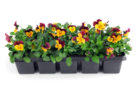
These versatile flowers look great in perennial beds, rock gardens, or as a “living mulch” under trees and shrubs. They also thrive in terracotta pots or large planters. A pro-tip: planting them under fruit trees is a win-win! They attract plenty of pollinators that will help boost your fruit harvest. Here’s the best way to get them in the ground:
- Loosen the soil in your garden bed and clear out any weeds.
- If using a pot, add some drainage (like pebbles or pottery shards) to the bottom.
- Fill with high-quality potting soil.
- Dig a hole about twice as wide as the root ball.
- If your soil doesn’t drain well, add a little extra drainage material to the hole.
- Space your plants about 8 inches (20 cm) apart.
- Set the violet in the hole.
- Fill in with soil and press down firmly.
- Give them a good soak.
Sowing Seeds
If you’ve got a green thumb, growing from seed is a fun project. Horned violets are “cold germinators,” meaning the seeds need a period of cold to wake up. Store-bought seeds are usually pre-treated, but if you’re harvesting your own, keep them in a container with a little sand in the fridge for a few weeks. Between January and March, follow these steps:
- Fill seed trays with a light seed-starting mix.
- Sprinkle the seeds on top—they need light to germinate, so don’t bury them! Just a very thin dusting of soil (or none at all) is perfect.
- Keep the tray in a cool, dark spot at first.
- Keep the soil consistently moist.
- Once they sprout, move the tray to a brighter location.
- When you see the second pair of leaves, it’s time to “prick them out” (transplant them into individual small pots).
- Move them to the garden in May once the nights are safely above freezing.