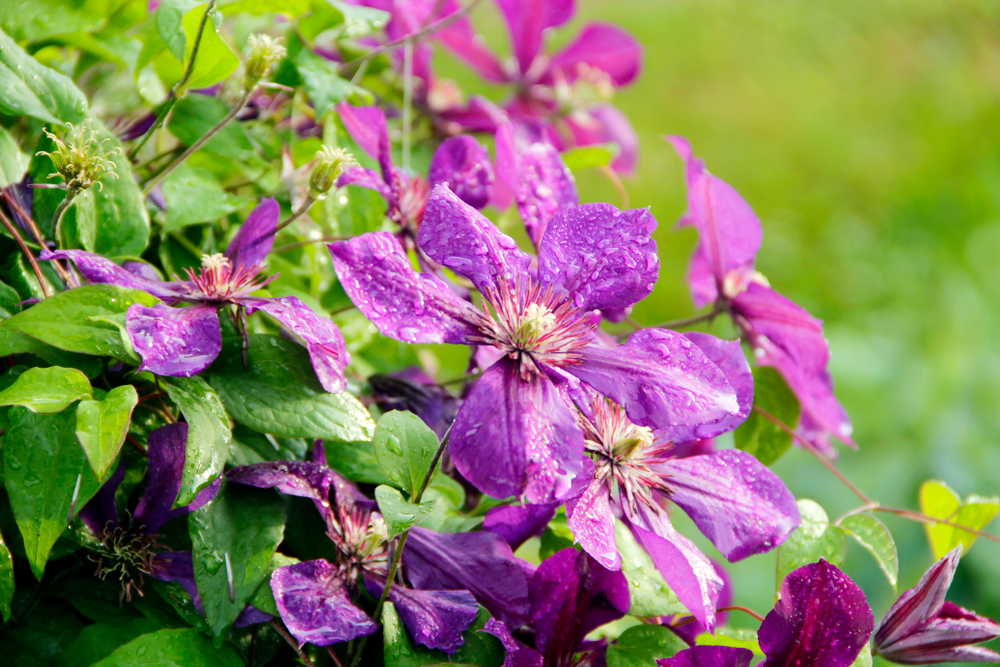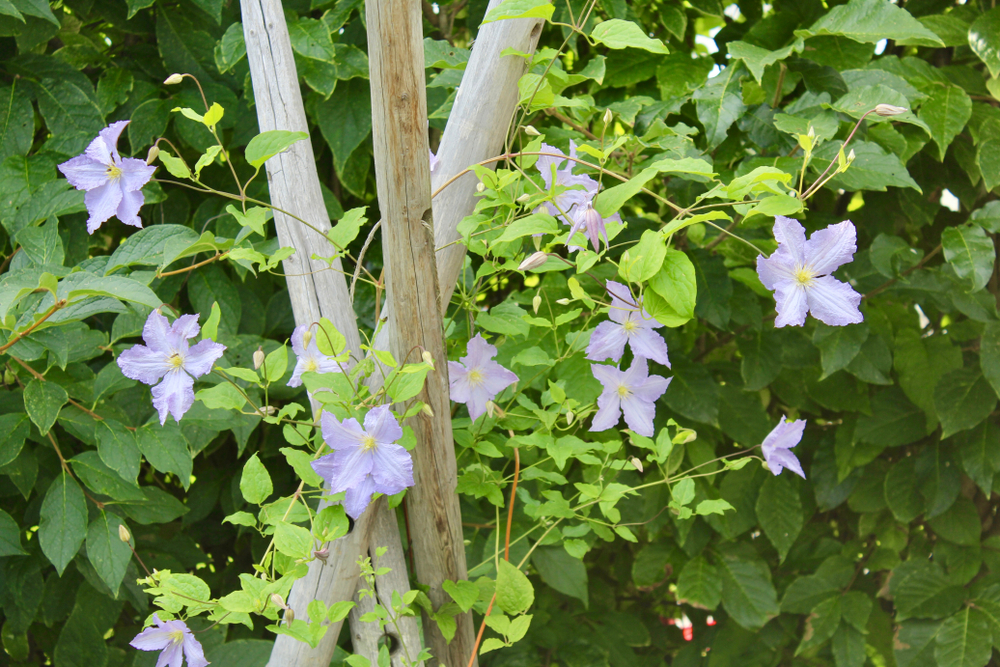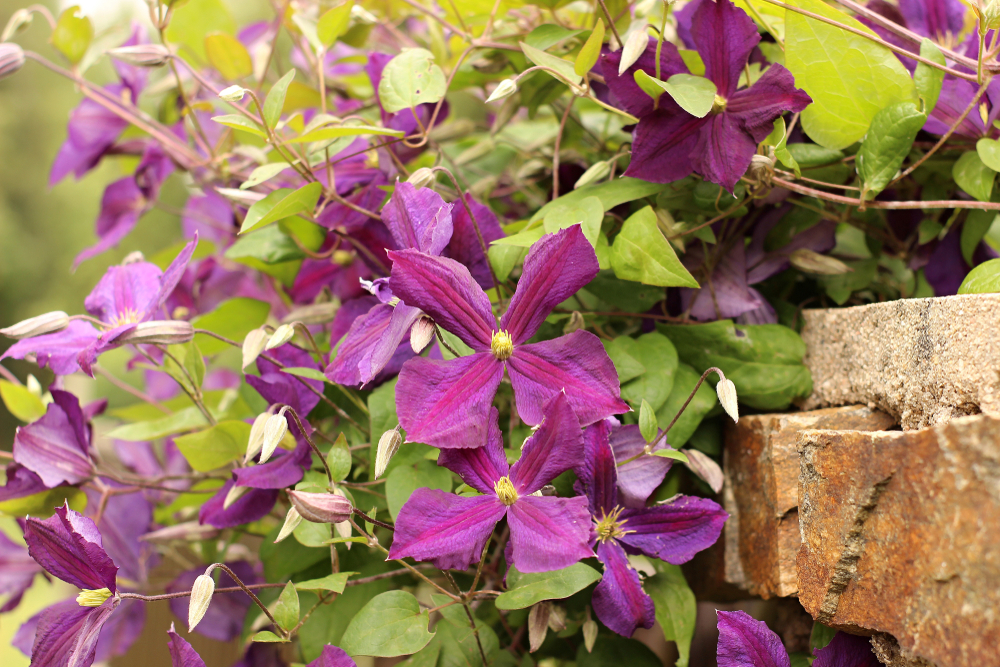
Once you’ve fallen in love with the stunning blooms of a clematis in your garden, it’s hard to imagine your backyard without one. But sometimes, life happens—maybe you’re redesigning your landscape or that perfect spot isn’t so perfect anymore. If your clematis needs a new home, don’t worry! Moving it is totally doable, but success really comes down to your technique.
Timing is Everything
First things first: you’ve got to pick the right moment. Just like when you’re first planting them, the best time to transplant a clematis is late summer or early fall. Aim for a warm, dry day if you can. Ideally, you want the soil temperature to be between 57°F and 72°F. This “sweet spot” gives your clematis the best chance to settle in and get comfortable before winter hits.
Prep Work Pays Off
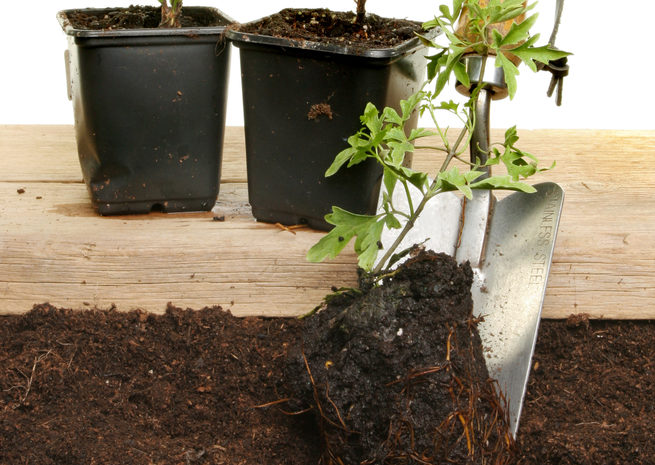
Moving is stressful for plants (just like it is for us!), so a little prep work goes a long way. To make the transition easier, prune the vines back to about 8 inches. This helps the plant focus its energy on growing new roots rather than maintaining long stems. Keep it well-watered leading up to the move, too.
While you’re at it, get the new hole ready by clearing out any weeds. Pro tip: add about a 4-inch layer of grit or gravel at the bottom of the new hole. This creates great drainage and prevents the dreaded “wet feet” (root rot) that clematis hate.
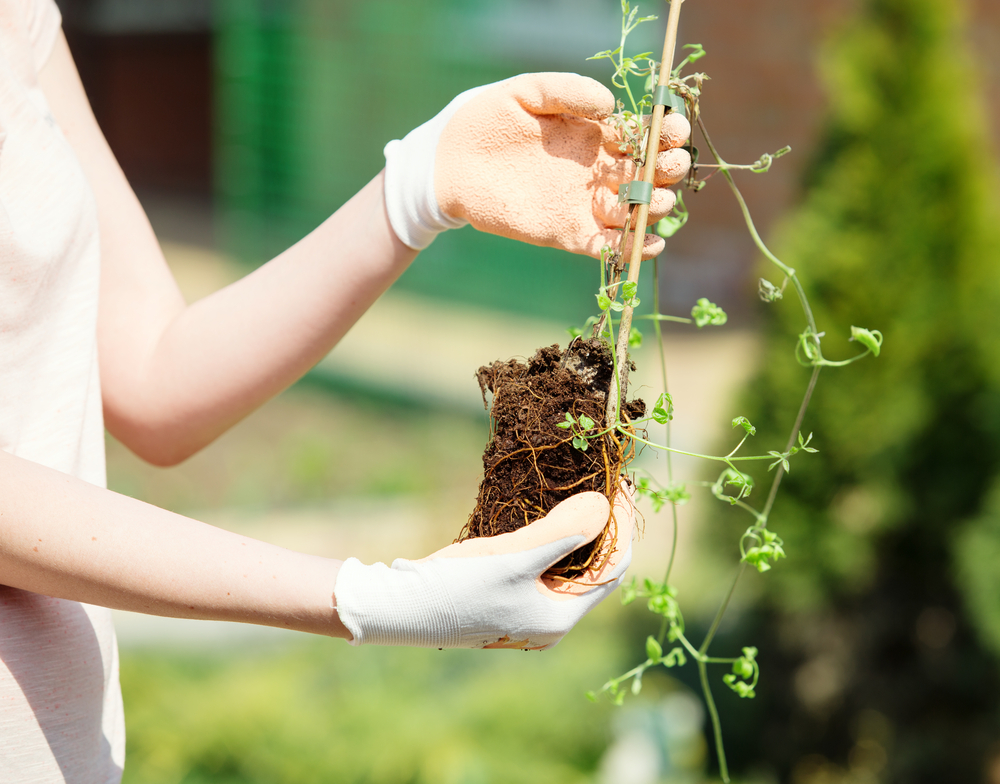
The Big Move
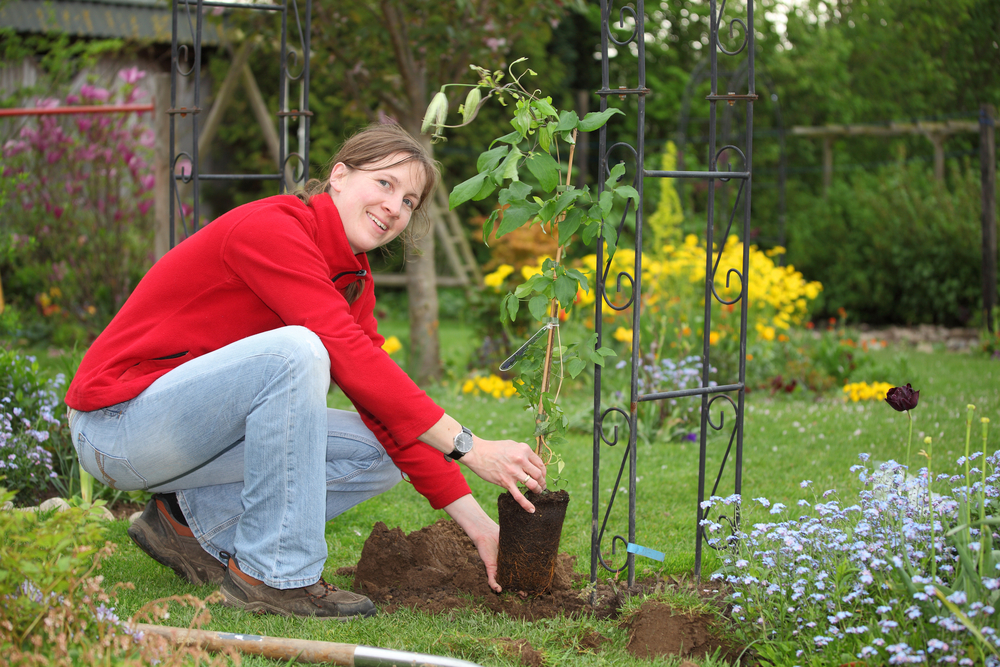
To keep the root system as happy as possible, use a garden fork to gently loosen the soil around the plant. Once it’s loose, slide a spade under the root ball and lift it out carefully.
When you place it in its new home, make sure to plant it deep enough so the lowest buds are actually underground—this encourages stronger growth. Before you fill the hole back in, mix your soil with some compost, sand, and horn meal (or a similar organic fertilizer). This gives your clematis a nice nutrient boost to start its new chapter. Finally, keep the water coming regularly for the first few weeks while it gets established. Happy gardening!