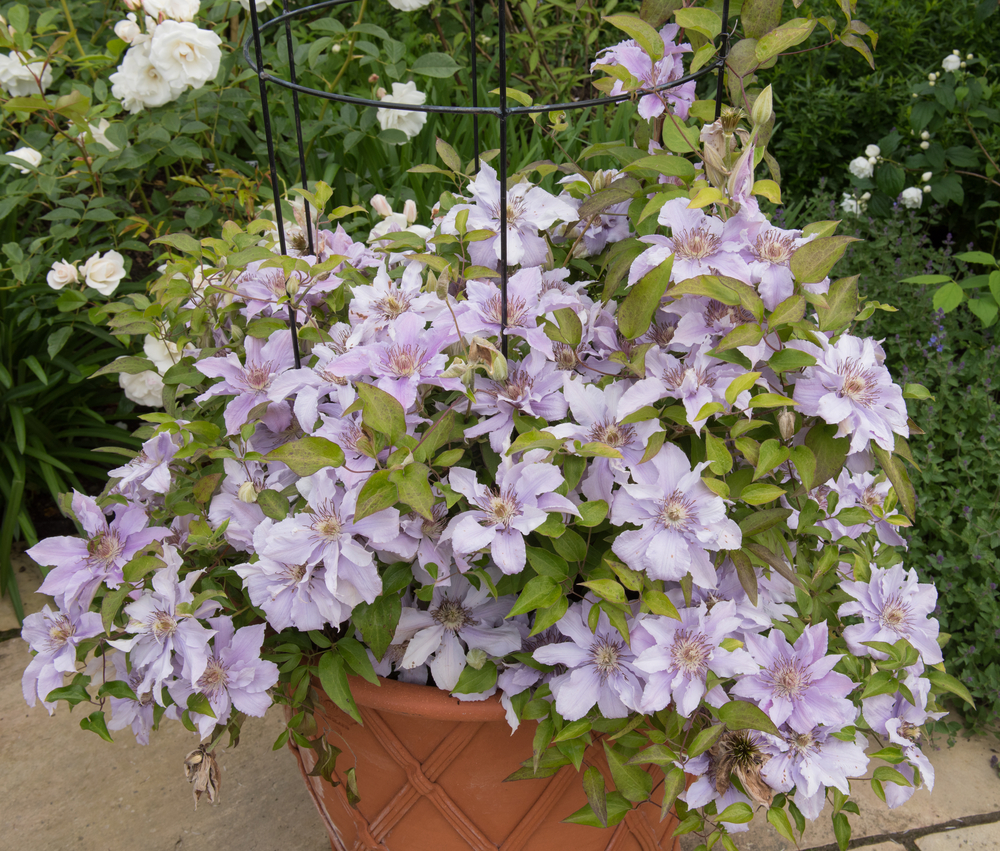
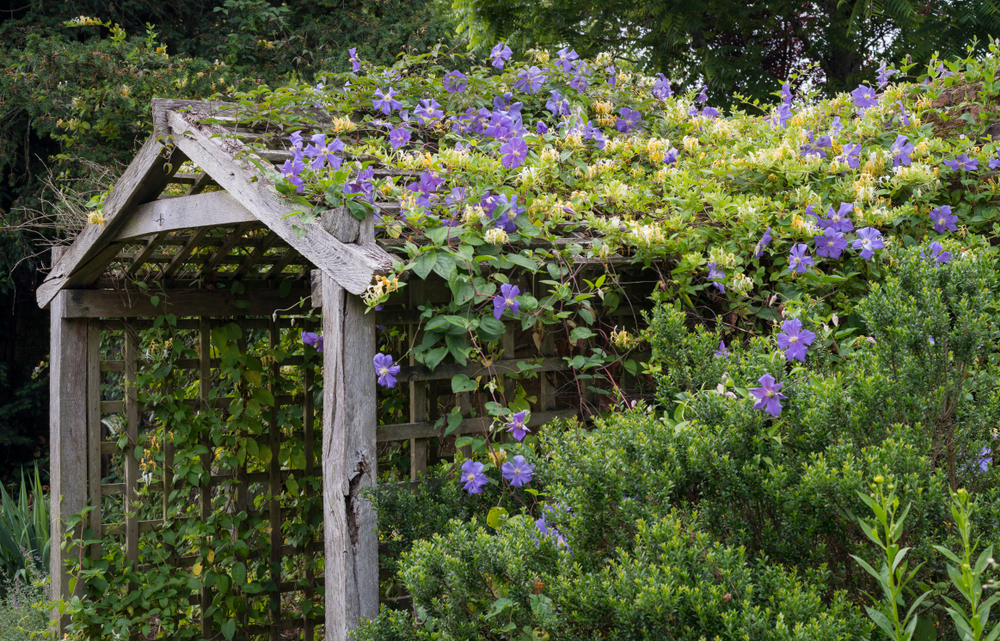
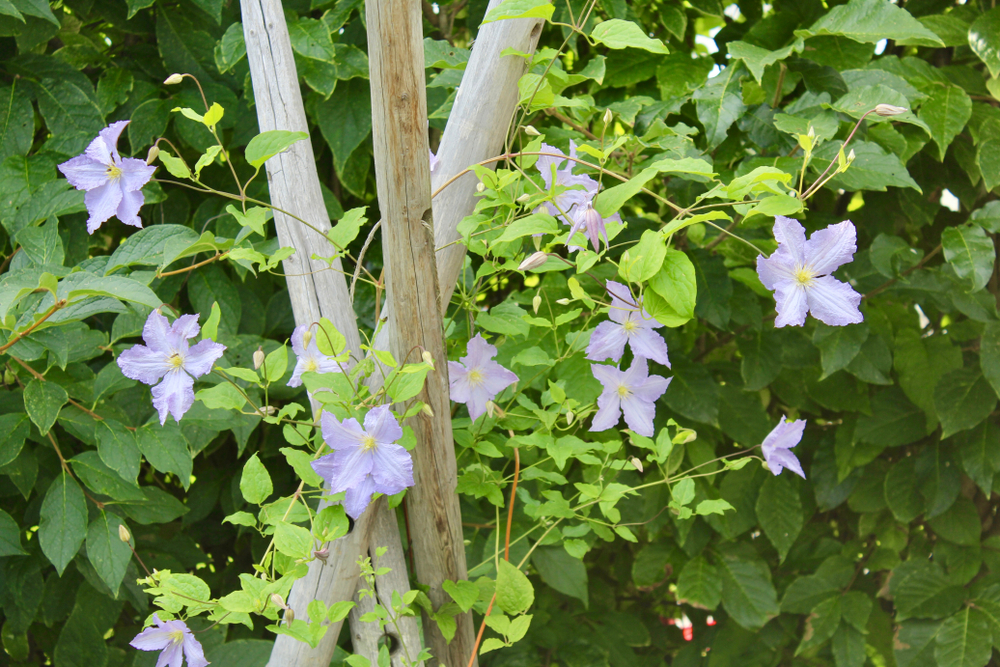
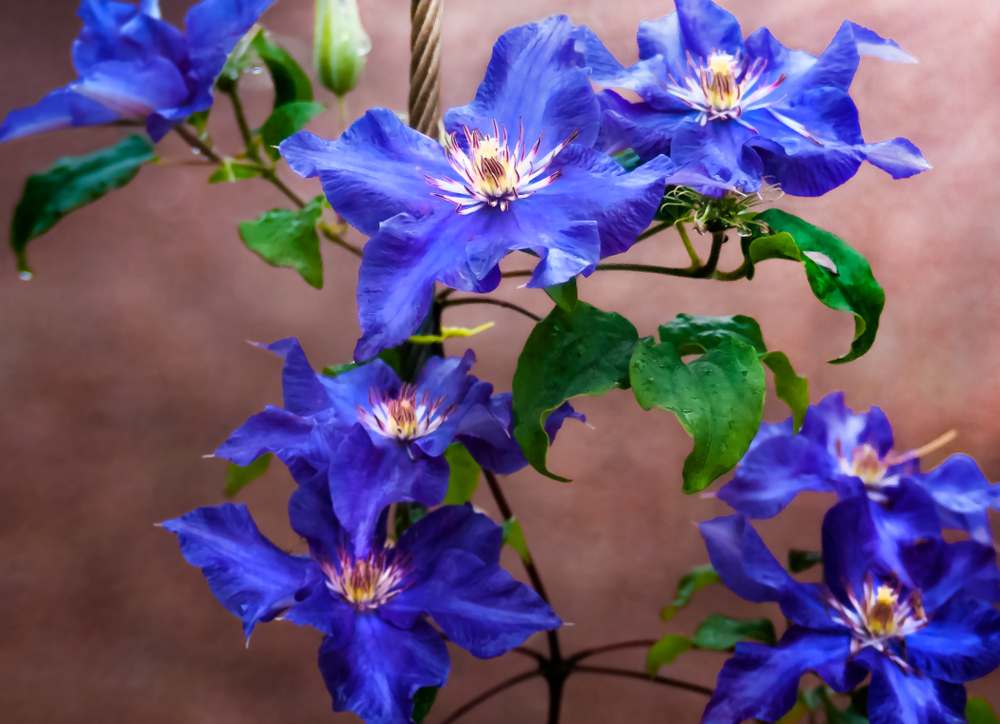
Clematis isn’t just a superstar for covering walls or growing as a lush hedge; it also looks absolutely stunning in containers. However, there comes a point when your favorite climber starts outgrowing its home, and those roots begin bursting at the seams. When that happens, it’s time to give your Clematis a bit more breathing room with a fresh pot.
Timing is Everything
If you were transplanting a Clematis directly into your garden soil, late summer or early fall would be your best bet. But when we’re talking about moving from one pot to a larger one, the rules change slightly. You’ll want to aim for late winter or very early spring. The logic is pretty simple: while garden transplanting focuses on quick root establishment, repotting is all about minimizing stress. By catching the plant at the end of its winter dormancy—when the leaves are gone—you’re giving it the easiest transition possible.
Getting Started with the Move
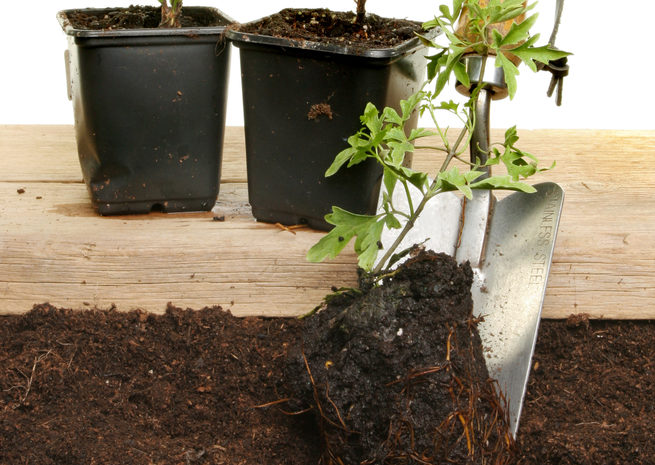
Since the whole point is that the old pot was getting too tight, your new container should be at least four inches (10 cm) wider in diameter. Drainage is non-negotiable here! Make sure there’s a good-sized hole at the bottom, because soggy roots are a recipe for several diseases that can really set your plant back. To keep things flowing, start by adding a 2 to 3-inch layer of gravel or crushed stone at the bottom for drainage.
Planting Deep for Success
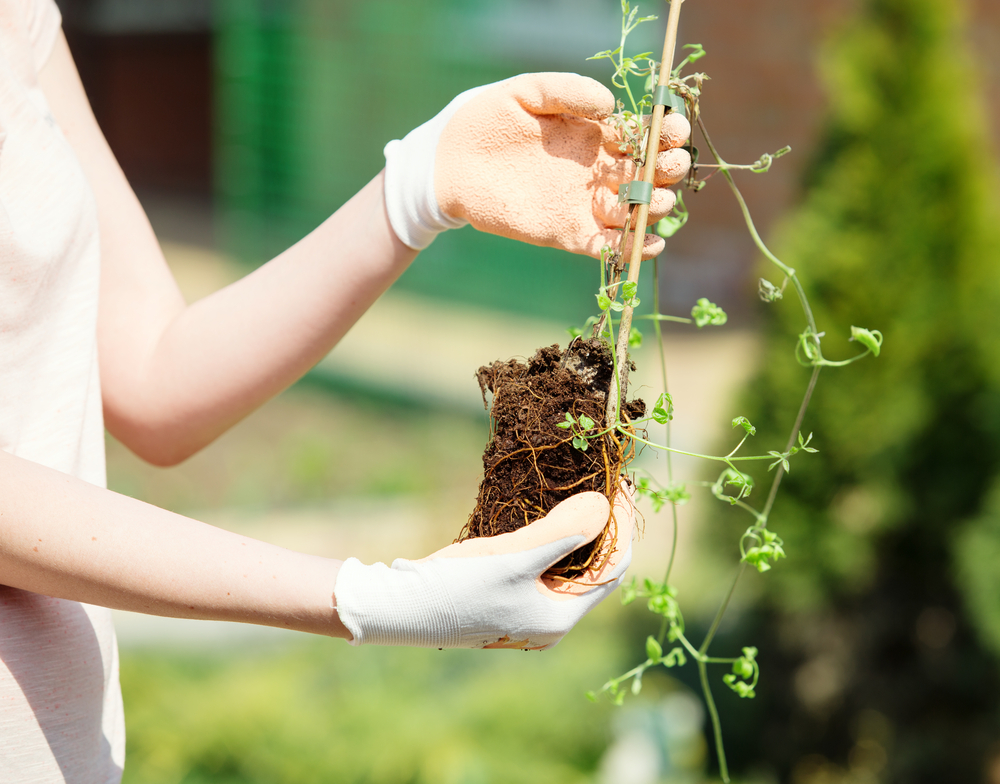
Next, fill the pot about halfway with a high-quality potting mix and create a little well in the center. Gently remove your Clematis from its old home and place it in the new pot. Here’s a pro tip: set the plant about 2 to 3 inches deeper in the new soil than it was sitting before. This helps protect the crown and encourages stronger growth. Finally, top it all off with a nice layer of bark mulch or pine bark to keep those roots cool and happy.