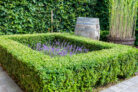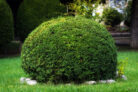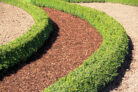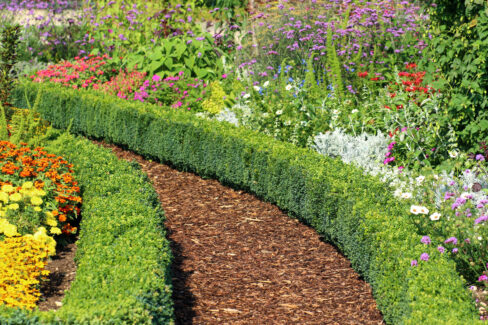
Whether you’re dreaming of a low, tidy border or a tall, sweeping privacy screen, boxwoods are the ultimate “go-to” for any garden shape you can imagine. But they do more than just mark boundaries—they act like a living frame that makes the colors and textures of your other plants really pop. To get that lush, gap-free look we all love, you’ve got to start with a solid planting plan.
Choosing the Right Plants for Your Hedge
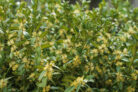
First things first: you’re going to need a lot of little boxwoods! If you’re looking to create a garden bed edging, go for slow-growing, dwarf varieties. If you want a tall privacy screen, you’ll want varieties with a faster growth rate.
As a rule of thumb: if your saplings are under 6 inches tall, space them about 4 to 6 inches apart. For larger plants, you can space them every 10 to 12 inches. You can find boxwoods of all sizes at your local nursery, but if you’ve got plenty of patience and time, you can even grow them yourself from cuttings!
Your Essential Toolkit
To get that perfectly straight professional look, grab these tools before you start:
- A sturdy spade
- A garden rake
- String and two wooden stakes
Step-by-Step: How to Plant Your Boxwood Hedge
If you bought your boxwoods in pots (container-grown), you can technically plant them year-round. For bare-root plants, stick to October/November or February through April. However, for the absolute best results, I recommend planting your hedge in late summer. This gives the roots the perfect environment to settle in before winter. Here’s how to do it:
- Dig over the area to loosen the soil deeply. Make sure to clear out any rocks or stubborn weeds.
- Rake the surface smooth, breaking up any large clumps of dirt as you go.
- Mark the start and end of your hedge by driving a stake into the ground at each point.
- Tie your string between the stakes. This will be your “guiding light” to keep the hedge perfectly straight.
- Give your plants a “bath” by placing them in a bucket of water so the roots can fully hydrate.
- Measure and mark your spacing.
- Dig your holes. They should be twice as wide as the root ball but no deeper. If you’re planting them very close together, it’s often easier to just dig one long trench.
- Mix some organic compost into the soil you dug out.
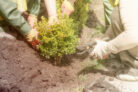
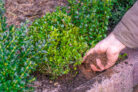
- Set your boxwoods in the ground at the same depth they were in their pots. Don’t bury them too deep—just a light dusting of soil over the top is fine.
- Press the soil down firmly and give them a good, deep watering to settle the earth.
- Prune the little shrubs back by about a third to encourage bushy growth.
- Keep the soil consistently moist (but not soggy) for the first few weeks.
Pro Tip:
It’s a bit of extra work, but adding a drainage layer at the bottom of your trench is a lifesaver. It prevents “wet feet,” which can lead to root rot or boxwood wilt. Your plants will thank you!